Culinary School Lesson: Roux The Day
In my “What I Learned in Culinary School” series, I’ll be sharing tips and tricks that I learned from two years of working with some of the country’s best chefs. This will include big things like learning to work efficiently, and small things like how to cook bacon perfectly. All of them will be applicable to your home kitchen, making you a faster, better, and more confident cook.
In some ways, I feel that 90% of what I learned in culinary school, I actually learned in my very first class. And that first class wasn’t even so much of a class, but more like a “try out” to be allowed to apply to the school itself. In that class, you were taught the very basics – how to poach an egg, how to make the five “mother sauces” of French cuisine and how to make chicken stock. If you couldn’t master those tasks, you probably wouldn’t cut it in the next two years of school, and thus, you weren’t admitted.
A huge part of that first class involved massive amounts of flour and butter, otherwise known as learning to make roux. Roux can be used to thicken a variety of sauces, soups and stews. It also lends a unique flavor to those dishes, as cooking flour in fat changes the flour’s taste from a raw, cereal-like flavor to a toasted, nutty flavor.
Roux can be made with any type of white wheat flour, but all-purpose flour is the most commonly used. Clarified butter is often used to prepare roux, but whole butter works just as well, and saves you a step. You can also use vegetable oil or rendered animal fat to prepare a roux. Whatever fat you chose will have an affect on the flavor of your finished dish.
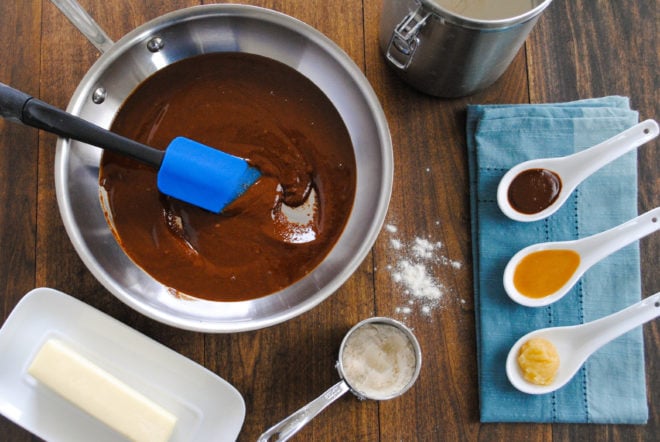
The basic formula for roux is three parts flour to two parts fat (i.e. 3/4 cup flour combined with 1 stick (1/2 cup) butter). Melt the fat in a skillet over medium heat, and then gradually stir in the flour. The roux should have a glossy sheen, and as my culinary school instructors frequently reminded me, should resemble wet sand. If you love going to the beach as much as I do, this should be pretty easy to remember.
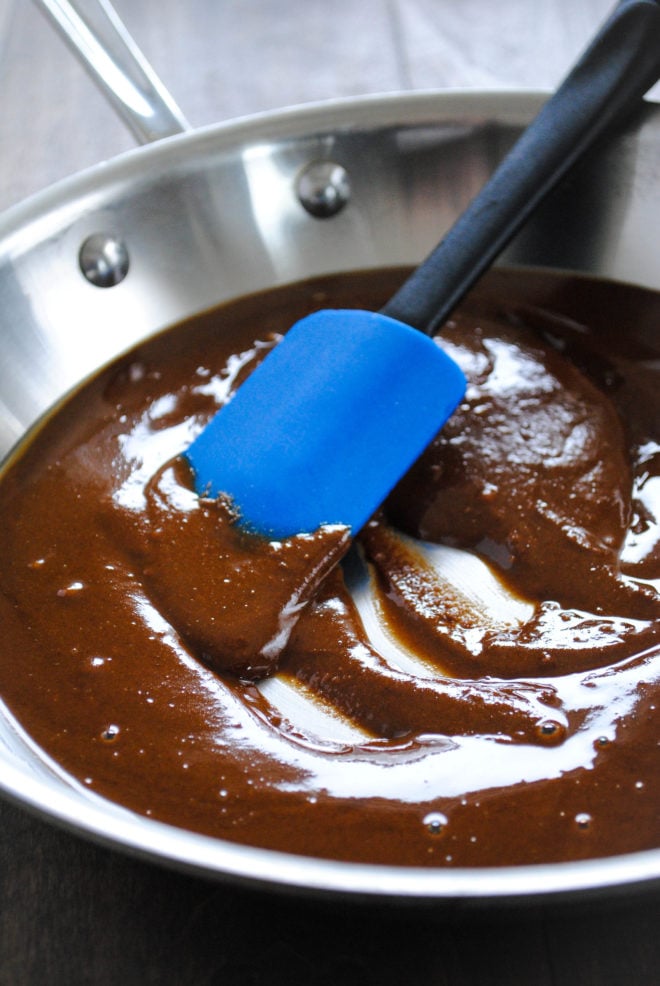
You’ll want to stir the roux almost constantly as it is cooking. A wooden spoon works fine, but a heatproof spatula is your best option for scraping the pan and making sure the roux doesn’t scorch.
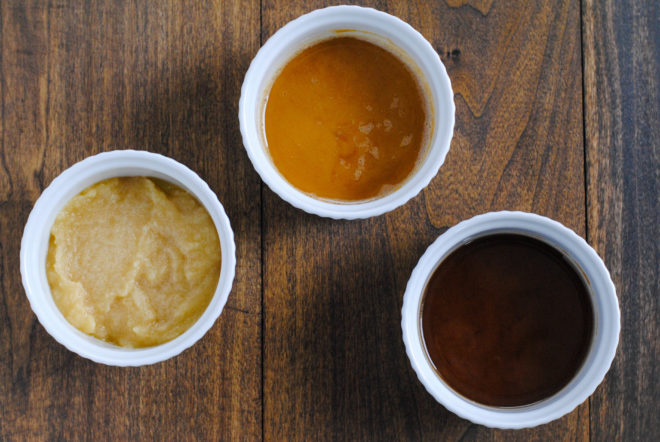
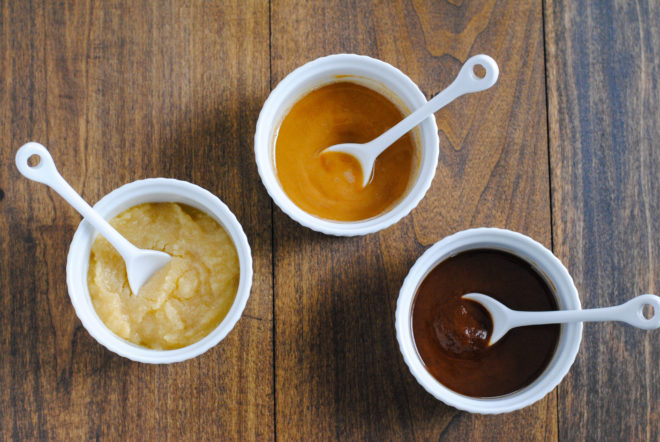
Both the flavor and the color of roux become more pronounced the longer you cook it. Depending on the source, there are either three or four different colors of roux. The first is white roux, which is barely colored and chalky. For white roux, you just need to combine and barely cook the flour and butter. Because this doesn’t give the flour much chance to change flavor at all, most recipes that call for a light roux actually call for a blond roux instead.
Blond roux has a golden straw color and a very slight nutty aroma. Blond roux is often used to thicken white sauces such as the cheese sauce you would prepare for macaroni and cheese. It can also be used to thicken creamy soups.
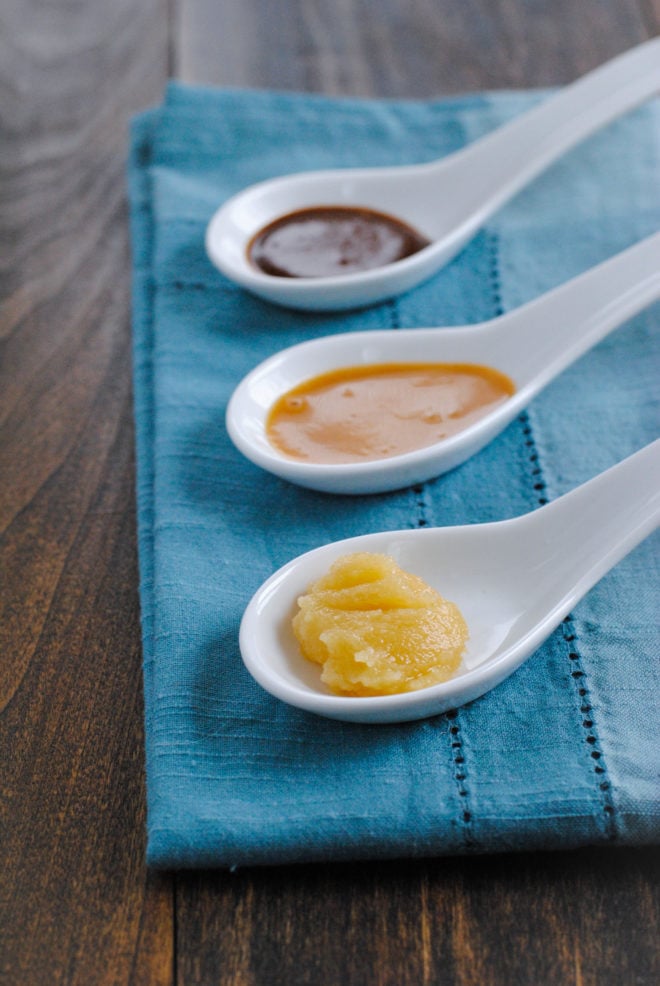
Brown roux is deep brown, with a strong nutty aroma. It can be used to thicken meat drippings for a quick and flavorful gravy from scratch. Dark roux is very dark drown, with a pronounced nutty flavor and aroma, making it a perfect thickener for rich gumbo and other spicy Cajun and creole food. It’s important to remember that the darker a roux is, the less thickening power it has, as the browning process causes some of the starch in the flour to break down. So, the darker your roux is, the more of it you’ll need to thicken your recipe.
White roux takes just about 1-2 minutes of cooking time; blond roux takes about 3-5 minutes; brown roux takes 7-10 minutes and dark roux takes 11-12 minutes. Depending on the size of the batch of roux you are preparing, the size of skillet you use and your stove, cooking times for each of these colors can vary. Once the roux begins to deepen in color, it can start to rapidly darken, so watch it carefully and keep stirring.
Roux can be stored at room temperature up to a week, or it can be frozen indefinitely. When adding roux to a sauce or soup, it’s important to have a temperature difference between the roux and what you’re adding it to – this prevents lumps. Cool roux can be added to hot liquid, or cool liquid can be added to hot roux right after you’ve prepared it. After you’ve added roux to the liquid you want to thicken, you’ll need to heat the liquid up to just below boiling (about 200 degrees F) for the full thickening action of the roux to take effect.
What are you waiting for? Mardi Gras is coming up. Get in the kitchen and make some roux, then whip up a batch of gumbo!


Figured this was a good post for a LaRoux tune riff . . .
I’m burning biscuits shore to shore
To culinary learn something more
My stove’s not turned to warm until it’s cheap
Baked that, ate that, messed around
I’m making flan, don’t fall down
Your recipes will sweep me off my feet
This time baby,
I’ll be, cooking bulletproof
This time baby,
I’ll be, cooking bulletproof
I suspect that you had too much free time at work today? But…thank you for this? Question mark?