Homemade Gravy from Scratch
This Homemade Gravy recipe will turn out perfectly every single time you make it. Make with meat or poultry drippings, or use broth and butter. Soy sauce is the secret seasoning. Try it once and you’ll be hooked!
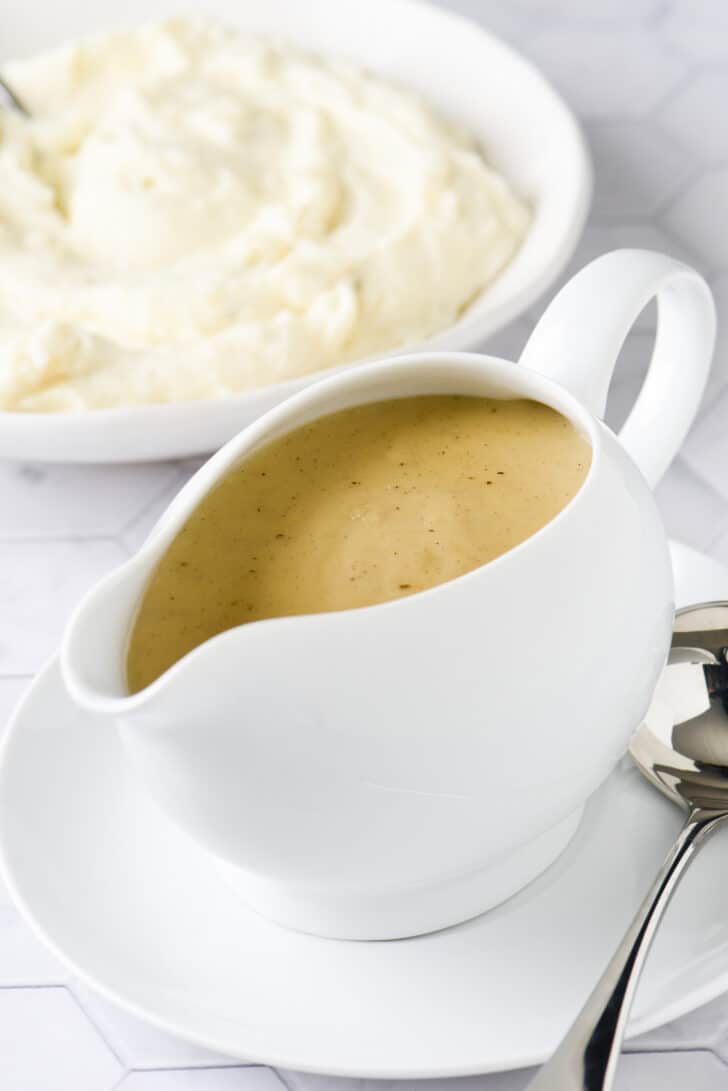
This is Truly the BEST Gravy Recipe
Knowing how to make an easy homemade gravy using a roux and liquid is one of the most versatile kitchen skills that you can master, and I’m sharing the technique I learned in culinary school for how to make gravy from scratch today.
Making gravy from scratch is a three part process. First, you’ll be making a roux from flour and butter (or meat drippings). Then, you’ll be adding broth (or non-fatty drippings) to the roux.
The third and final part (and probably the most important!) is adjusting the texture and seasonings of this easy gravy recipe. Soy sauce is the secret ingredient, and I’ll explain why below.
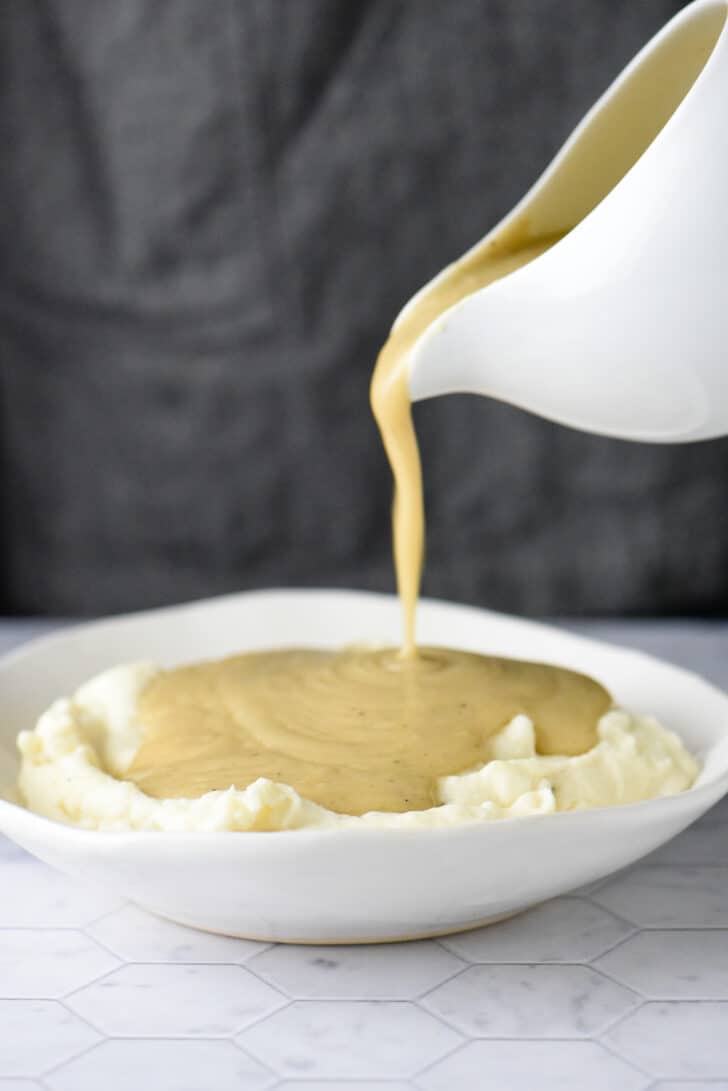
Whether you’re drizzling it over mashed potatoes with heavy cream, homemade biscuits, or bourbon turkey, you’ll want this recipe in your back pocket this holiday season.
Why You’ll Love This Homemade Gravy Recipe
- It will be the LEAST BLAND gravy you’ve EVER had. It’s not just something to add moisture to the turkey, it’s something you’ll kind of want to just eat with a spoon (no judgement).
- The base recipe below works well with turkey, chicken, beef or mashed potatoes.
- Perfect to prep in advance and reheat right before dinner!
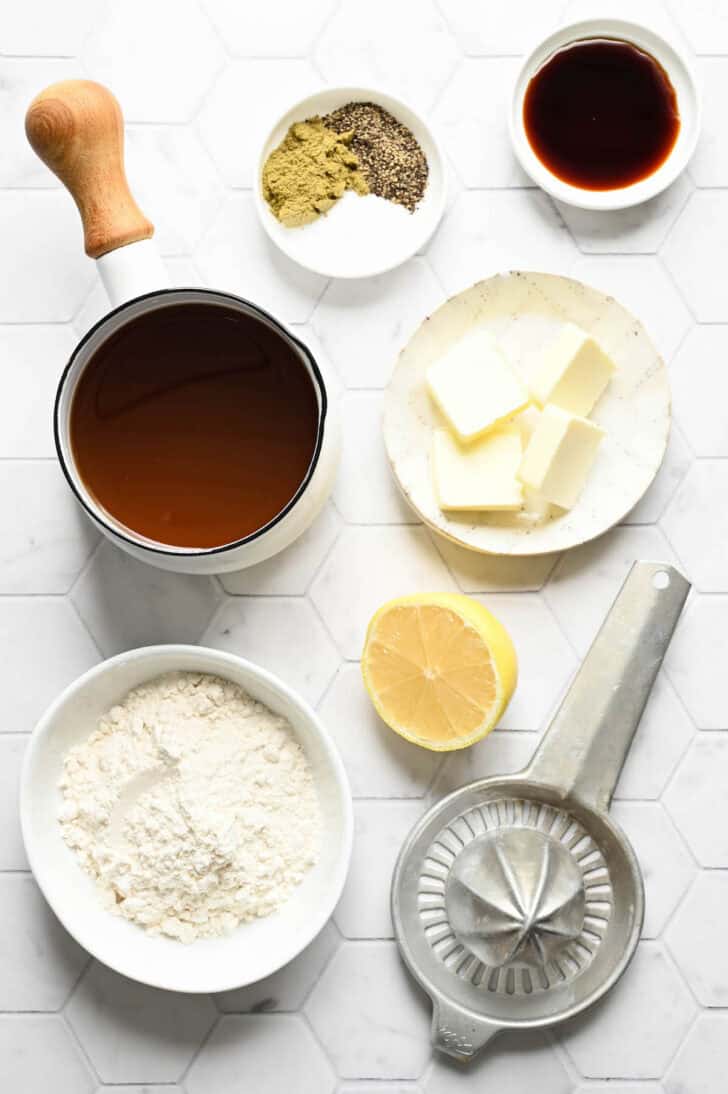
Best Gravy Recipe Ingredients
- unsalted butter – this serves as the fat base of the gravy, contributing to a luscious mouthfeel and silky texture. You can also substitute fatty meat drippings for some or all of the butter.
- all-purpose flour – this is the thickening agent that binds the liquid components together.
- broth or stock – this is the flavorful foundation of the gravy, and you can choose chicken, turkey, vegetable or beef broth or stock. You can also substitute non-fatty meat drippings for some or all of the broth.
- lemon juice – this adds a touch of brightness and subtle tang that cuts through the richness of the gravy to balance its flavor.
- soy sauce – provides an umami kick that really just intensifies the savory notes of the broth.
- kosher salt – even with the soy sauce, a little bit of salt is essential for seasoning to enhance the taste of the best gravy recipe.
- black pepper – adds a hint of warmth and gentle spiciness.
- poultry seasoning – this blend of spices typically includes sage, thyme, marjoram, rosemary and nutmeg and it adds an herbaceous aroma and flavor to your gravy.
How to Make Gravy from Scratch
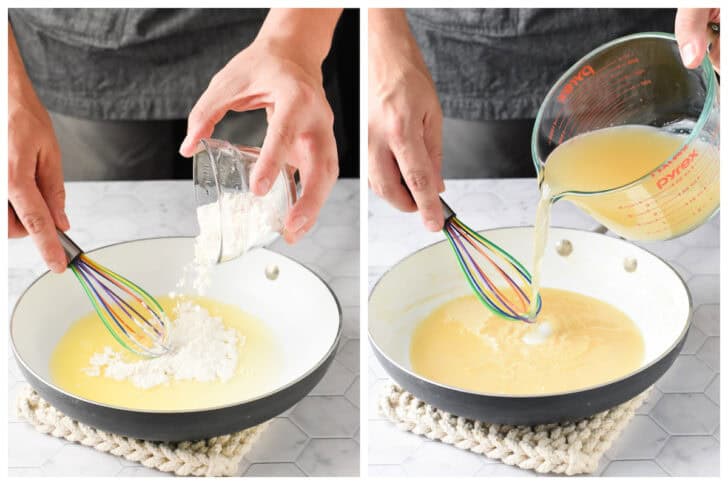
1. ROUX. Melt the butter or drippings in a medium saucepan or skillet, then whisk in the flour. Cook until the mixture turns golden brown, whisking constantly as it cooks.
2. LIQUID. Slowly whisk in the broth or liquid drippings, then heat to boiling and cook a minute or two until the gravy has thickened.
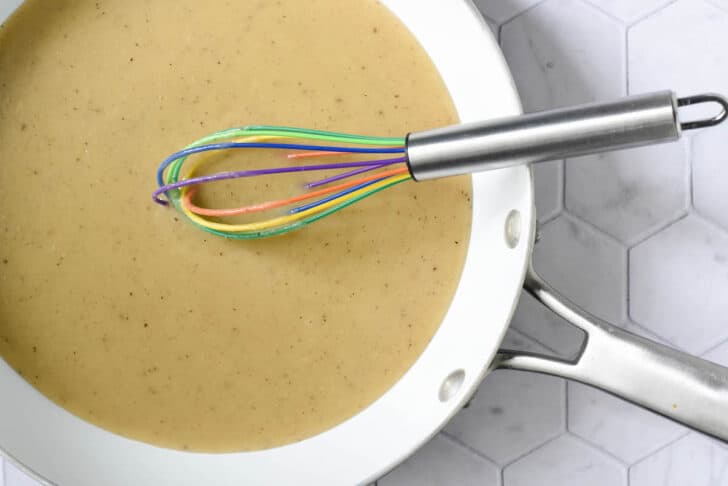
3. ADJUST. Adjust the consistency of the gravy by adding extra broth or simmering it a bit longer, if necessary. Add the lemon juice, soy sauce, salt, pepper and poultry seasoning, then taste and adjust the seasoning as necessary.
Gravy Recipe Variations
Now that you’ve got classic homemade gravy down, let’s explore some popular variations that cater to different dietary needs and preferences.
- GLUTEN FREE GRAVY – To make gluten-free gravy, you can use rice flour instead of all-purpose flour. Adjust the consistency as necessary as outlined in Step 3 in the recipe card. You will also need to be sure that you choose a gluten free soy sauce (or tamari) and poultry seasoning.
- CREAMY GRAVY WITH MILK – If you’re looking to create a creamier gravy, consider replacing a portion of the liquid with milk or cream.
Home Chef Tips for Homememade Gravy
- A fat separator isn’t a kitchen tool I use a TON, but I do think it’s handy to have one if you want to use drippings to make gravy. This tool allows you to, well, separate the fat from the non-fatty drippings of whatever meat you’re roasting, and pour them out of the container separately.
- The reason that this is so handy is because you can use the fatty drippings in place of some or all of the butter for your roux, and the non-fatty drippings in place of some or all of the broth!
You can make gravy from broth OR drippings
Before you begin your gravy from scratch, you’ll want to figure out what your liquid and fat components are going to be.
- FAT OPTIONS – unsalted butter, fatty part of turkey/chicken/beef drippings, or a combo.
- LIQUID OPTIONS – broth or stock (variety depends on your meal), non-fatty part of turkey/chicken/beef drippings, or a combo.
If using a combination of fats and/or liquids, you just want to make sure that you end up with the same overall amount of fat and liquid as the recipe calls for to make this homemade gravy recipe.
Save This Recipe!
All about the roux for gravy from scratch
A roux is simply a cooked mixture of flour and fat, that acts as both a thickener and flavoring agent for sauces and stews. The four colors of roux go from white to blond to brown to dark, depending on how long you cook the roux.
What’s interesting about roux is that the darker it is, the less thickening power it has (although the darker it is, the more FLAVOR it has!). Taste of Home has an article about how to make a roux that includes visuals of what each color of roux looks like, which I think is very helpful if you’re new to making roux.
I like to use a blond roux when I make gravy from scratch.
Adjust the texture of this easy homemade gravy, and THEN adjust the seasonings
While the ratio of fat to flour to liquid in the recipe below is a starting point that should yield a good gravy from scratch each time, the truth is that every single time you make gravy, the roux is going to thicken slightly differently.
The thickening properties of the roux can depend on color, as discussed above, or even something like the freshness of your flour! And of course, the temperature of your stove and the size of your pan matters, too.
Whatever the reason, I prefer to adjust the consistency of my homemade chicken gravy recipe before worrying about seasoning. The great thing about homemade gravy is that it is SO easy to adjust the consistency.
- Gravy a little too thick? No worries – just add a dash of broth (or even water) a little bit at at time, while whisking, until the gravy is thinned out enough for your liking.
- Gravy too thin? Not a big deal. Just simmer over medium heat until it reduces down and thickens a little. Shouldn’t take more than a few minutes. And if you over-reduce and it thickens too much? You guessed it – add broth!
The Secret to a Perfectly Seasoned Gravy Recipe
More often than not, when home cooks complain that their Thanksgiving gravy from scratch turns out bland, they aren’t seasoning at all, or only seasoning with salt and pepper.
Salt and pepper is a great starting point! But for a well-rounded flavor, I also like to add poultry seasoning, lemon juice and soy sauce.
- Poultry seasoning blend is primarily made with dried sage and thyme, and also can include things like nutmeg, rosemary, marjoram and black pepper. If it’s not something that you commonly purchase, a combination of dried sage and thyme is just fine.
- Lemon juice helps cut through some of of the fat in the rich gravy and brightens up the overall flavor. The end result won’t taste lemony, just vibrant and delicious.
- Soy sauce adds saltiness, and savory umami (the Japanese word that essentially means “essence of deliciousness”). It also adds rich brown color to the gravy. It won’t taste like an Asian dish, I promise. Soy sauce is simply a different kind of salt to season any recipe. Try it once and you’ll see what I mean.
How to Store Homemade Gravy
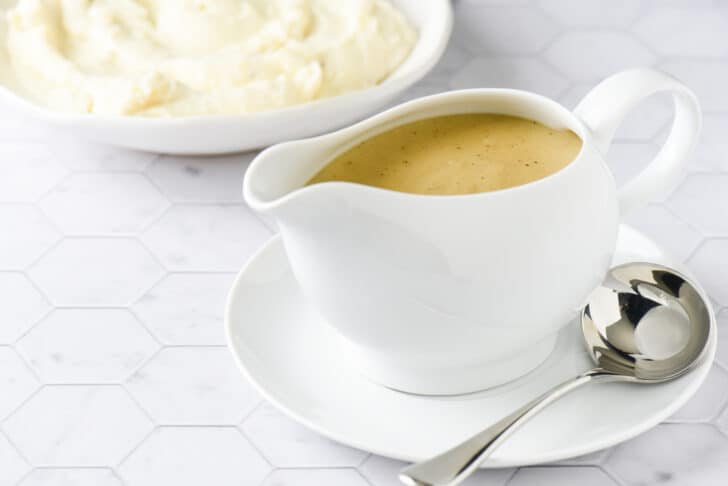
If you have leftovers, transfer them to an airtight container and place them in the fridge uncovered for a few hours until they are fully chilled, then cover them with the lid and keep in the refrigerator up to 3 days.
This best gravy recipe freezes well for months if kept in a sealed container. Thaw the gravy overnight before rewarming over medium-low heat on the stove.
Tips for Reheating this Easy Gravy Recipe
One thing to beware of is that when you’re re-warming frozen gravy, you WILL need to thin it out. This actually makes it IDEAL to make ahead for Thanksgiving (even a month or so before the holiday) and reheat on the big day.
Since you’ll need to thin the gravy out anyway, you can use the pan drippings from your turkey as the thinning liquid! You’ll end up with a thinned out gravy with LOTS of extra flavor from the drippings. Win win!
If you don’t have drippings, simply whisk in broth or water to thin the homemade gravy out when reheating it.
More Foxes Love Lemons Favorites
Easy Gravy Recipe
Save This Recipe!
Ingredients
- 4 tablespoons unsalted butter or fatty drippings or a combination
- 4 tablespoons all-purpose flour
- 2 cups broth or stock or non-fatty drippings or a combination (plus additional if needed to thin)
- 1 teaspoon fresh lemon juice
- 1 teaspoon soy sauce
- ½ teaspoon kosher salt
- ¼ teaspoon ground black pepper
- ¼ teaspoon poultry seasoning
Instructions
- In large skillet, melt butter over medium heat (if using drippings, just add melted drippings to skillet). Add flour and cook 4 to 6 minutes or until mixture becomes light to medium golden brown, whisking constantly.
- While whisking, slowly add broth or non-fatty drippings until all liquid is incorporated. Heat to boiling over medium-high heat and cook 1 to 2 minutes or until gravy is thickened.
- If gravy is too thick, whisk in a bit more broth or water. If gravy is too thin, cook over medium heat, stirring frequently, until desired consistency is achieved.
- Reduce heat to low. Add lemon juice, soy sauce, salt, pepper and poultry seasoning and whisk until well combined. Taste and adjust seasoning as necessary.

