Culinary School Lesson: Whip It Good

In my “What I Learned in Culinary School” series, I’ll be sharing tips and tricks that I learned from two years of working with some of the country’s best chefs. This will include big things like learning to work efficiently, and small things like how to cook bacon perfectly. All of them will be applicable to your home kitchen, making you a faster, better, and more confident cook.
Several years ago, I was making my husband an elaborate birthday cake with layers of lemon curd and meringue (sweetened, whipped egg whites). The problem was, the egg whites just….would…not….whip. I whirred and whirred my little hand mixer around the bowl. They never got fluffy, so I blamed it on the mixer not being powerful enough, and called it quits. Cake + lemon curd was still a perfectly good combo.
Although Pastries was one of the classes I was looking forward to least in school (as I always prefer savory food over sweet), it was probably the class in which I learned the most. During the very first week, I was taught how to properly whip egg whites and whipped cream, and it had very little to do with the mixer itself.
Turns out, you need more than egg whites and willpower to make meringue. The condition of your equipment is of utmost importance. The mixing bowl and mixer whisk attachment must be completely clean from soap films, fats and other contaminates. Even if you think your equipment is already quite clean, it never hurts to wipe everything down with a hot, wet paper towel, and then dry it with a clean one.
Additionally, egg whites whip best when they are at room temperature. I actually leave my eggs out overnight when I know I’ll be making meringue the next day, but leaving them out on the counter for a few hours works just as well. You can also gently bring refrigerated eggs to room temperature in a bowl of warm water.
While following whatever recipe you are using for meringue, there’s a few other things to keep in mind. For every cup of egg whites you have, you can add 1/4 teaspoon of cream of tartar to help the whites get to stiff peaks. Egg whites should be whipped on medium speed 75% of the way to stiff peaks before you add any sugar. Never shut off your mixer in the process of making meringue (that means you need to rain in the sugar while the machine is running on at least low speed). Once you’ve added all your sugar, you should finish whipping the meringue on high speed. And of course, meringue must be used immediately after whipping.
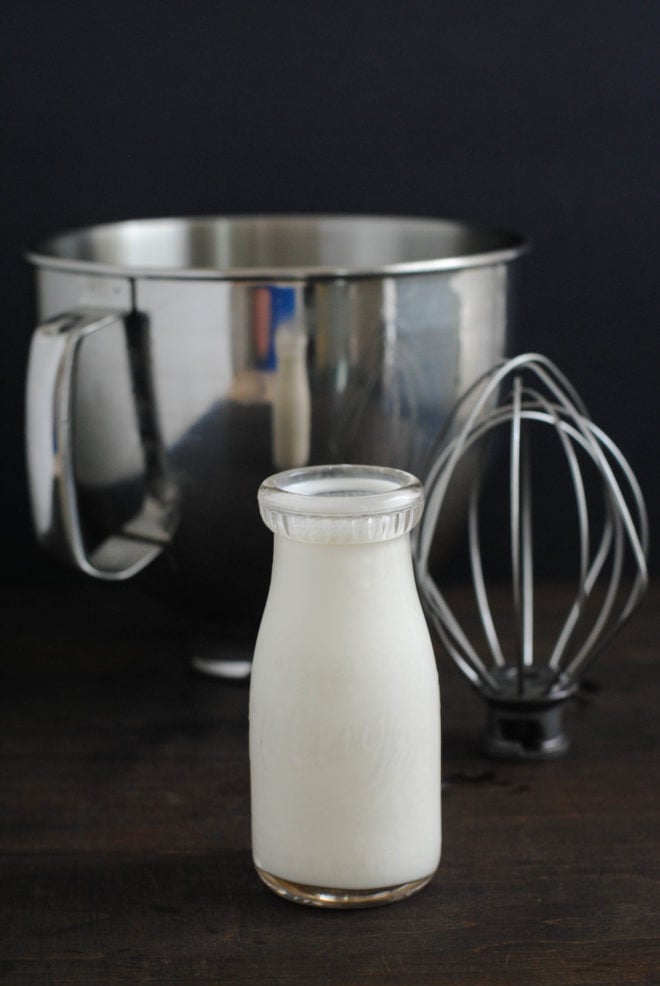
Making homemade whipped cream may use the same equipment, but it has a completely different set of rules. The mixing bowl and whisk attachment should be cleaned and sanitized, but then they should be throughly chilled. I always put the bowl and the attachment in the freezer for at least 20 minutes before making whipped cream. The heavy cream should also be throughly chilled, so remove it from the fridge immediately before whipping.
You want to whip cream as quickly as possible without making a mess of your kitchen by splattering drops of cream everywhere. Gradually increase the speed of your mixer until you get to medium-high or high.
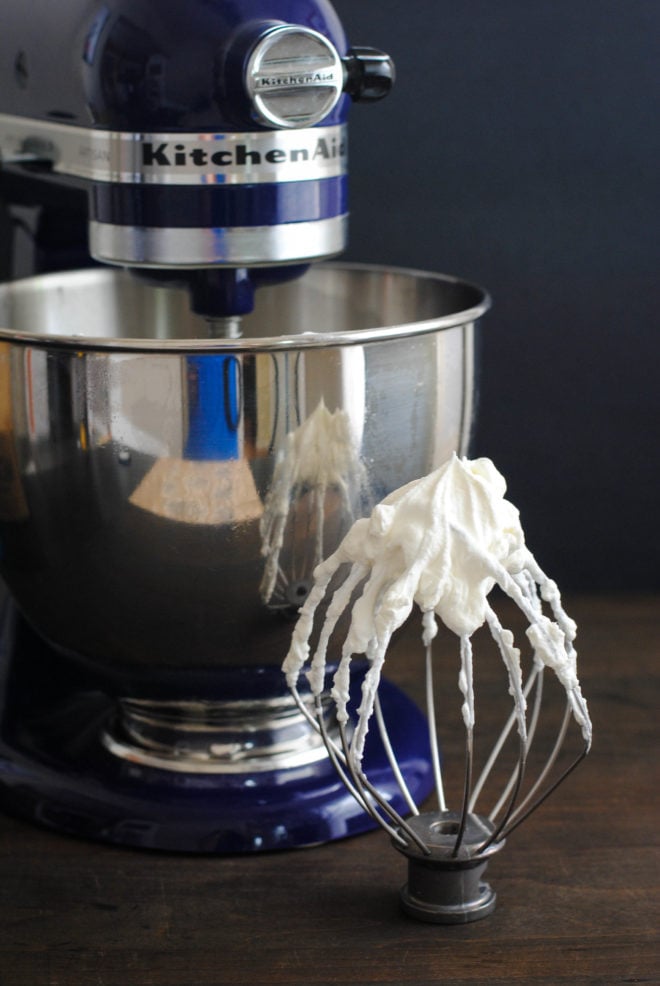
To make a simple sweetened whipped cream, start with 2 cups of cream. Whip it until the whisk starts to leave tracks in the cream, then, while the mixer is running on low speed, sprinkle in 1/3 cup powdered sugar and 1-1/2 teaspoons vanilla extract. Increase the speed back to medium-high and whip until almost stiff or stiff peaks form, depending on the purpose for the finished product.
There you have it: simple steps to making restaurant-quality whipped cream and meringues at home. Keep your bowl chilled or room temperature, depending on which you’re making, and you’re already most of the way there!

So, that is how you make all of those delicious whipped toppings for pies and cookies and such . . . Hmmmmm. Glad I now know how to do it, but I’ll leave the heavy lifting to a professional, hehe.