How to Make Homemade Butter
This guide to How To Make Homemade Butter, written by a culinary school graduate, will show you exactly what to look for, step-by-step, during the process of making DIY butter. Making whipped cream and you’ve overwhipped? Keep going and turn your mistake into pure, rich homemade butter.
Save This Recipe!
This DIY Butter Recipe will change your life
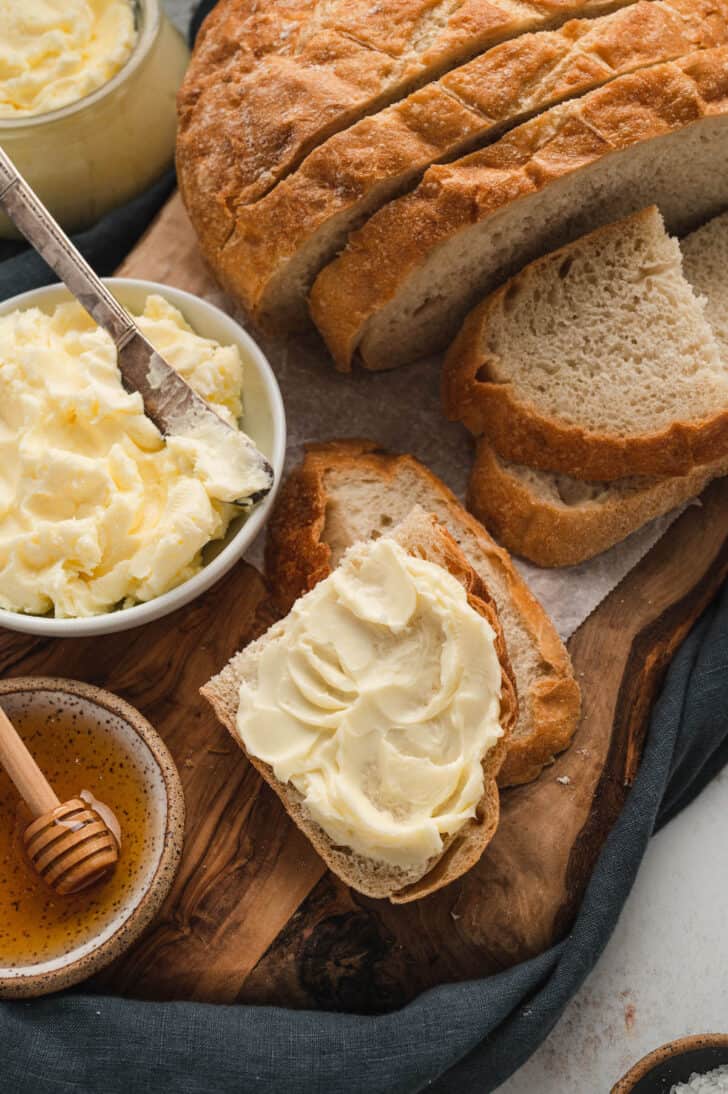
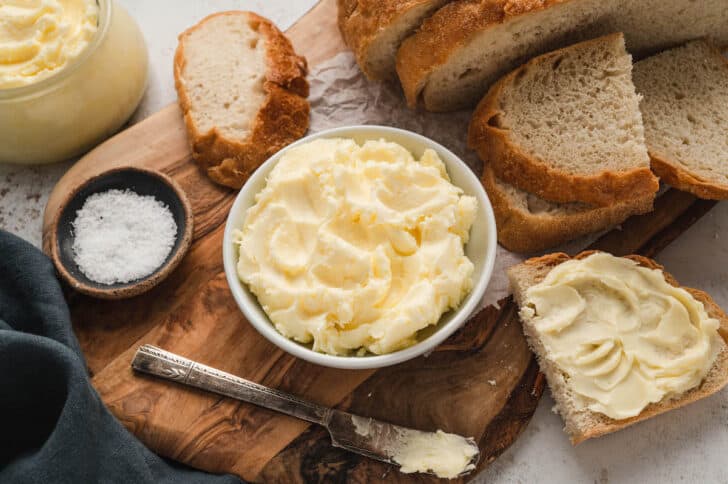
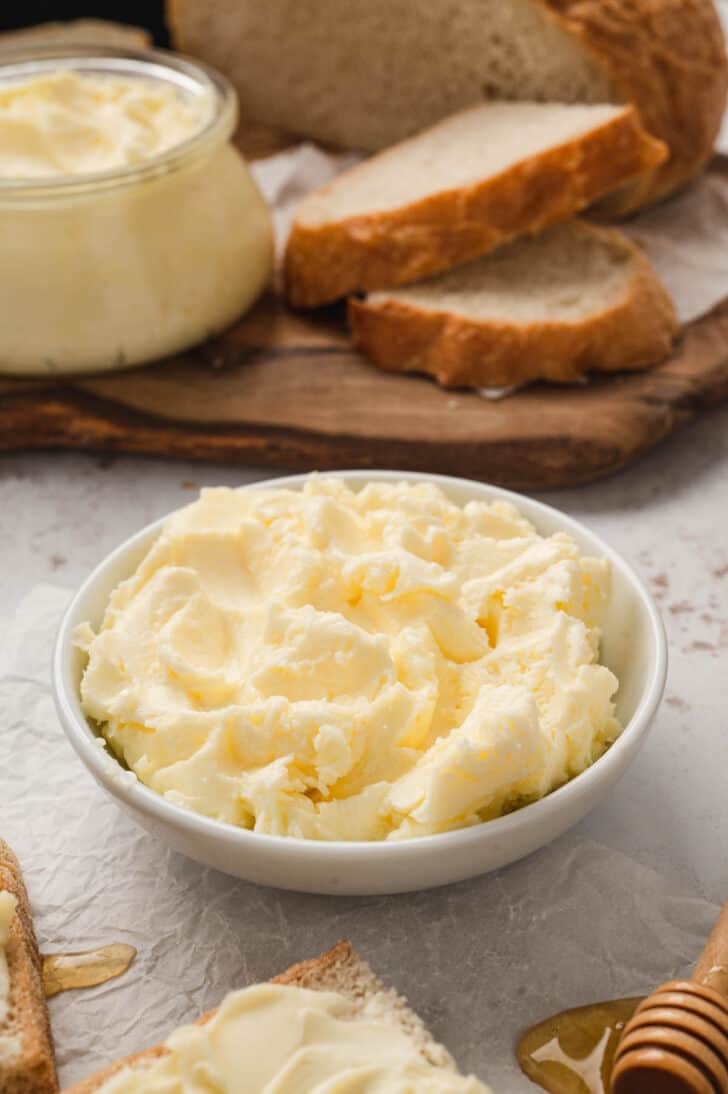
Once you know how to make homemade butter, you will dream about homemade butter. It’s soft and luscious, and tastes better than you ever thought butter could taste.
This homemade butter recipe will change your life not only for it’s pure, magical flavor, but because you’ll soon come to realize it’s a great idea to keep in your back pocket anytime you are whipping cream.
If you’re making homemade whipped cream or something else that involves whipping cream to soft peaks, but you accidentally go too far and you’ve got stiff peaks, well, just keep going. You’ll have to get more cream to make the whipped cream anyway, but at least you can turn your mistake into something useful!
Why it is better to make Butter?
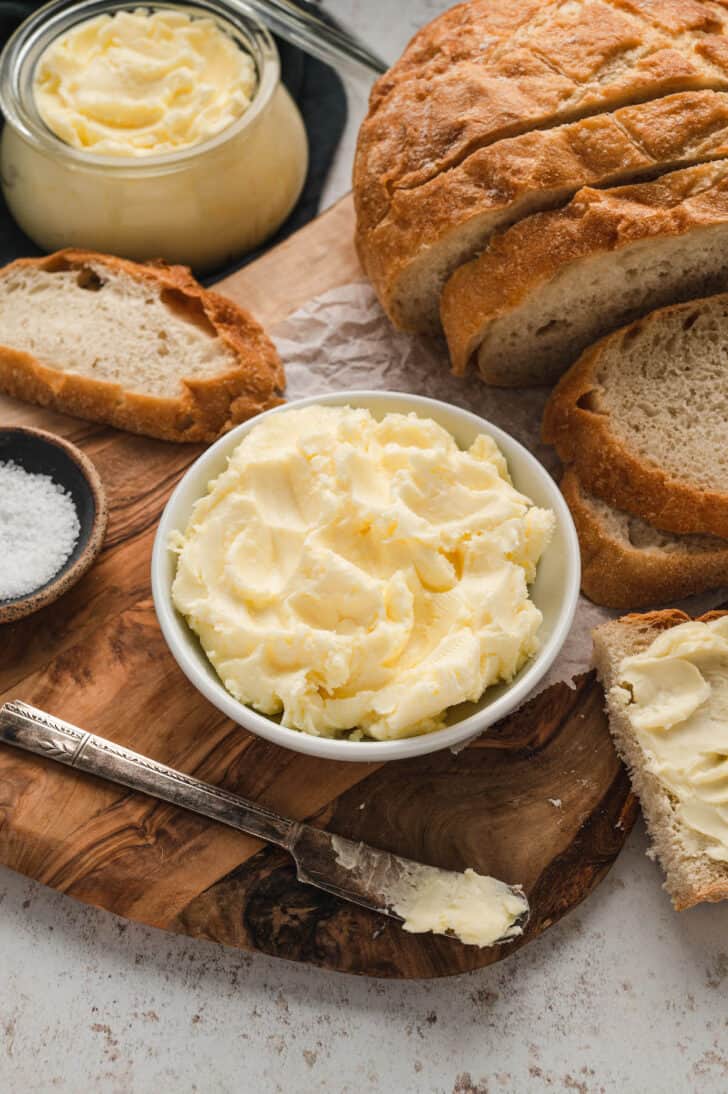
Make it for the pure joy of it, honestly! Making your own butter at home is a culinary experience where you can take two simple ingredients and transform them into pure, rich butter.
Also, by making butter yourself, you have all the the control over the quality of your ingredients. Your homemade butter will taste far superior to any store-bought version you’ve ever tried.
Why you will love Homemade Butter
- Pure ingredients. Control the quality of your butter by making it using only high quality heavy cream and kosher salt.
- Customizable. Experiment with mix-ins to add flavor!
- Satisfaction. Experience the joy of creating a fundamental kitchen staple from scratch.

What is butter made of?
- heavy cream – the fat content of the cream will separate from the liquid during the churning process, making butter.
- salt – this seasons the butter and also acts as a preservative, helping it last longer.
How to make Butter

1. WHIP. Place the cream in the bowl of a stand mixer with the whisk attachment. Starting on low speed and gradually increasing to high, whip the cream.
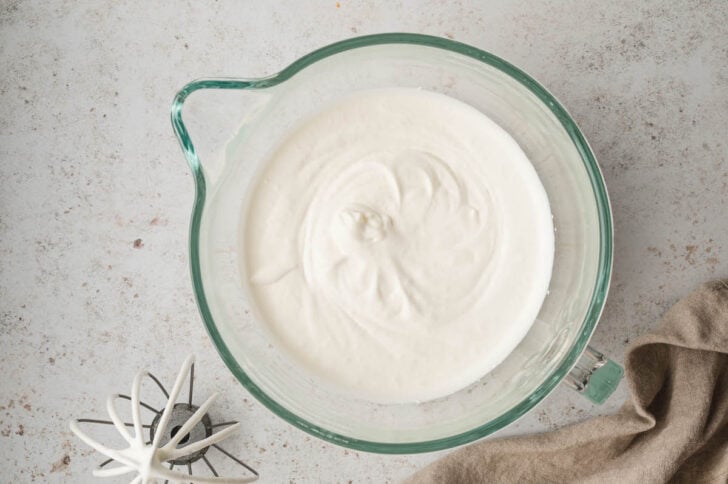
2. WHIPPED CREAM STAGE. You should see the cream become whipped cream at around 2 minutes. Do not stop the mixer. Keep mixing!

3. BREAK! Continue mixing until the cream separates into butter and buttermilk (this should take about 8 minutes total). It may seem like it’s not going to work, but keep mixing it and it will break quite suddenly and turn into butter! If it truly doesn’t work after 8 to 10 minutes, see the Home Chef Tips below.
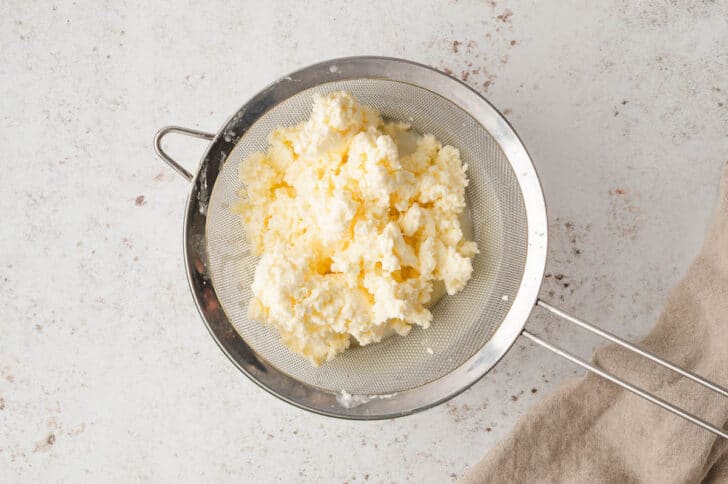
4. STRAIN. Transfer the butter to a fine mesh strainer. Discard the buttermilk or reserve it for another use. It won’t be quite as rich as store-bought buttermilk, but will work just fine for a buttermilk chicken marinade.
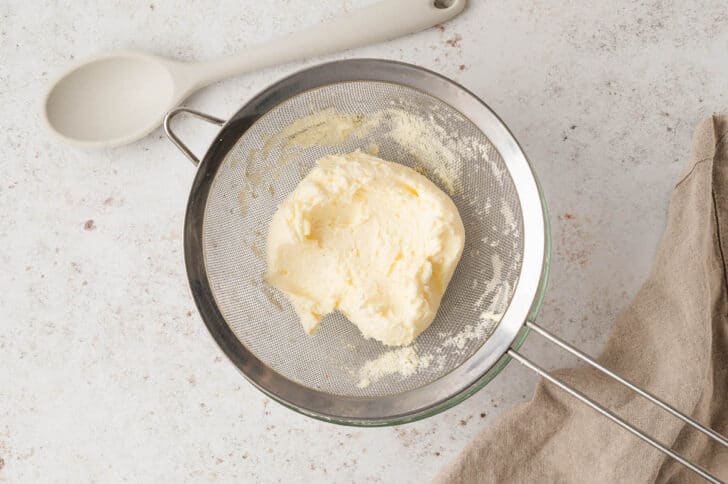
5. RINSE. Rinse the butter with cold water. Press the butter against the strainer to release the excess water and buttermilk. Repeat this rinsing and pressing process 2 more times.
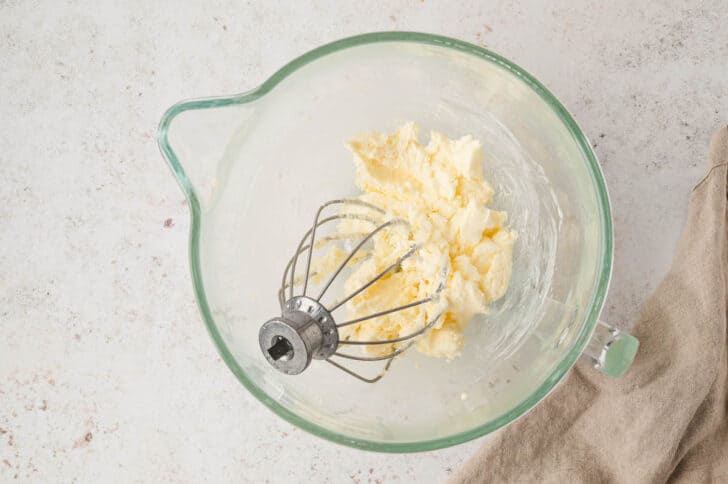
6. SALT. Wipe out the mixer bowl with paper towel. Transfer the butter back to the mixer bowl, add the salt, and mix briefly until the salt is incorporated.
Home Chef Tips for DIY Butter
- No, that’s not a typo in the recipe card below. 2 cups of heavy cream only ends up making a little over 6 ounces of butter (about 1-1/2 sticks). While it’s a fun project, it’s not the most economical, to be honest.
- If your cream gets past the whipped cream stage but then liquifies into cream again and doesn’t break into butter after 8 to 10 minutes, place the bowl, cream and beater in the fridge for 30 minutes before trying again. Sometimes the fat just needs to get cold and stiffen up some, so it can grab the other fat in the bowl and separate together.

Homemade Butter Recipe Variations
Once you’ve mastered the basic butter recipe, the possibilities are endless. The following ideas are some thought-starters for your own experiments:
- HERBS – Add finely chopped herbs like parsley, thyme, rosemary, basil, or a combination, for an herbed butter that’s ideal to toss with vegetables.
- GARLIC – add minced raw garlic or smashed roasted garlic for garlic butter that’s perfect with seafood and homemade yeast rolls.
- HONEY – Mix in some honey for a sweet, indulgent butter that’s great for warm biscuits.

How to store DIY Butter
After making homemade butter, transfer the butter to an airtight container and store in the refrigerator.
How long is Homemade Butter good for?
Homemade butter can last for up to two weeks in the refrigerator.
How long can butter sit out at room temperature?
Butter is safe at room temperature for a few hours to allow it to soften, but after that, it’s best stored in the refrigerator to maintain its quality.
Can you freeze Butter?
Yes! Wrap the homemade butter tightly in plastic wrap and then place in a freezer bag. Freeze up to 6 months.
More Foxes Love Lemons Favorites

DIY Butter
Save This Recipe!
Ingredients
- 2 cups heavy whipping cream
- ½ teaspoon kosher salt
Instructions
- Place cream in bowl of stand mixer fitted with whisk attachment. Starting on low speed and gradually increasing to high speed as cream becomes less splashy, whip cream at high speed.
- You should see the cream become whipped cream at around 2 minutes. Do not stop mixer; keep mixing.
- Continue mixing until cream separates into butter and buttermilk (this should take about 8 minutes total). It may seem like it’s not going to work, but keep mixing it and it will break quite suddenly and turn into butter!
- Transfer butter to fine mesh strainer. Discard buttermilk or reserve for another use.
- Rinse butter with cold water. Using a rubber spatula, press butter against strainer to release excess water and buttermilk. Repeat this rinsing and pressing process 2 more times.
- Wipe out mixer bowl with paper towel. Transfer butter back to mixer bowl and add salt. Mix at medium speed briefly just until salt is incorporated.
- Transfer butter to airtight container and store in refrigerator for up to 2 weeks.
Notes
- No, that’s not a typo in the recipe card. 2 cups of heavy cream only ends up making a little over 6 ounces of butter (about 1-1/2 sticks). While it’s a fun project, it’s not the most economical, to be honest.
- If your cream gets past the whipped cream stage but then liquifies into cream again and doesn’t break into butter after 8 to 10 minutes, place the bowl, cream and beater in the fridge for 30 minutes before trying again. Sometimes the fat just needs to get cold and stiffen up some, so it can grab the other fat in the bowl and separate together.
