Pumpkin Pie Creme Brulee
This Pumpkin Creme Brulee is sugar, pumpkin spice and everything nice. Perfect for Thanksgiving or any fall gathering, this make ahead dessert is rich, creamy and delicious.
“OMG! This pumpkin spin on creme brûlée is awesome! The instructions are so great, even a beginner cook could pull this off with a smile! I would have never thought I could make creme brûlée, but I did and this one is a definite keeper! I didn’t change a thing. Thanks for all the tips!”
—Marilyn
This Pumpkin Brulee Is The Ultimate Fall Treat
Although dessert certainly isn’t a primary focus of this blog, I believe that everybody needs a signature dessert. Creamy, crackly creme brulee is mine.
I haven’t stopped at at vanilla bean creme brulee or chocolate creme brulee. Today, we’re tapping through a thick layer of crackly torched sugar and digging into pumpkin creme brulee.
While it may seem like one of those desserts that’s only possible in a restaurant kitchen when made by a trained pastry chef, that’s not true!
Today, I’m sharing everything I learned (from a pastry chef!) in culinary school about how to make creme brulee and adapting it into easy-to-follow steps to deliver restaurant-quality results at home.
Made with real pumpkin and the warm spices of fall, this pumpkin spice creme brulee might rival pumpkin pie for the very best thing on your holiday dessert table.
Why You’ll Love Pumpkin Creme Brulee
- Just like a pumpkin pie, it’s a great make-ahead dessert. Prepare the custard in advance and simply torch the topping right before serving.
- Torching the sugar is an interactive experience that everybody loves getting involved in. Lots of laughs in the kitchen!
- You’d be surprised how many people who say they hate pumpkin pie will tell you they love this creme brulee. It’s easy to love.
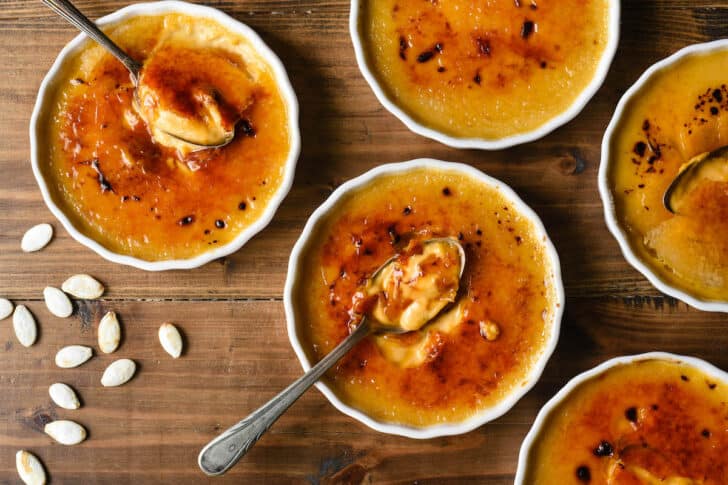
Pumpkin Spice Creme Brulee Ingredients
- pumpkin – You’ll need canned 100% pure pumpkin puree for this recipe, NOT canned “pumpkin pie mix” or “pumpkin pie filling.”
- heavy cream – I use heavy whipping cream for this recipe, and that’s it. Some people use a combination of cream and milk, but if I’m splurging and making creme brulee, I like it extra rich (cream is also what I use to make my microwave caramel sauce decadent).
- granulated sugar – you’ll need this for both the custard and for sprinkling on top to torch.
- brown sugar – I only use granulated sugar for most creme brulee recipes, but for this pumpkin creme brulee recipe, I also added light brown sugar to give it some extra caramel and molasses flavor notes.
- egg yolks – you’ll need the yolks of 6 large eggs for pumpkin creme brulee. Perhaps try an egg white quiche with the leftover whites?
- vanilla extract – to add extra rich flavor.
- spices – just like a pumpkin pie, we’ll be adding cinnamon, nutmeg, cloves and ginger. You could also use 1/2 teaspoon pumpkin pie spice if you’d prefer that instead.
- kosher salt – just a pinch. The finished dessert won’t taste salty, but it will taste balanced.
- blowtorch – you can use a specially made kitchen blowtorch, or just one from the hardware store. I use the full size hardware store kind. If you don’t have a blowtorch, no worries – I have another option for you below!
- ramekins or creme brulee dishes – you’ll need six ceramic ramekins or dishes that are oven safe and will hold at least 6 ounces of liquid for this pumpkin spice creme brulee recipe.
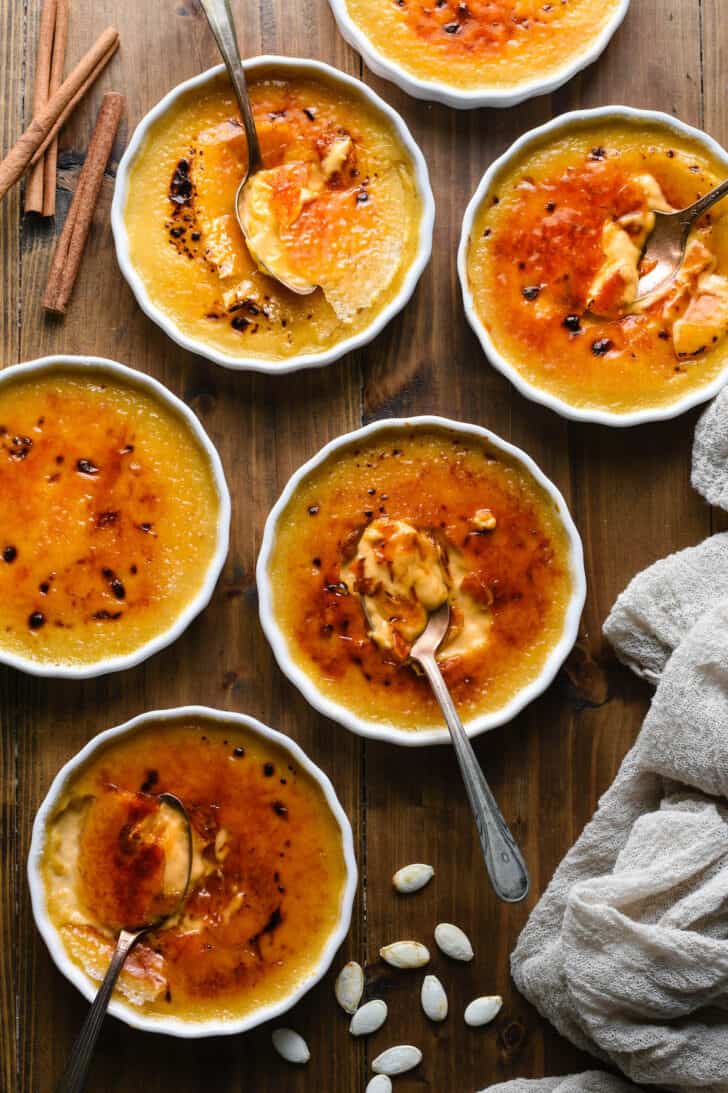
How to Make Pumpkin Creme Brulee
Prep the ramekins and roasting pan
- The first step to this recipe is preheating your oven to 300 degrees F and bringing a tea kettle of water to a boil on the stove.
- You will need a roasting pan or a very large baking pan with high sides for this pumpkin creme brulee recipe. All of the ramekins need to fit onto the bottom of the pan in an even layer.
- Once the custard mixture is prepared (more on that below), you will be dividing it between the ramekins. Then, place the roasting pan with the filled ramekins onto a pulled-out oven rack.
- Carefully pour boiling water from the kettle into the pan around the ramekins. Be sure not to get any water into any of the custards. You want to fill the pan with enough water so that the hot water comes up to the halfway point of each ramekin. This hot water bath will allow the custard to cook evenly without cracking.
- Once the hot water is poured in, carefully push the oven rack with the roasting pan on it fully into the oven.
For the Custard Filling
- In a small saucepan, combine the cream, brown sugar and spices. Heat this over medium heat until the cream just starts to bubble around the edges of the pan. Watch it carefully, because you don’t want the mixture to come to a full rolling boil.
- While you’re keeping one eye on the cream, grab a large bowl and whisk together the egg yolks, granulated sugar, vanilla and salt.
- Once the cream mixture starts to bubble, grab a ladle and slowly add 3 ladles of the hot cream mixture to the egg mixture while whisking constantly.
- Then, whisk the remaining cream into the egg mixture while continuing to whisk. Add the pumpkin puree and whisk again, until smooth.
- Strain the mixture through a fine-mesh strainer set over a large liquid measuring cup. This will catch any clumped spices and stringy bits of pumpkin. Don’t skip the straining! It’s important to ensure the smoothest, creamiest final product. The strainer will catch lots of stringy pumpkin that you don’t want in your custard.
- Then, divide the strained pumpkin spice creme brulee mixture between the ramekins in the roasting pan.
- Bake the custards 30 to 35 minutes or until they are JUST set. Gently shake one of the ramekins, and the custard should tremble slightly in the middle but be set on the outer edges.
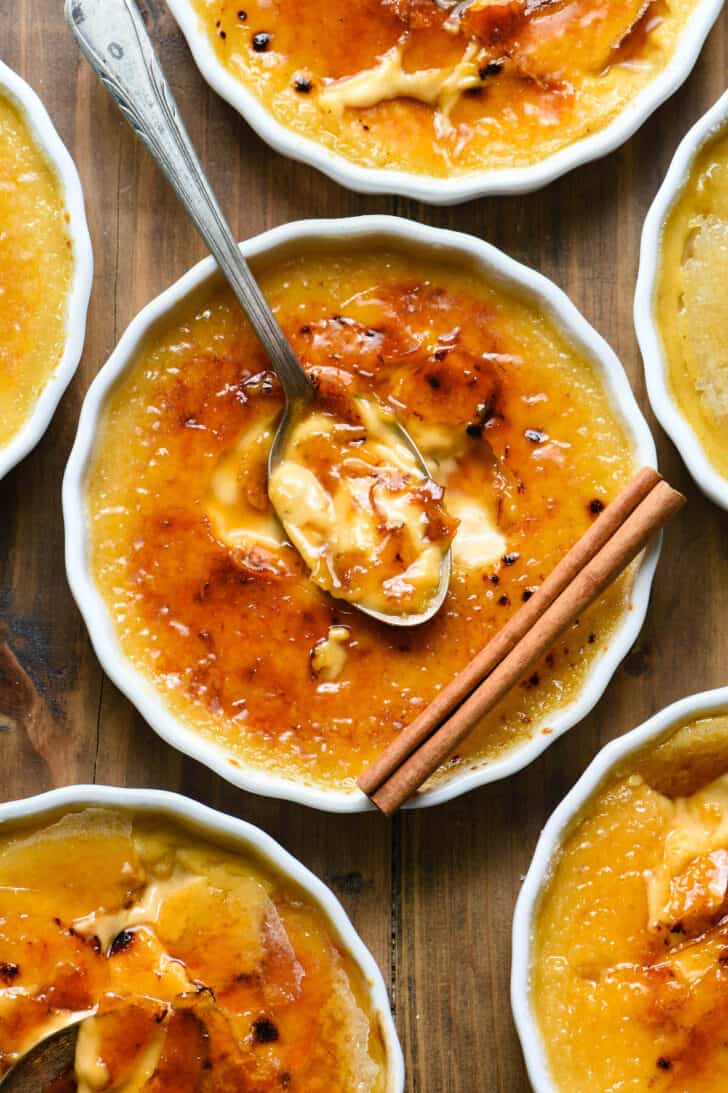
Creme Brulee Pumpkin Home Chef Tips
- You want to be sure to get an EVEN layer of sugar across the surface of each custard. I sprinkle the tablespoon of sugar across the custard as evenly as I can, and then I kind of tilt and shake and shimmy the ramekin until it’s even more evened out.
- Once you start torching the sugar, it’s important to remember to keep the torch moving constantly so none of the areas burn.
- Personally, I’ve found it easiest to brown the sugar of the pumpkin creme brulee in stages. Meaning, first I torch the entire surface of the sugar until it is light golden brown. And then I go back and keep torching until everything is medium golden brown. And then again until it’s all dark golden brown.
- As soon as you start to smell any sugar burning, stop torching immediately. Dark brown sugar is delicious, but burnt sugar is just bitter.
A note about ramekin size
Size DOES matter for creme brulee ramekins. Not only will you need six 6 ounce ramekins, but you’ll need to pay attention to the shape of them and how it will relate to the baking time for this recipe.
If your ramekins are wide and shallow, your custard may bake a little faster. If your ramekins are narrow and deep, you will likely need to bake your custard longer.
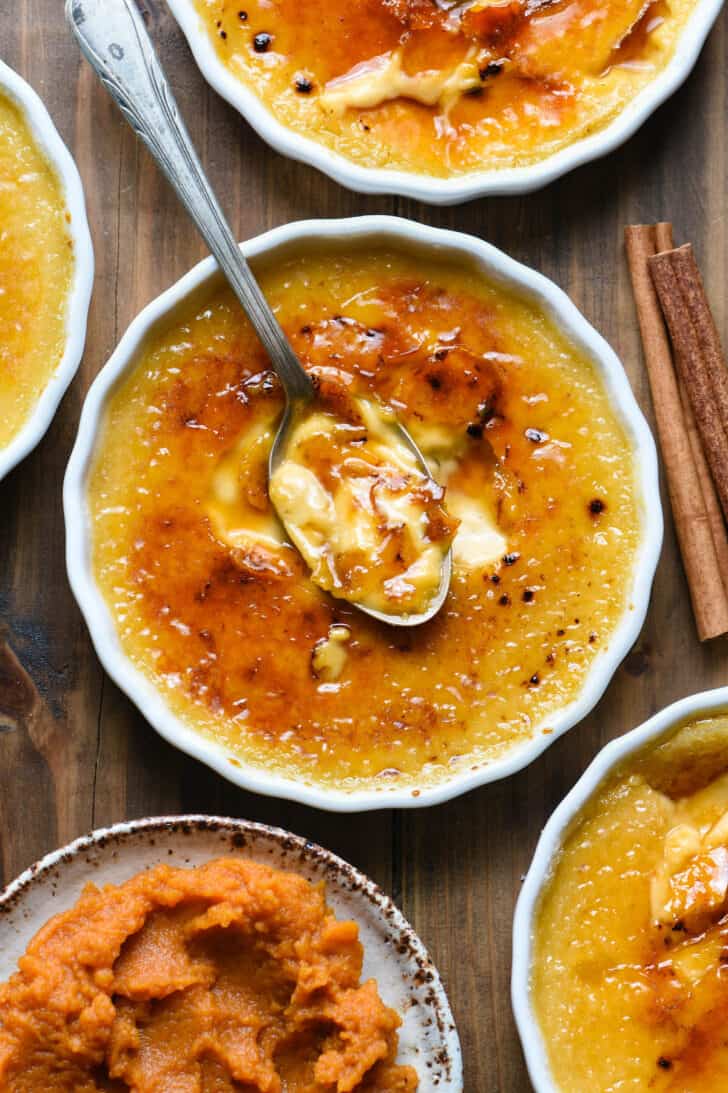
In the photos you see in this post, I’m using wide and shallow ramekins, and my custard took about 33 minutes to bake until it was just set (the middles still trembled slightly, while the custard was set on the outer edges).
If you use narrow and deep ramekins, start at 35 minutes and continue baking, checking every 5 minutes until your custard is just set. It could take up to an hour.
Can I make creme brulee without a torch?
Absolutely! If you don’t have a blowtorch and don’t want to keep one around the house (I don’t really blame you), you can still make pumpkin creme brulee (or grapefruit creme brulee or any flavor at all).
After the custard bakes and chills, instead of browning the sugar on top with a blowtorch, you’ll be using the broiler on your oven. It’s a little bit trickier, but I know you can do it.
Place the top oven rack as close as you can get it to the broiler element, and set the broiler to low. Place the pumpkin spice creme brulee ramekins, with sugar sprinkled on top, on a pan and slide the pan beneath the broiler.
Watch very carefully and rotate and move the ramekins around (using tongs or pot holders) until the sugar is evenly browned but not burned. And that’s it! It’s easy enough to make creme brulee without a torch, right?
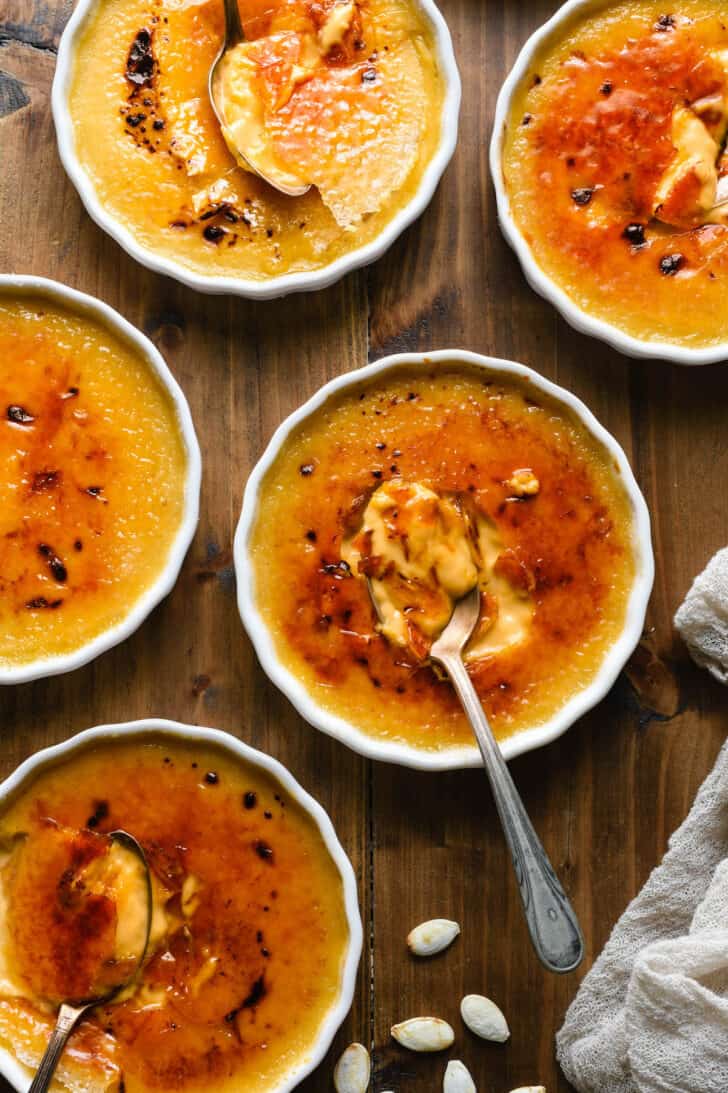
Storing Pumpkin Brulee
Yes, creme brulee is able to be frozen!
To freeze, complete the recipe through Step 5, but instead of transferring to the refrigerator, wrap and transfer to the freezer instead. It’s best if you put the wrapped ramekins in a freezer bag, as well.
The custards should keep about 3 months in the freezer.
When ready to serve, thaw in the refrigerator for about 4 to 6 hours, and then sprinkle the tops of the pumpkin spice creme brulee with sugar and torch just before serving.
If you love freezer friendly recipes like this pumpkin creme brulee recipe, be sure to check out my egg muffins recipe and Greek lasagna.
More Foxes Love Lemons Favorites
Pumpkin Creme Brulee Recipe
Ingredients
For the Custard:
- 2 ¼ cups heavy cream
- 3 tablespoons light brown sugar
- ¼ teaspoon ground cinnamon
- ⅛ teaspoon ground nutmeg
- Pinch ground cloves
- Pinch ground ginger
- 6 large egg yolks
- 4 ½ tablespoons granulated sugar
- ½ teaspoon vanilla extract
- Pinch kosher salt
- 6 tablespoons canned pumpkin puree
For the Topping:
- 6 tablespoons granulated sugar
Instructions
- Preheat oven to 300 degrees F; heat large kettle of water to boiling. Place six 6-ounce ramekins (see Home Chef Tip below) in roasting pan.
- In small saucepan, heat cream, brown sugar, cinnamon, nutmeg, cloves and ginger over medium heat 6 to 7 minutes until cream just starts to bubble around edges of pan (do not bring to a full boil).
- Meanwhile, in large bowl, whisk egg yolks, granulated sugar, vanilla and salt until well combined. While whisking, use ladle to slowly add 3 ladlefuls of hot cream mixture to egg mixture. Gradually whisk in remaining cream mixture. Add pumpkin puree and whisk until smooth. Strain through fine mesh strainer into large liquid measuring cup.
- Divide custard mixture between ramekins; place roasting pan in oven. Add enough boiling water to come halfway up sides of the ramekins. Bake 30 to 35 minutes or until custards are just set (they should tremble slightly in the middle, but be set on outer edges).
- Use tongs or pancake turner to carefully transfer ramekins to cooling rack; let stand 30 minutes. Cover with plastic wrap and chill at least 4 hours or up to 2 days before serving.
- To serve, sprinkle 1 tablespoon granulated sugar over each custard. Using blowtorch, caramelize top of each custard until sugar bubbles and turns brown (this can also be done under a broiler). Serve immediately.
Notes
- Home Chef Tip: If your ramekins are wide and shallow, your custard may bake a little faster. If your ramekins are narrow and deep, you will likely need to bake your custard longer.
- In the photos you see in this post, I’m using wide and shallow ramekins, and my custard took about 33 minutes to bake until it was just set.
- If you use narrow and deep ramekins, start at 35 minutes and continue baking, checking every 5 minutes until your custard is just set. It could take up to an hour.


OMG! This Pumpkin spin on Creme Brûlée is Awesome! The instructions are so great even a beginner cook could pull off with a smile! I would have never thought I could make a Creme Brûlée but I did and this one is a definite keeper! I didn’t change a thing. And thanks for all the tips!
I absolutely love this review, Marilyn! I’m so glad this pumpkin creme brulee was achievable and delicious!
What an awesome recipe. I love the flavors of a pumpkin pie and this does not disappoint. Really tasty. Well done.