Creamy Stovetop Mac and Cheese
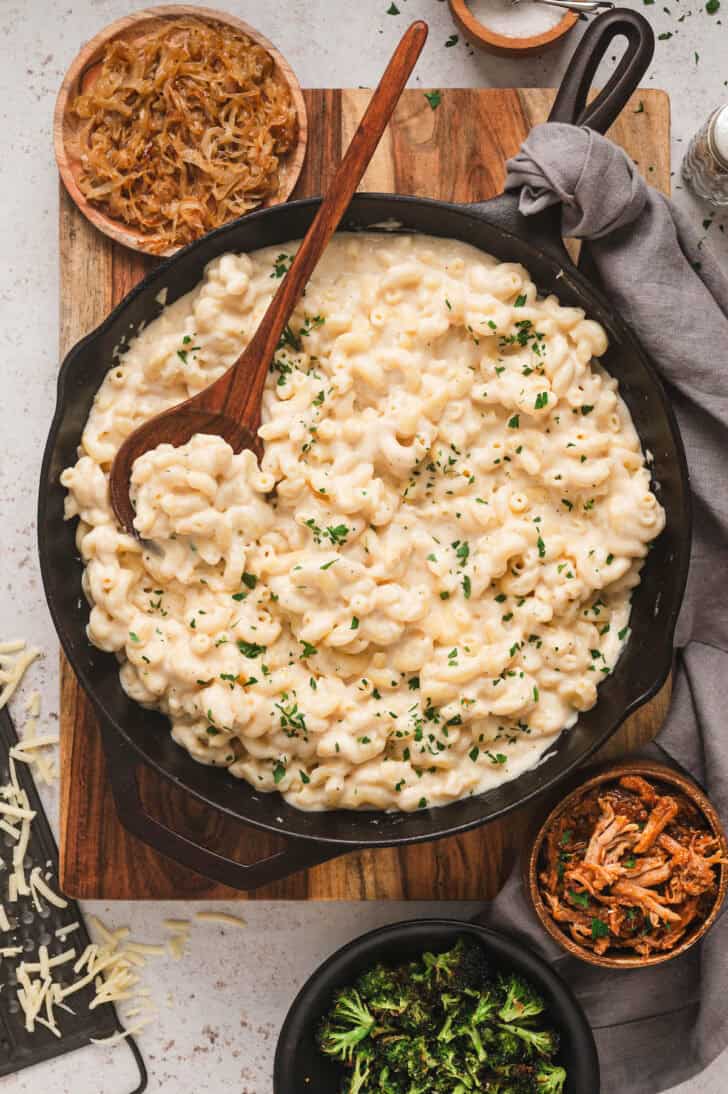
Learn to make Stovetop Mac and Cheese the way it’s taught in culinary school: perfectly seasoned cheese sauce and noodles that are never mushy or gummy. Add a mix-in or not; this 30 minute recipe rivals anything from a restaurant, and especially anything from a box.
Save This Recipe!
“Delicious! So easy to make!”
—Amy
This Skillet Mac and Cheese Will Be a New Go-To
Real talk time: this skillet mac and cheese is NOT one where you cook the noodles in the same pot as the sauce.
I know, I know, more dishes. But no matter how many times somebody in the food world tries to convince me that these one skillet pasta dishes are just fine, I don’t agree. I’ve tested a ton of them, and in my opinion, all of the starch from the pasta leaches out into the sauce and makes the end result gummy, pasty, and . . . bad.
Using a separate pot to boil the pasta adds BARELY any dishes (I mean, how hard is it to give a quick rinse to a pot that only had pasta and water in it?), but is WELL worth it in terms of the final product’s flavor and consistency.
It’s worth it because this stovetop mac and cheese recipe still comes together quite quickly, and the sharp, cheesy sauce and creamy, dreamy texture will rival anything from a restaurant, and especially anything from a box.
Why You’ll Love Creamy Stovetop Mac and Cheese
- Ready in under 30 minutes, so it’s perfect for weeknights.
- It’s kid-friendly and crowd-pleasing. Everyone from picky eaters to dinner guests will love it.
- The post below has ideas for mix-ins like pulled pork, caramelized onions, and broccoli, if you want to jazz things up!
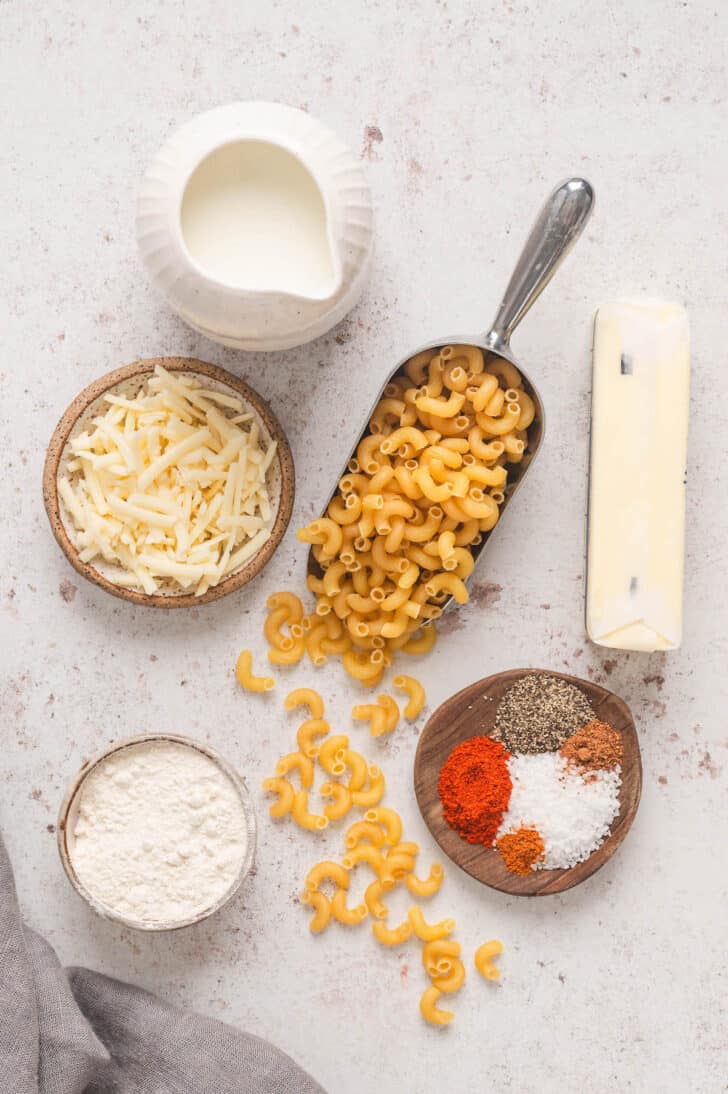
Homemade Mac and Cheese Stovetop Ingredients
- noodles – I love elbow macaroni for stovetop mac and cheese, but you can use just about any short shape of pasta you like. Small shells, penne and cavatappi are some other good choices.
- butter – this is 1/2 of the roux that will thicken the cheese sauce for this skillet mac and cheese.
- flour – the other 1/2 of the roux!
- whole milk – whole milk makes the very best, creamiest mac and cheese. You can use a lower fat milk, but the result won’t be as decadent and creamy.
- salt and pepper – I wouldn’t dream of making creamy stovetop mac and cheese without salt and pepper!
- paprika, cayenne and nutmeg – the instructors in culinary school taught me that these spices make the best mac and cheese, and I’ve done it this way ever since!
- sharp white cheddar cheese – gives the sauce its tangy, bold flavor. You can use regular yellow cheddar, of course, but try to keep it sharp cheddar cheese for the best flavor. Fontina cheese is also great here.
How to Make Homemade Stovetop Mac and Cheese
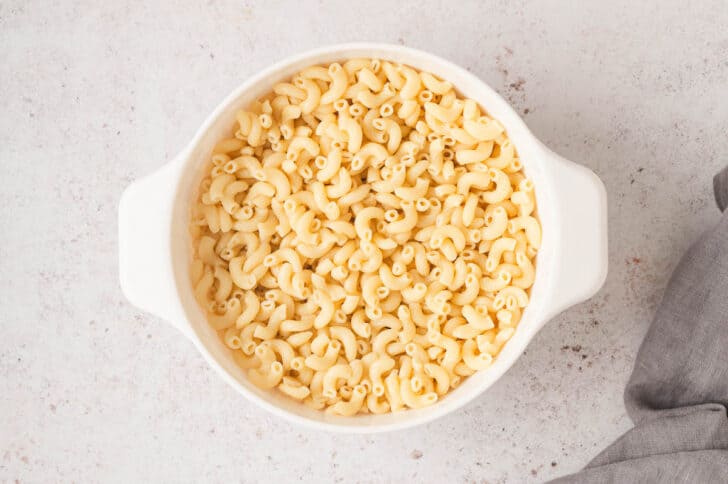
1. NOODLES. Bring a large pot of salted water to a boil and cook the noodles according to package instructions for al dente. Drain well.
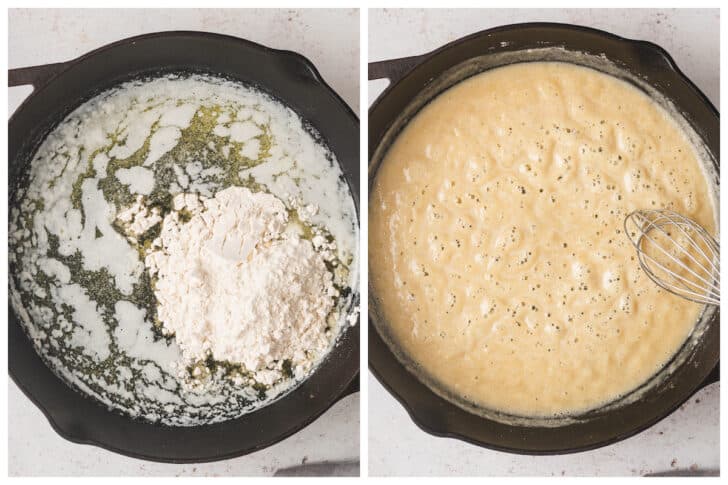
2. ROUX. While the water is coming to a boil and the noodles are cooking, melt the butter in a large high-sided skillet. Add the flour and cook 1 minute, whisking constantly.
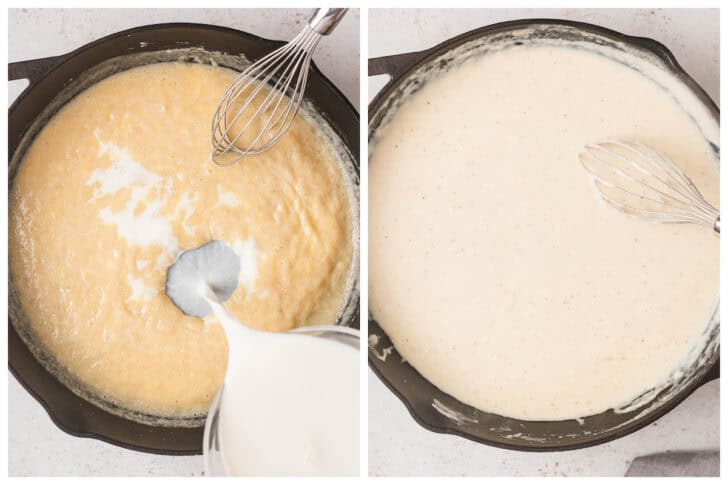
3. MILK. While whisking, add the milk in a steady stream. Add the salt, pepper, paprika, cayenne and nutmeg and cook until thickened, whisking frequently (mixture needs to come to a low boil to thicken).
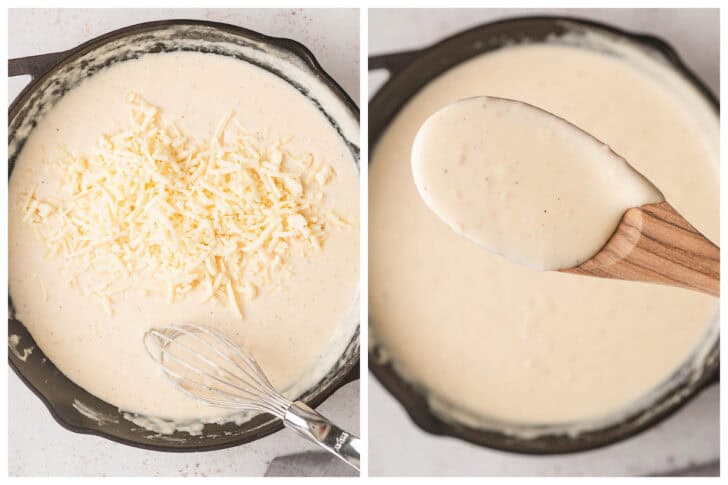
4. CHEESE. Reduce the heat and add the cheese. Cook until the cheese is melted, stirring constantly.

5. COMBINE. Add the cooked pasta and cook over medium heat until thickened, stirring frequently. At this point, you would add any mix-ins (more on this below)!

Stovetop Mac and Cheese Variations
This homemade stovetop mac and cheese recipe is going to be amazing exactly as it is, right out of the skillet. BUT, if you want to add a little something extra, I have some tried (and tested!) ideas.
Add Broccoli
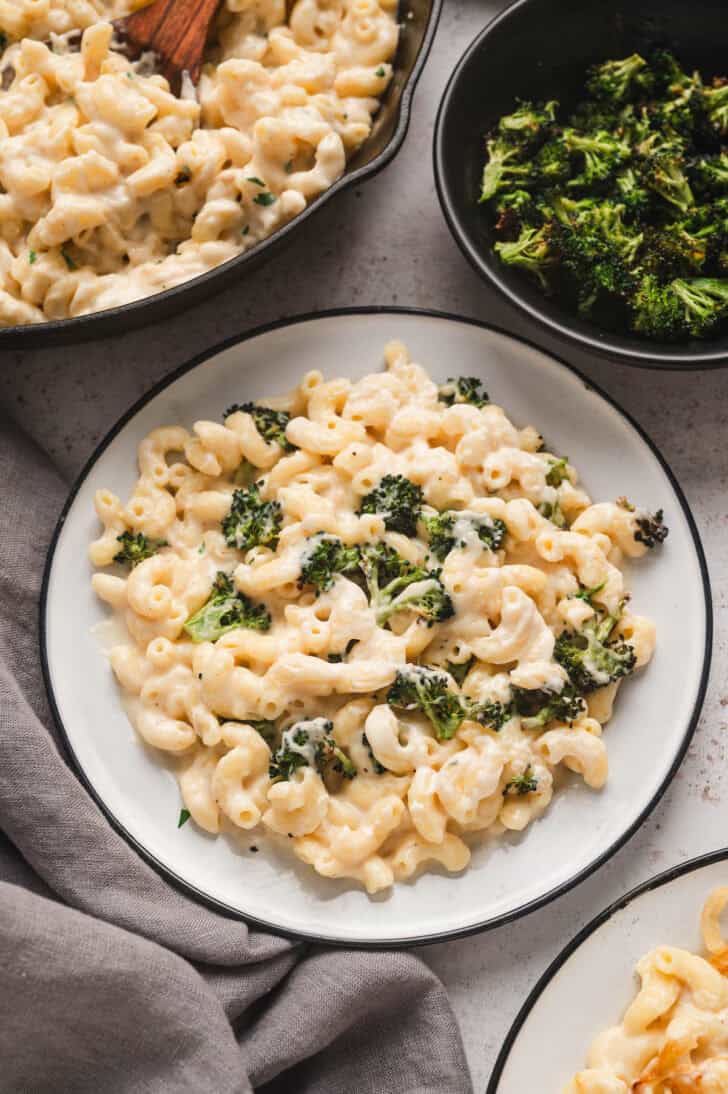
Boost the nutrition and fiber by stirring in some finely chopped broccoli. It needs to be cooked first. My preferred method is roasting, as I think it is the most flavorful. Stir the roasted broccoli into the mac and cheese just before serving, or put it right on top.
Another way to cook the broccoli would be to add it to the pasta cooking water during the last 1 to 2 minutes of the pasta cooking time, then drain the broccoli along with the noodles. If you do it this way, you’ll be adding the broccoli to the mac and cheese a little bit earlier than if you had cooked it separately, but it’ll be OK!
Other options like this: peas, cauliflower or sauteed spinach.
Make it Hearty with Pulled Pork
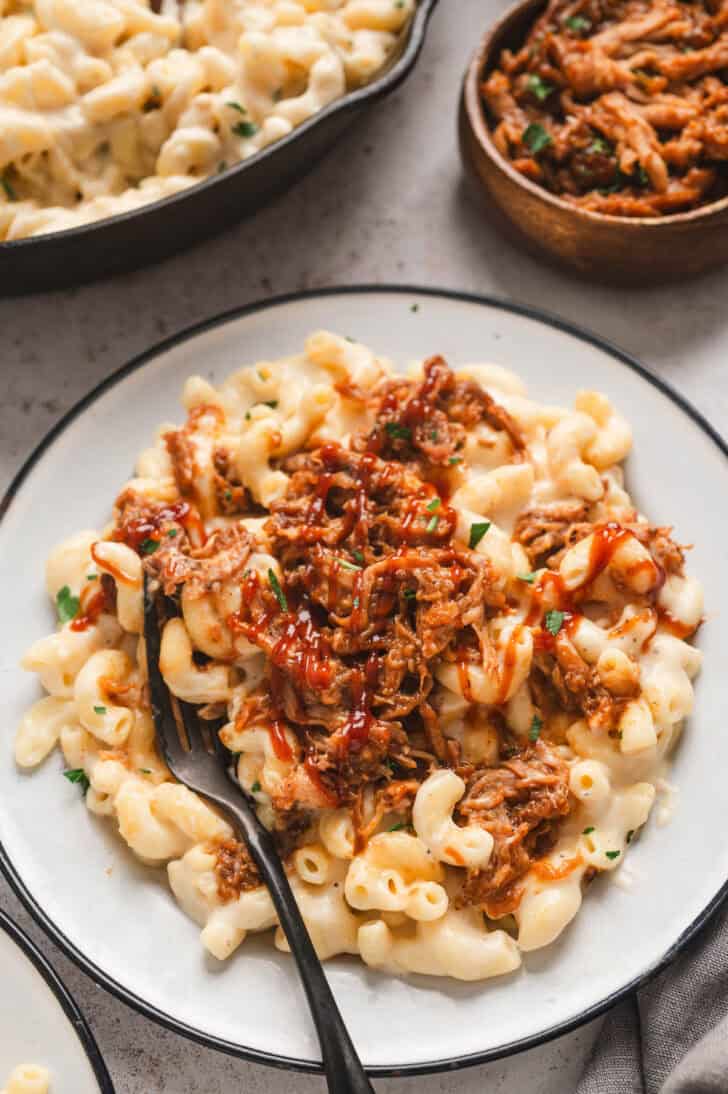
For a BBQ-inspired mac and cheese, fold in some prepared pulled pork. I used a store-bought package of Niman Ranch pulled pork. There are varieties with and without barbecue sauce, but I chose the saucy one.
You’ll warm the pulled pork up according to its package directions, then stir it in with the skillet mac and cheese, or just put it right on top of each serving.
Other options like this: crumbled oven bacon, bacon in air fryer, pulled rotisserie chicken or cubed ham.

Add a Savory Addition with Caramelized Onions
Inspired by the amazing caramelized onion macaroni and cheese at a local diner, I made a version where you’ll stir in sweet, rich caramelized onions for lots of savory depth of flavor.
The onions take about 45 minutes to 1 hour to caramelize properly on the stove (anyone who tells you it can be done faster isn’t telling the truth), so you’ll want to start these first, or even make the caramelized onions a day in advance and keep them in the fridge. Warm them up briefly in the microwave, then stir them into the mac and cheese before serving, or put it on top of each serving.
Home Chef Tips
- Stirring the roux and the sauce with a whisk instead of a spoon or spatula ensures that the roux is fully incorporated and prevents lumps.
- Different brands of cheese can vary in saltiness, so taste and adjust the sauce as needed before serving.
Why is My Stovetop Mac and Cheese Gritty?
The biggest reason why mac and cheese can become gritty is due to the cheese overheating and separating. To prevent this, always add the cheese over LOW heat.
Also, avoid using pre-shredded cheese, as the anti-caking agents in it can also cause a grainy texture.

Storing Leftover Skillet Mac and Cheese
If you have leftovers, transfer them to an airtight container and place them in the fridge uncovered for a few hours until they are fully chilled, then cover them with the lid and keep in the refrigerator up to 4 days.
How to Reheat
I’ve found that best way to reheat homemade stovetop mac and cheese is with moderate heat with minimal stirring. Stirring just makes the starches release more and makes everything gummy, and high heat makes the sauce break.
The easiest way to do this is in the microwave at 50% power, stirring every 2 minutes, until it is warmed through. Add a splash of milk before reheating to loosen the sauce.
You can also pop it into a small baking dish and bake it at 350 degrees until warmed through, no stirring necessary.

More Foxes Love Lemons Favorites

Homemade Stovetop Mac and Cheese
Save This Recipe!
Ingredients
- 1 pound elbow noodles
- 1 stick unsalted butter (8 tablespoons)
- 6 tablespoons all-purpose flour
- 4 cups whole milk
- 1 teaspoon kosher salt
- ½ teaspoon ground black pepper
- ¼ teaspoon paprika
- Pinch cayenne
- Pinch nutmeg
- 12 ounces sharp white cheddar cheese shredded
Instructions
- Bring large pot of salted water to boil and cook noodles according to package instructions for al dente. Drain well.
- Meanwhile, melt butter in large high-sided skillet over medium heat. Add flour and cook 1 minute, whisking constantly.
- While whisking, add milk in steady stream. Add salt, pepper, paprika, cayenne and nutmeg and cook 5 to 6 minutes or until thickened, whisking frequently (mixture needs to come to a low boil to thicken).
- Reduce heat to low and add cheese. Cook 1 to 2 minutes or until cheese is melted, stirring constantly.
- Add cooked pasta to cheese sauce and cook over medium heat 3 to 4 minutes or until thickened, stirring frequently.
- Stir in any desired Mix-Ins (see Notes) and serve immediately.


Hello, Lori! I love stove top mac and cheese! I haven’t tried nutmeg in mine yet, but I do put in some paprika and cayenne – and I also add in some dry mustard. It’s just not the same without it. Thanks for all your wonderful, tasty recipes.
It’s my pleasure, Margaret. Thank you for stopping by! I like dry mustard in my mac and cheese sometimes, too. I don’t know why I didn’t do it this time, but I did add it to my Pimento Mac and Cheese!
I cannot wait to try this , I have to have applesauce with my home made mac and cheese and I love bacon, so I know this will be a hit ! I have just subscribed to you page today !
Terri
Cisco, Texas
Oh good, it sounds like this will be right up your alley! Thanks for stopping by, Terri <3
Lori, I love it that you are heading in the same direction I’ve been going more and more for the last few years: simple and easy. One doesn’t have to have a young child to want that. I am long retired, and just don’t have the energy to do complicated cooking all the time. I can do maybe one fancy meal per week, and that’s it. Us old folks can get busy, too. My husband had hip replacement surgery 5 weeks ago, so for a while I was doing everything around here. It’s gradually getting better, and I’m looking forward to when he gets back to sharing the cooking duties. By the way, he is doing very well in his recovery.
Hi Susan! I hear you and I will definitely keep this in mind for future recipes. You’re right – almost everybody loves easy meals. I’m so glad to hear your husband is recovering well. My mom had both hips replaced (one at a time) a few years back now. She’s glad she did it!