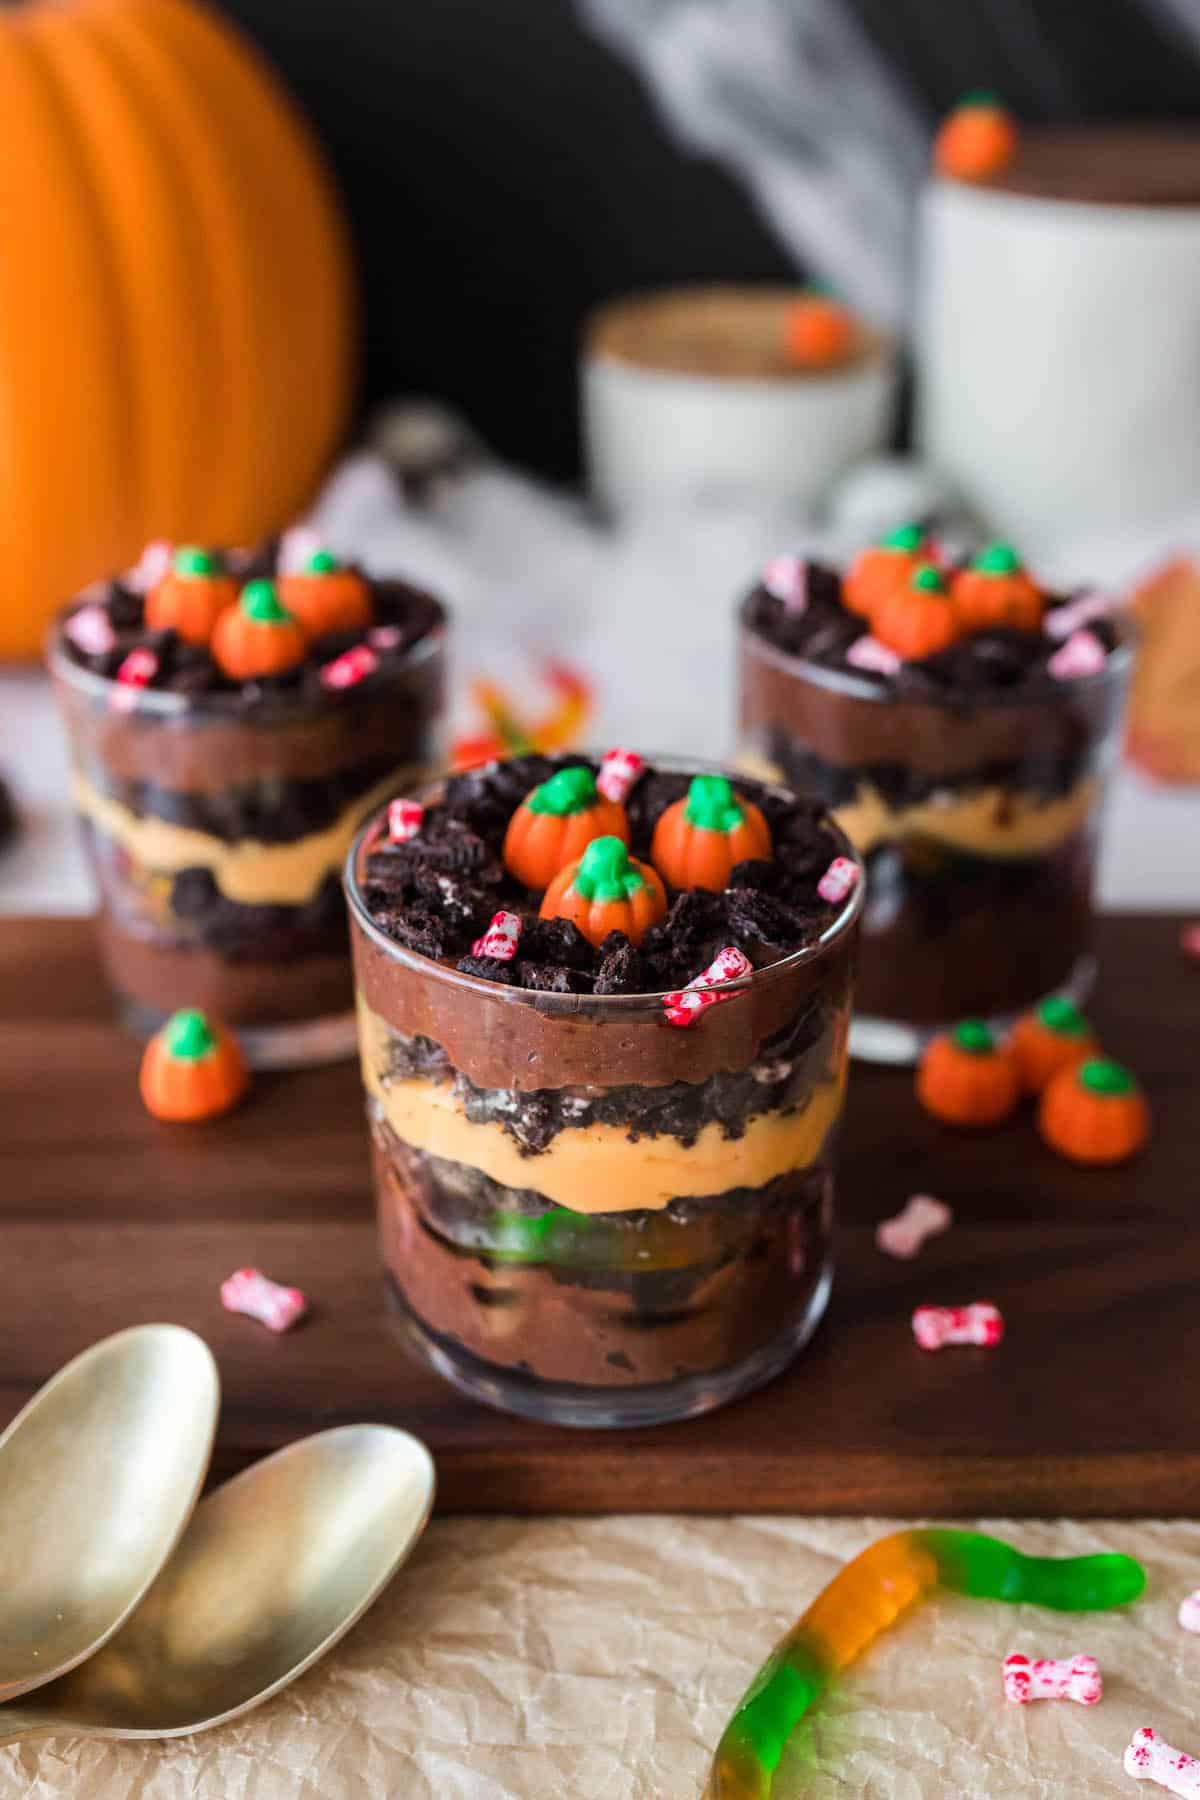
Halloween Dirt Cups
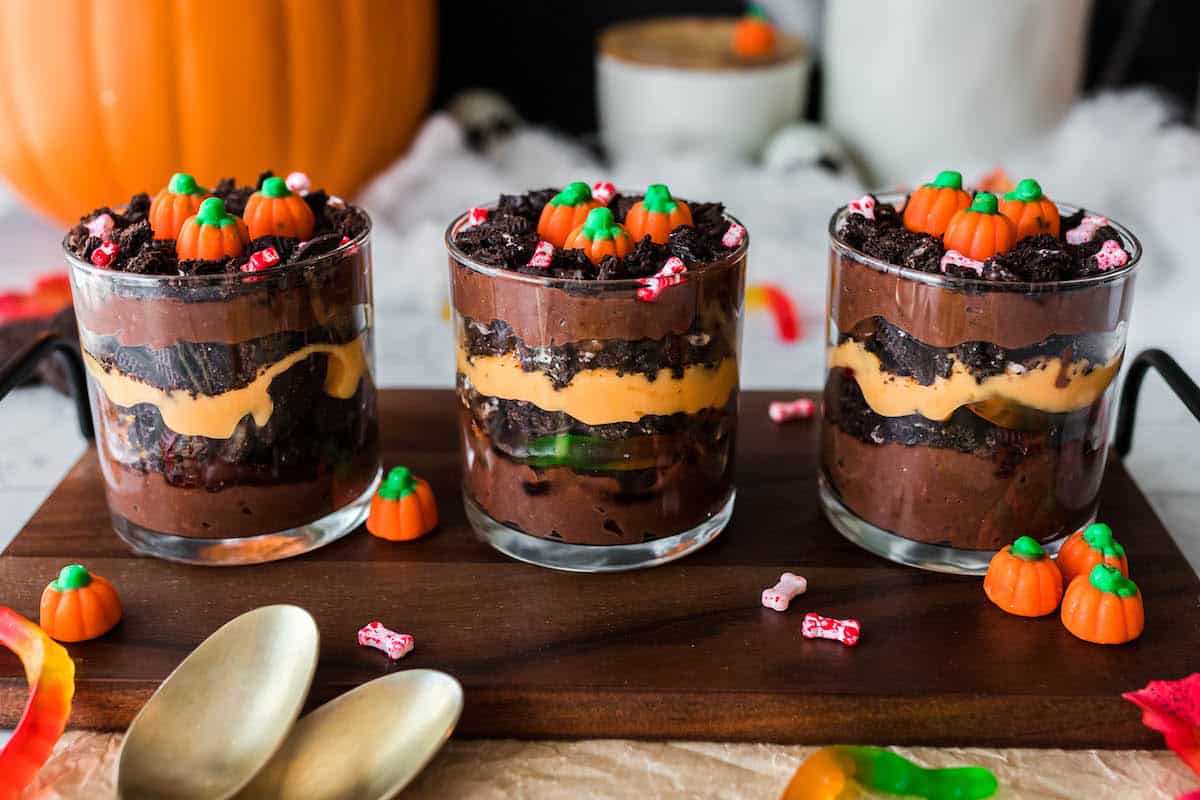
No-bake, make-ahead Halloween Dirt Cups are a creepy dessert that kids and adults alike will love. This super simple treat is layered with pudding, cookies and candy.
Save This Recipe!
Spooky-Sweet Fun: Halloween Dirt Cups Are The Make-Ahead Treat You Need This Year
You all know that we are Halloween fanatics. Our Halloween recipes are one of our favorite parts of the year, and we’re thrilled to see so many of you making and sharing these! We think you and your family will love this easy and delicious recipe for Halloween dirt pudding.
It’s a quick, delicious dessert for a classroom party, or something fun to serve before trick-or-treating. There’s no baking, no fancy decorating, and everything can be made ahead. Basically, these cups are the dessert MVP of spooky season.
Why You’ll Love This Recipe For Halloween Pudding Cups
- No bake and make-ahead!
- Can be made in disposable clear plastic cups to take to Halloween parties.
- Let your imagination run wild with the decorations. Keep it really cute or go super creepy.
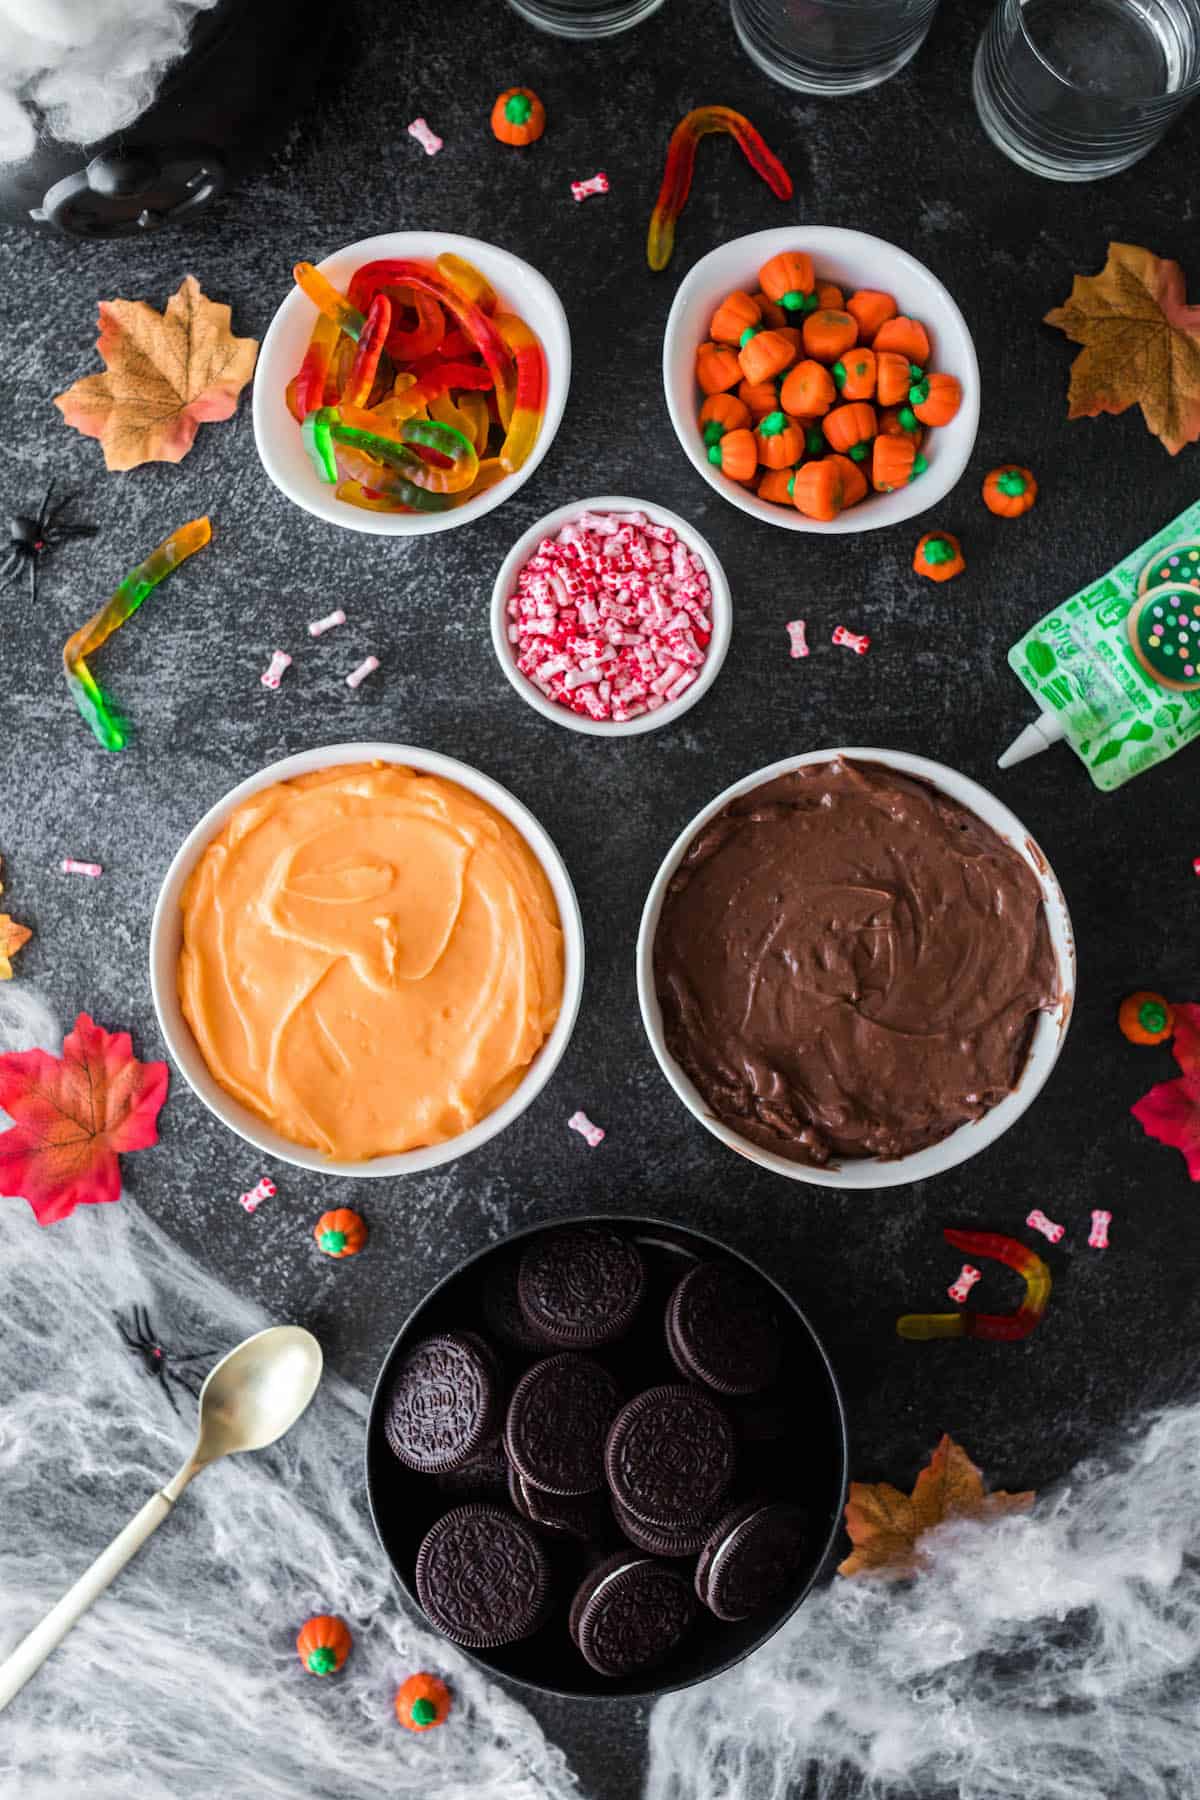
Halloween Dirt Cake Ingredients
A full recipe card, including exact ingredient amounts, appears at the bottom of this post. This section contains affiliate links.
- vanilla pudding – this will be turned into the orange layer for the Halloween pudding cups.
- chocolate pudding – this is the key “mud” ingredient in dirt pudding! We use a box mix for simplicity, but if you wanted to make homemade chocolate pudding, you certainly could!
- food coloring – you’ll need orange food coloring, or a combination of red and yellow colorings to turn the vanilla pudding orange (more on this below).
- Oreo cookies – classic Oreos are really best for these Halloween treats, but if you want to use a generic version, go right ahead. You’ll need about 24 cookies.
- gummy worms – it’s not dirt pudding without gummy worms lingering in the dirt! They’re essential for graveyard dirt cups.
- pumpkin candies – little pumpkin candies add that Halloween twist to this version of dirt pudding, and make each cup look like a little pumpkin patch.
- bone sprinkles (optional) – keep these fun treats for Halloween CUTE with just pumpkins, or add a spooky element to the Oreo dirt cups with bloody bone sprinkles.
How To Make Halloween Dirt Pudding
1. PREPARE PUDDING. Use milk to prepare and chill each box of pudding in a separate bowl until it is set. Use the orange food coloring to dye the vanilla pudding.
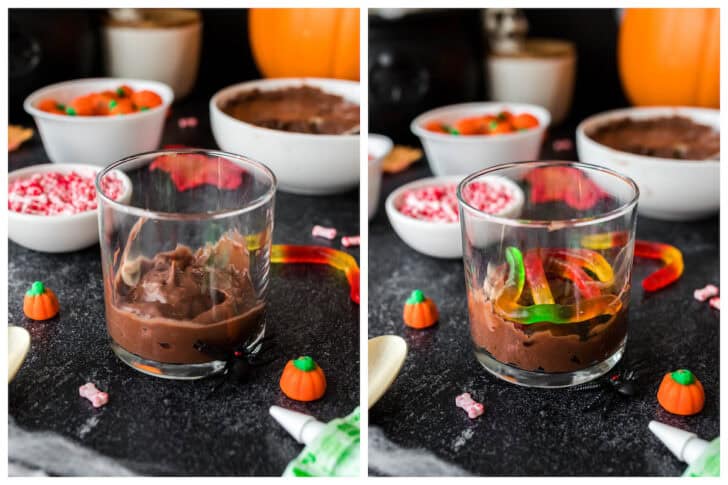
2. CHOCOLATE PUDDING & WORMS. Divide half of the chocolate pudding into the glasses and spread the pudding evenly in the bottom of each glass. Divide the gummy worms over the pudding.
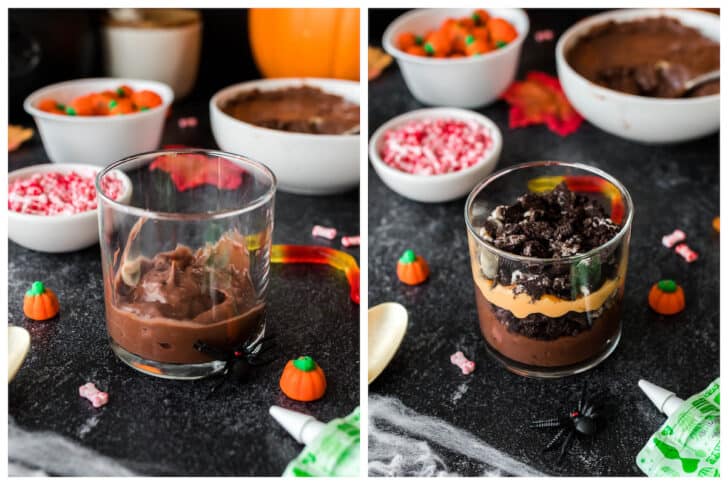
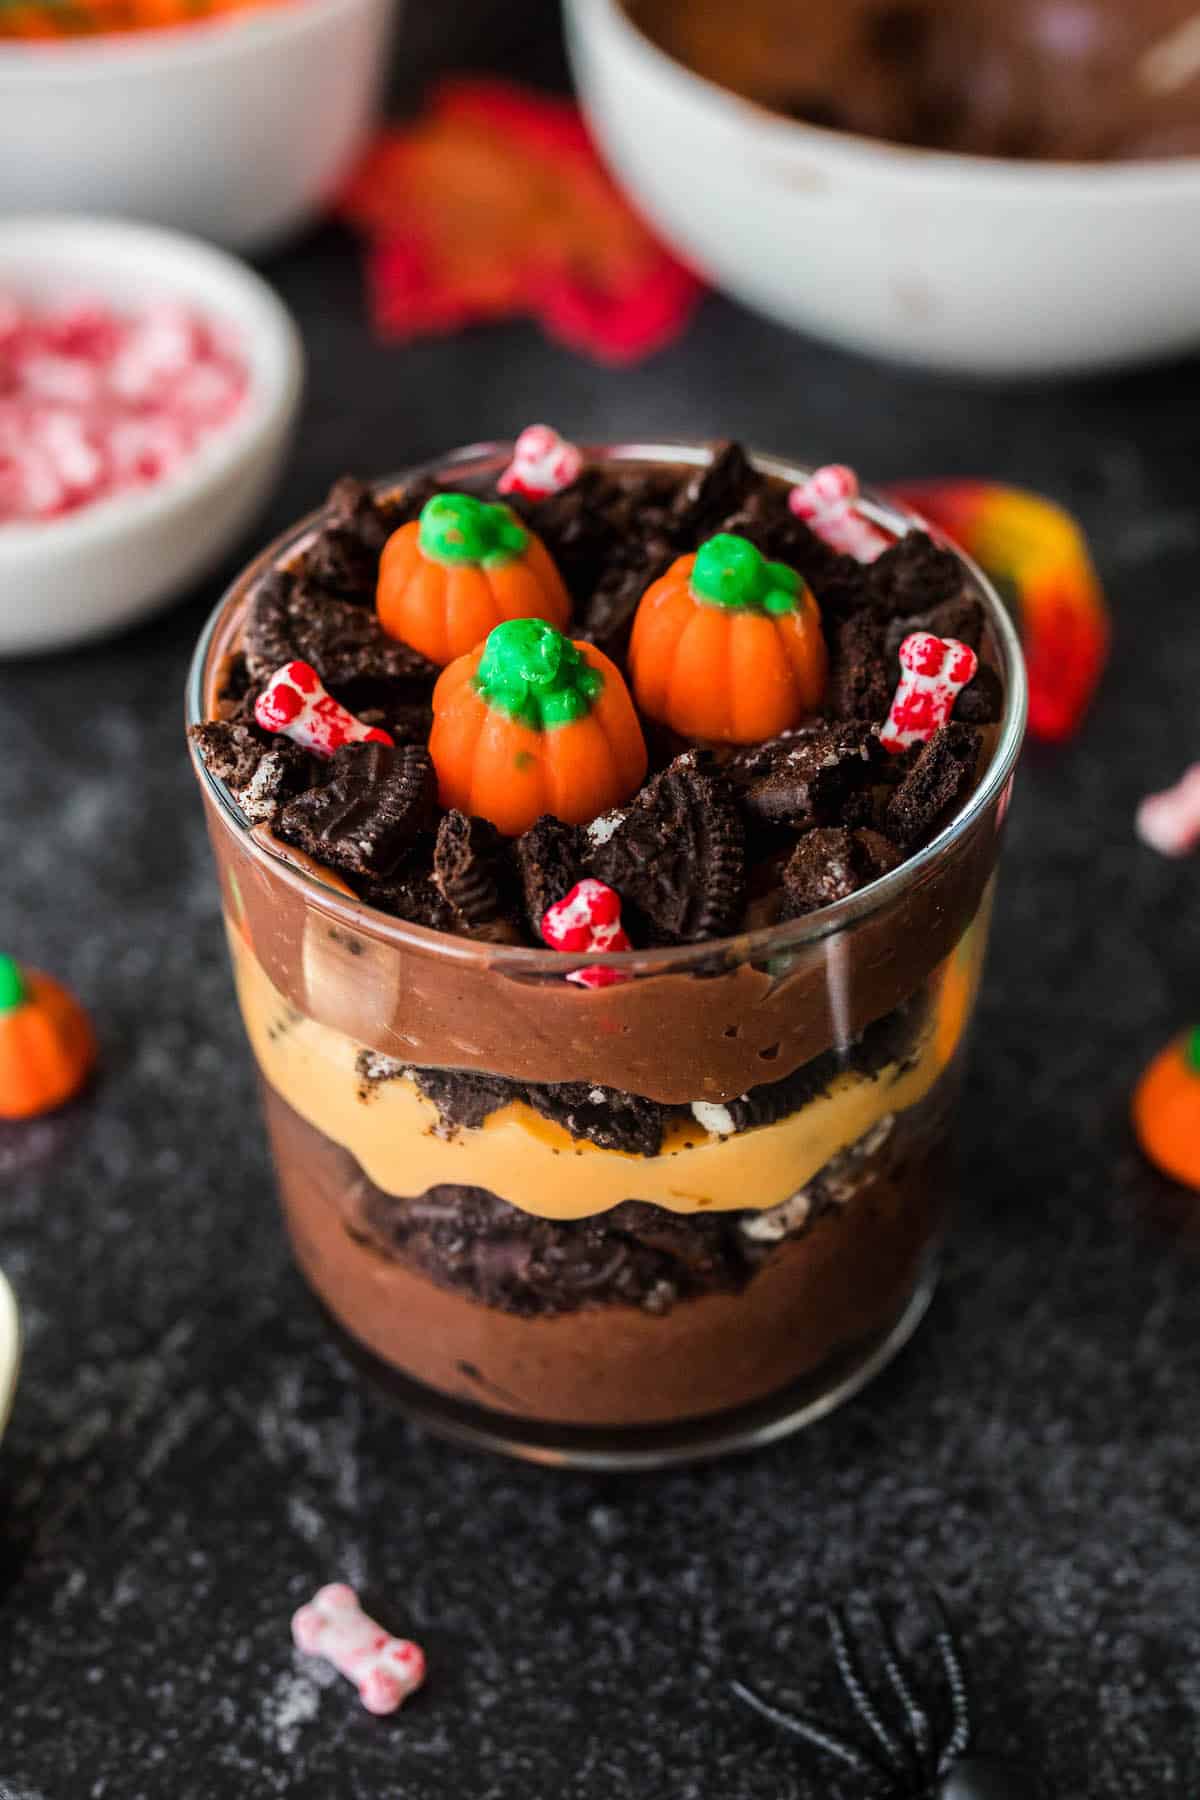
3. OREOS, ORANGE PUDDING, MORE OREOS. Sprinkle 1/3 of the Oreo crumbs over the worms. Divide half of the orange-colored vanilla pudding over the Oreos and spread evenly, then sprinkle another 1/3 of the Oreos over the orange pudding.

4. FINISH. Divide the remaining chocolate pudding over the Oreos and spread evenly. Sprinkle with remaining cookie crumbs, then decorate each cup with candy pumpkins and candy bones, if using.
Dirt Cups Halloween Home Chef Tips
- The easiest way to crush up the Oreo cookies is to put them in a gallon freezer bag and roll a rolling pin over them until they’re crushed. It doesn’t need to be a super fine crumb. You can also use a food processor, but this is just more dishes to wash.
- If you don’t have orange food coloring, you can add four drops of red food coloring + five drops of yellow food coloring to make orange. These drop guidelines are for traditional food coloring. If you use more concentrated gel food coloring, you will need less. Add a little bit of each color at a time and stir, then adjust as needed.
- Add a pinch of sea salt to the chocolate pudding for a more nuanced flavor.
- Stick some Milano cookies into the cups just before serving to look like tombstones (you could even pipe RIP on them with black decorating gel) and add some crunch.
Pro Tip: Make These Halloween Dirt Cups in Advance!
Halloween pudding cups can hang out in the fridge for up to 2 full days. After that, the cookies get a little TOO mushy, and it’s not as good.
Not only CAN Halloween dirt pudding be made in advance, but it SHOULD be made in advance! This makes it ideal for parties and gatherings.
Halloween dirt cups must chill in the fridge for at least two hours (wrap them tightly first). We think dirt pudding has the best flavor and texture after a full 24 hours of chilling. The Oreos get nice and soft and soaked with the pudding mixture, and are just so delicious.
Halloween Dirt Cake Storage
Store any leftovers in the fridge, tightly covered in plastic wrap, for up to 2 days. You may want to remove the pumpkin candies before storing, and replace them with new ones before serving again, as they could get a little dried out in the fridge.
Halloween Pudding Cups FAQ
Instant pudding typically takes 2 to 4 hours to set in the refrigerator. For best results, consider allowing it to set overnight for a firmer texture.
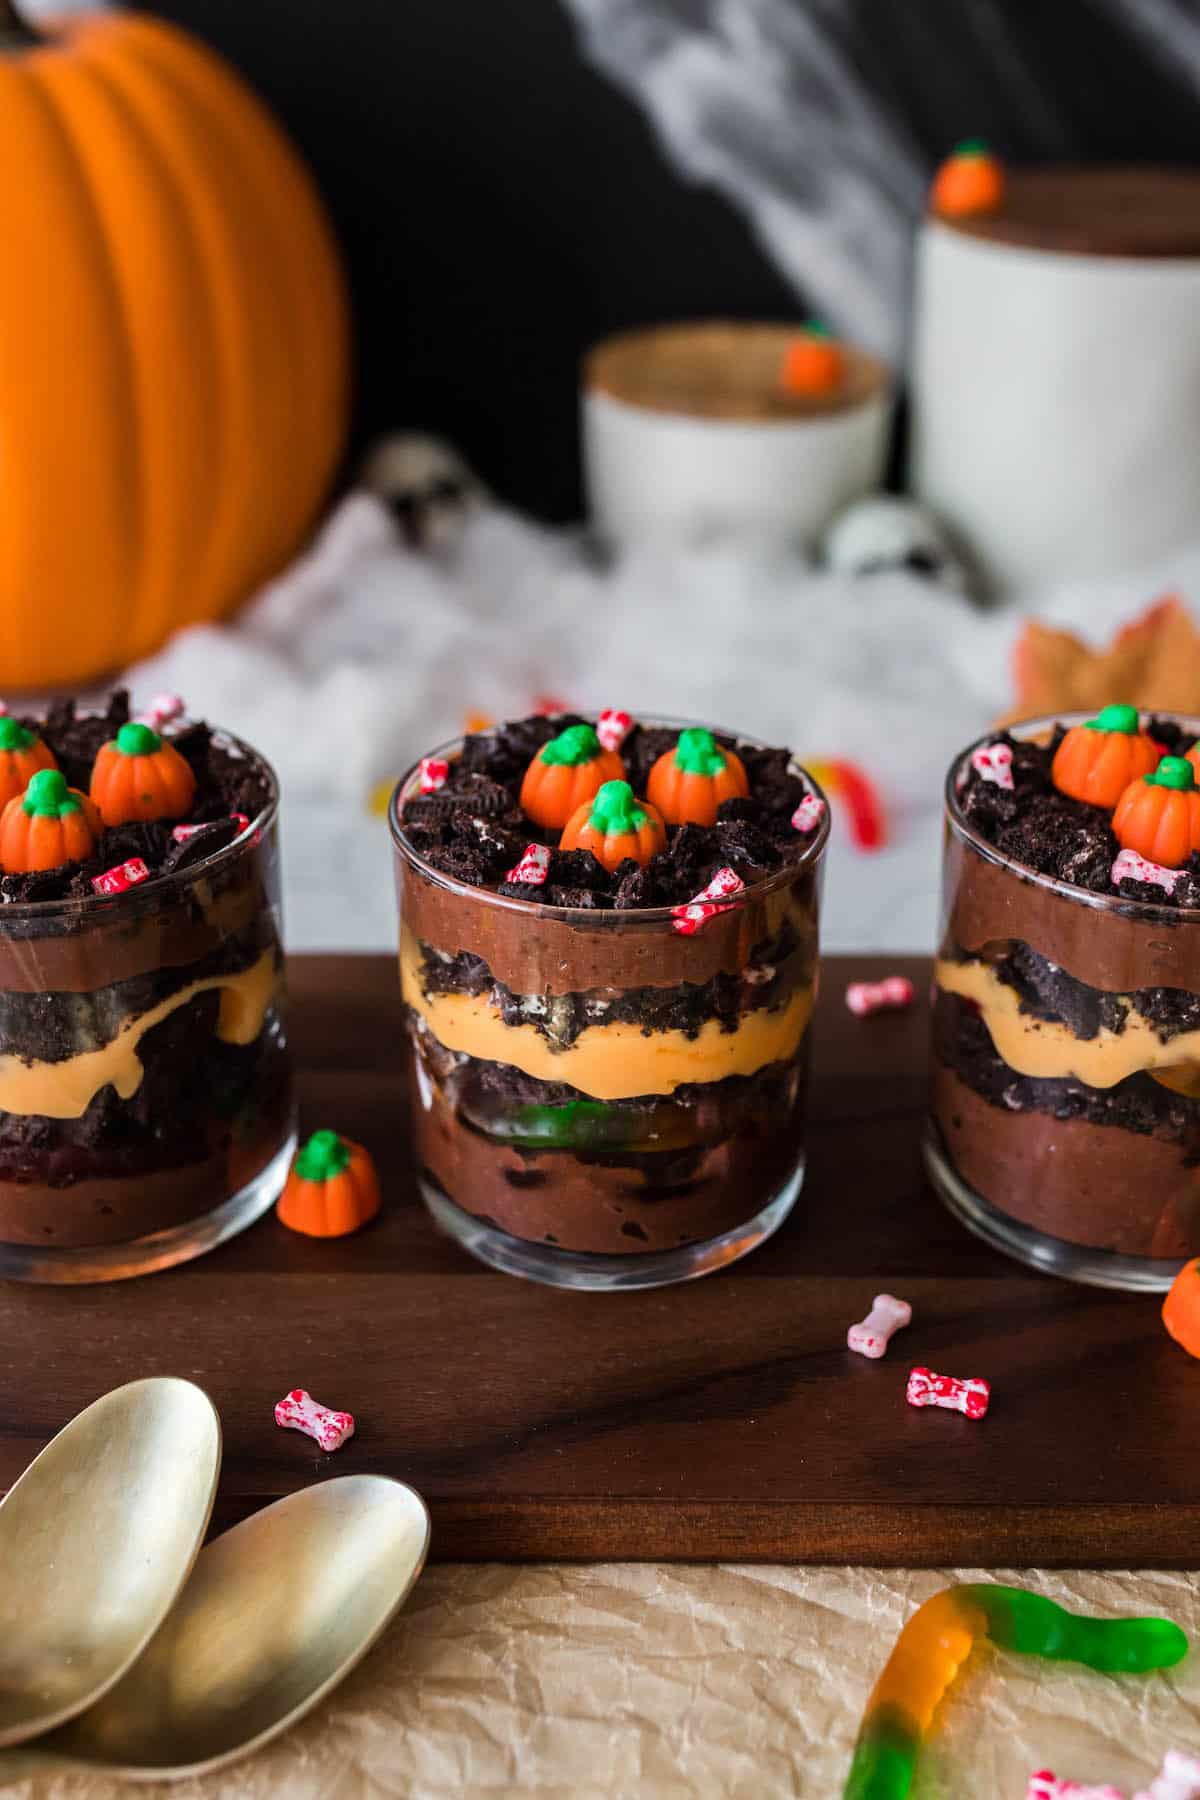
Using the entire prepared (3.4 ounce) box of chocolate pudding and about half of the prepared (3.4 ounce) box vanilla pudding, this recipe makes 8 Halloween dirt pudding cups using 10 ounce glasses (like a double old fashioned-size glass).
If you don’t have this exact size of glass, you could use bigger or smaller glasses, and just make a few more or a few less cups.
You will have about half of the vanilla pudding left over. If you don’t want leftovers, you could make a thicker middle layer of the orange pudding if there’s room in your glasses!
Most often, grainy pudding is a result of not dissolving the instant pudding mix properly. To ensure a smooth texture, make sure you whisk the pudding mix into the cold milk for a good two minutes, or however long it directs you to on the package. This allows the starches in the pudding mix to hydrate fully, which is what gives the pudding a velvety texture.
If your pudding isn’t setting correctly, it could be due to a few reasons. First, ensure you’ve used the correct ratio of milk to pudding mix.
Then, check the expiration date on the pudding mix. If it’s expired, it may not set properly.
Finally, make sure you allow enough time in the fridge. Most instant puddings take 2 to 4 hours to set, but overnight is even better for perfect firmness.
More Foxes Love Lemons Favorites

Halloween Dirt Cake Cups
Save This Recipe!
Ingredients
- 4 cups milk divided, for preparing puddings
- 1 box instant chocolate pudding mix 3.4 ounces
- 1 box instant vanilla pudding mix 3.4 ounces
- Orange food coloring see Notes
- 1 cup gummy worms
- 22 Oreo cookies crushed
- 24 pumpkin candies
- 2 tablespoons bone sprinkles optional
Instructions
- Use milk to prepare and chill each box of pudding in a separate bowl.
- Add a few drops of orange food coloring to vanilla pudding and stir. Gradually add additional drops as needed to achieve desired color.
- Divide half of chocolate pudding into glasses and carefully spread the pudding evenly into the bottom of each glass.
- Divide gummy worms over chocolate pudding. Sprinkle 1/3 of crushed Oreos over gummy worms.
- Divide half of orange-colored vanilla pudding over gummy worms and spread evenly. Reserve other half of orange pudding for another use.
- Sprinkle 1/3 of crushed Oreos over orange pudding.
- Divide remaining chocolate pudding over crushed Oreos and spread evenly. Sprinkle remaining Oreos over chocolate pudding.
- Place 3 candy pumpkins on top of each glass and decorate with bone sprinkles, if using.
- Wrap tightly and transfer to refrigerator to chill at least 2 hours, or up to 2 days before serving.
