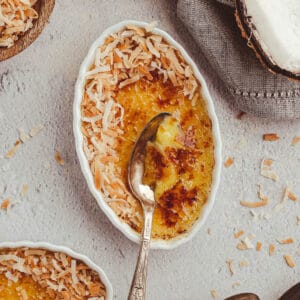
Coconut Creme Brulee
We’ve always believed dessert should feel like a little escape, and this Coconut Crème Brûlée feels just that. With the silky custard richness you love in a classic crème brûlée, but brightened by coconut, it’s a dessert that makes you pause and sigh (in a good way). This crème brûlée with coconut milk is one of our favorite tropical spins on a classic treat.

Save This Recipe!
“OMG! I was looking for a dessert to take to a friend’s house tonight. I tasted one of them right out of the oven and I think you are a genius! It is sooooo smooth and tropical-tasting. This is a keeper!”
—Marilyn
Coconut Crème Brûlée With A Tropical Twist
What really sets this dessert apart is its ability to feel both luxurious and relaxed, simultaneously. The coconut flavor isn’t overpowering. It’s soft, warm, and a little exotic. You still get that rich, spoon-coating custard, but there’s a hint of the tropics that makes it feel special. It’s a sweet way to mix up dessert night without having to reinvent the wheel.
And for something that looks so fancy, it’s surprisingly simple to pull off. No stand mixer. No complicated folding techniques. Just a little gentle heating, some patient stirring, and a bit of oven time. If you can whisk and pour, you can absolutely make this recipe happen.
Unlike the classic version, which relies solely on cream and vanilla, this version incorporates coconut milk for added depth and silkiness, resulting in a lighter feel. It’s a little twist on tradition that keeps things interesting. Plus, it plays well with all sorts of toppings and flavor pairings, from fresh fruit to tropical liqueurs.
Why You’ll Love This Recipe For Coconut Milk Creme Brulee
- It has the luscious texture you expect from crème brûlée, but with a gentle coconut flavor (never overpowering).
- Using full-fat canned coconut milk gives that creamy coconut backbone, but we still use a bit of heavy cream so the custard is stable and indulgent.
- The blowtorch caramelized top gives that delightful crack.
- It’s elegant enough for dinner parties, yet cozy enough for quiet nights at home.
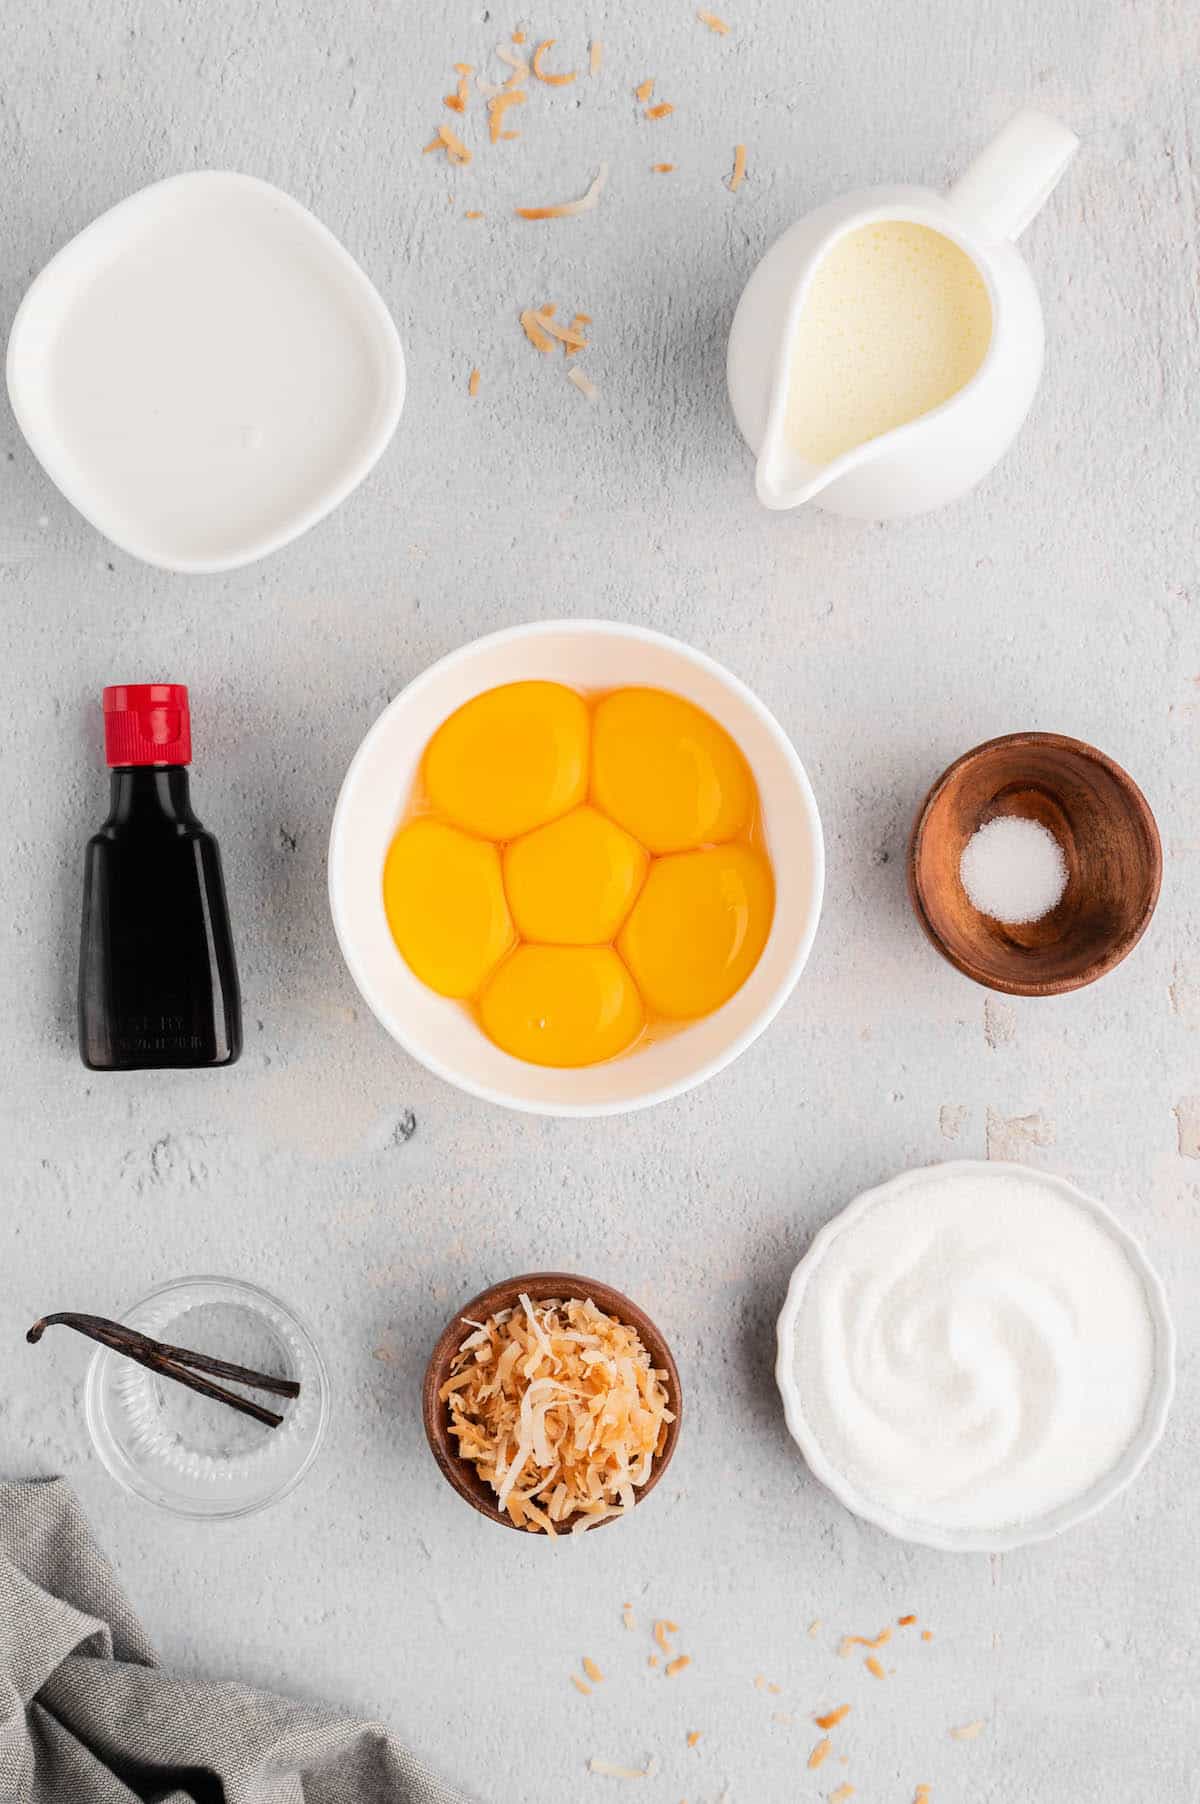
Coconut Crème Brûlée Ingredients
A full recipe card, including exact ingredient amounts, appears at the bottom of this post.
- coconut milk – you want the FULL FAT kind that is sold in cans, NOT the refrigerated coconut milk that’s sold with the other dairy alternatives in the dairy case.
- heavy cream – balances the coconut milk, for a rich, creamy texture that sets up beautifully.
- vanilla bean – split and scraped; this gives you those fancy little specks and deep vanilla flavor in this coconut cream creme brûlée. You can swap in vanilla extract if needed.
- coconut extract – optional, but recommended. It boosts the coconut flavor so it doesn’t get lost.
- egg yolks – for that classic crème brûlée custard base. They give richness and help it set just right.
- granulated sugar – for sweetening the coconut brulee custard. Regular white sugar is perfect here.
- kosher salt – just a pinch to balance all the sweet, creamy flavors.
- granulated sugar – this is the sugar you’ll sprinkle on top of the coconut brulee and caramelize. Make sure it’s evenly distributed for the best golden crust.
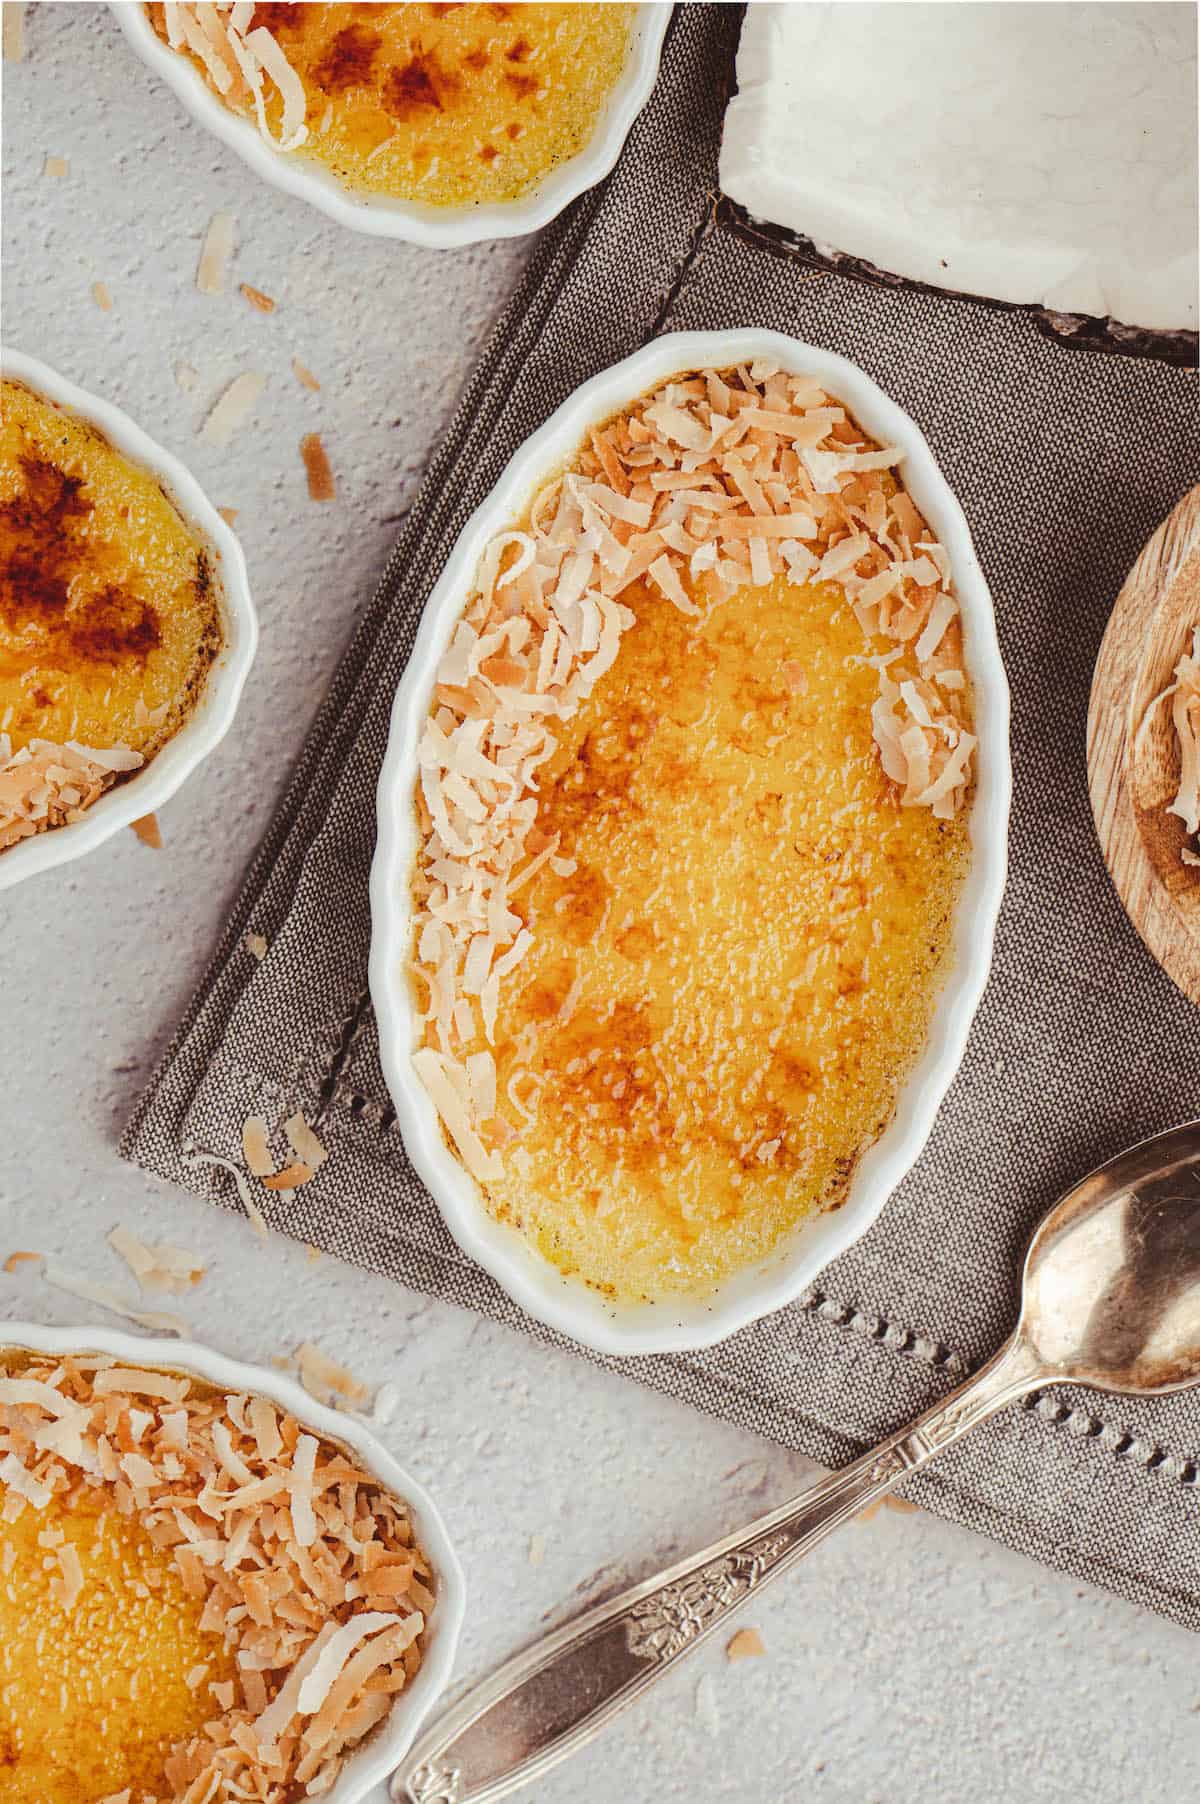
- toasted sweetened coconut flakes – totally optional, but they make a pretty and tasty garnish for a coconut-forward dessert.
How To Make Crème Brûlée With Coconut
- PREP. Preheat the oven, heat a large kettle of water to boiling, and place six 4- to 5-ounce ramekins in a roasting pan.
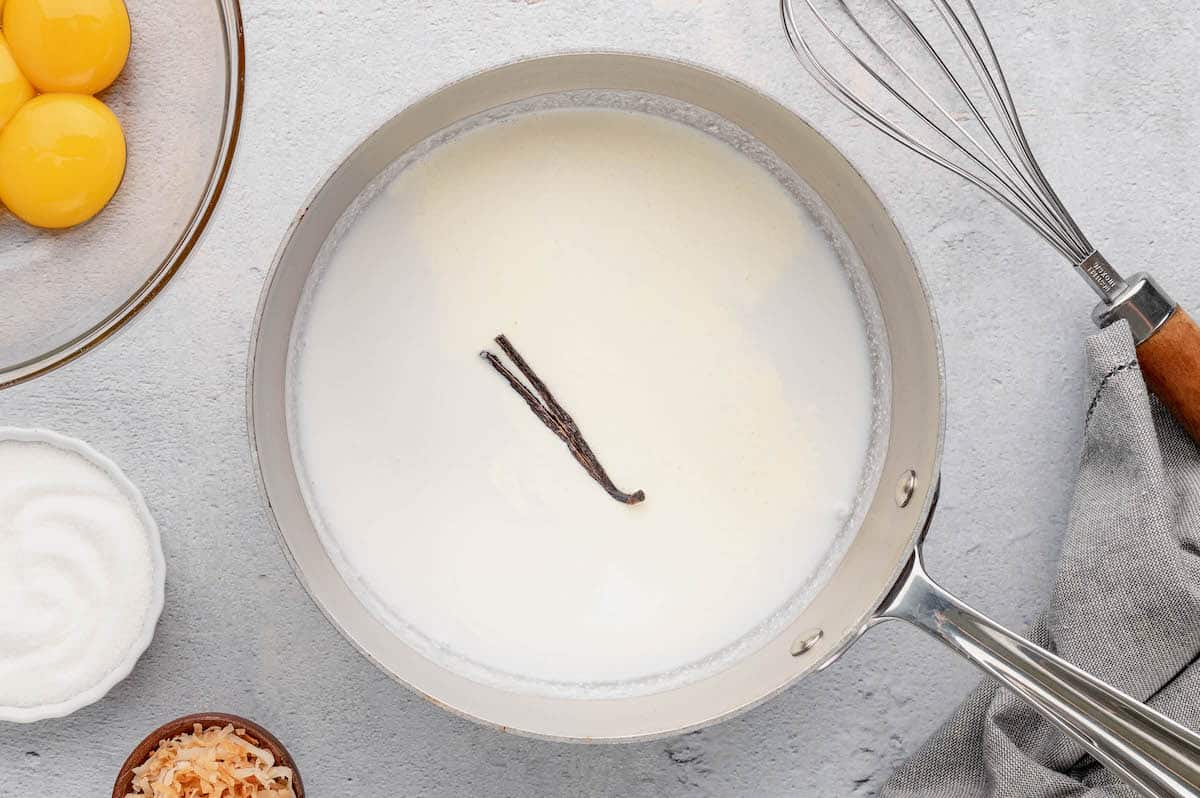
- WARM BASE. In a small saucepan, combine coconut milk, heavy cream, and the vanilla bean (both seeds and pod), and heat gently until bubbles form at the edges (don’t let it fully boil). Then stir in the coconut extract and remove from the heat.
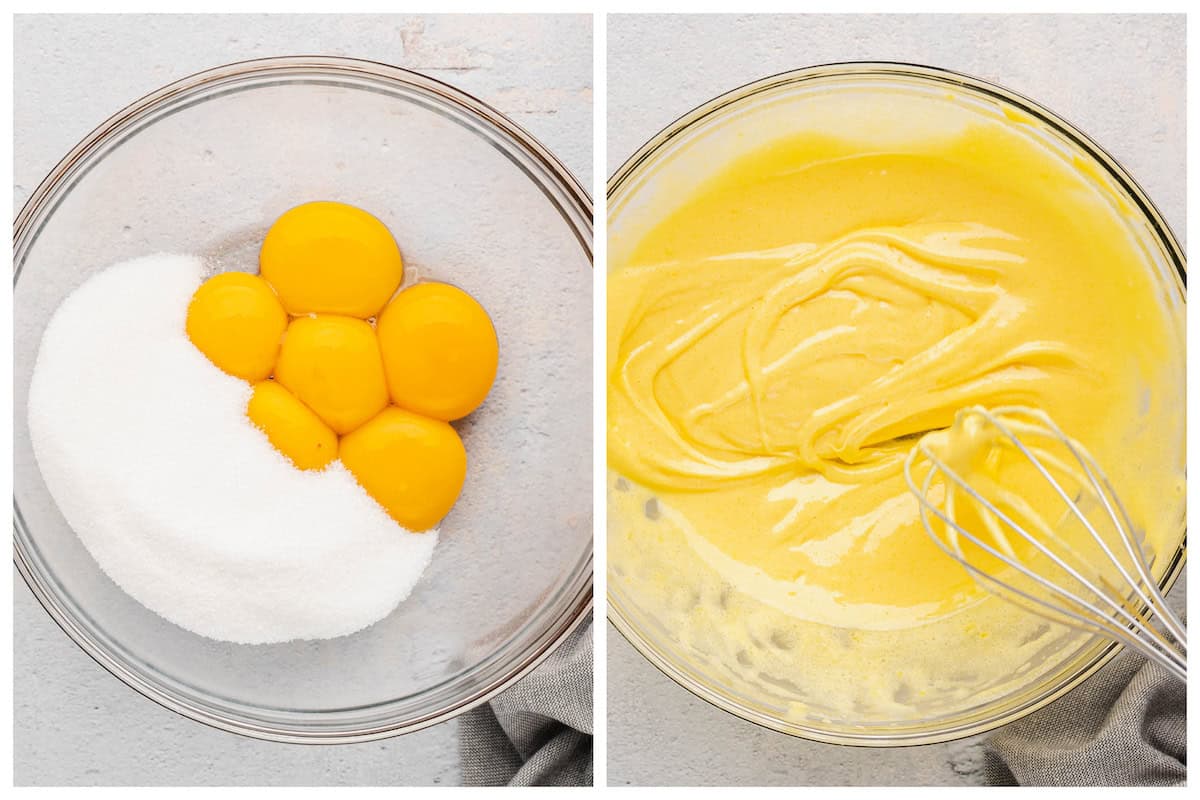
- MIX. In a bowl, whisk together the egg yolks, sugar, and a pinch of salt until smooth and pale.
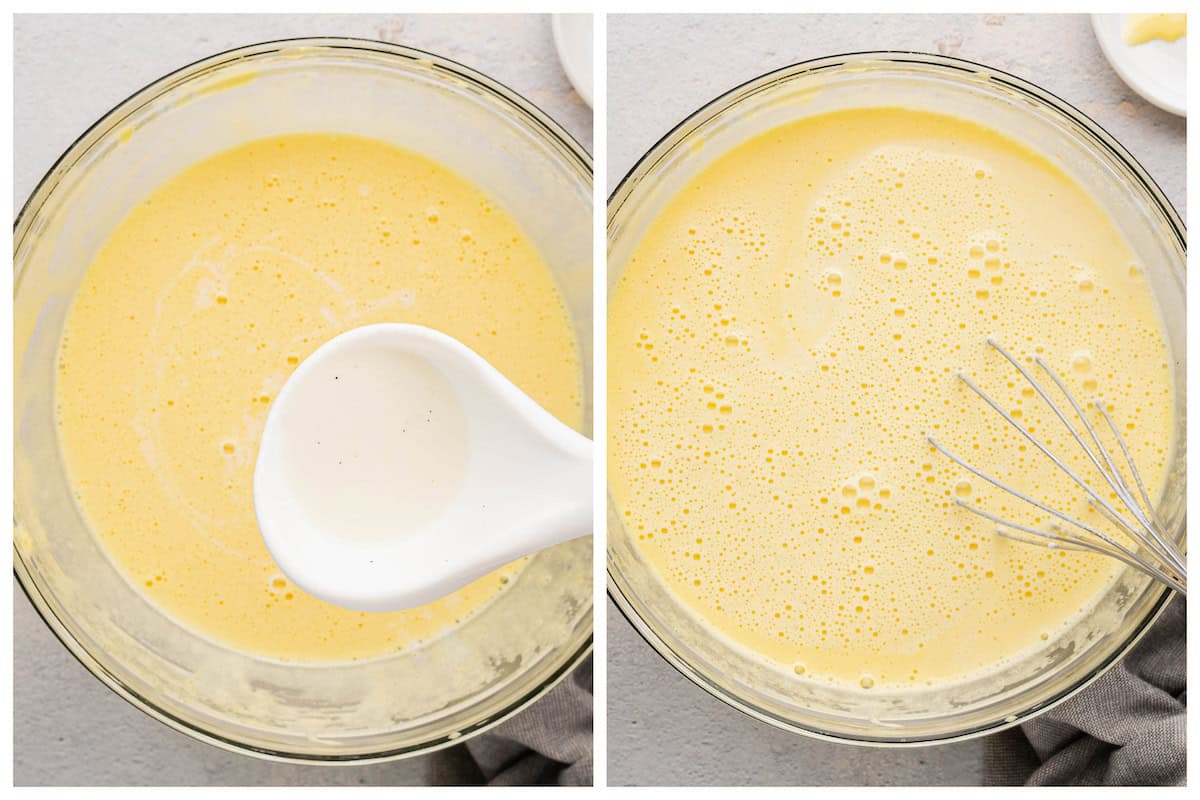
- TEMPER. While whisking the yolk mixture, slowly pour in about 3 to 4 ladlefuls of the hot coconut cream mixture. Once they’re combined, gradually whisk in the rest. Then pass through a fine mesh strainer to remove bits (like vanilla pod bits or foam).
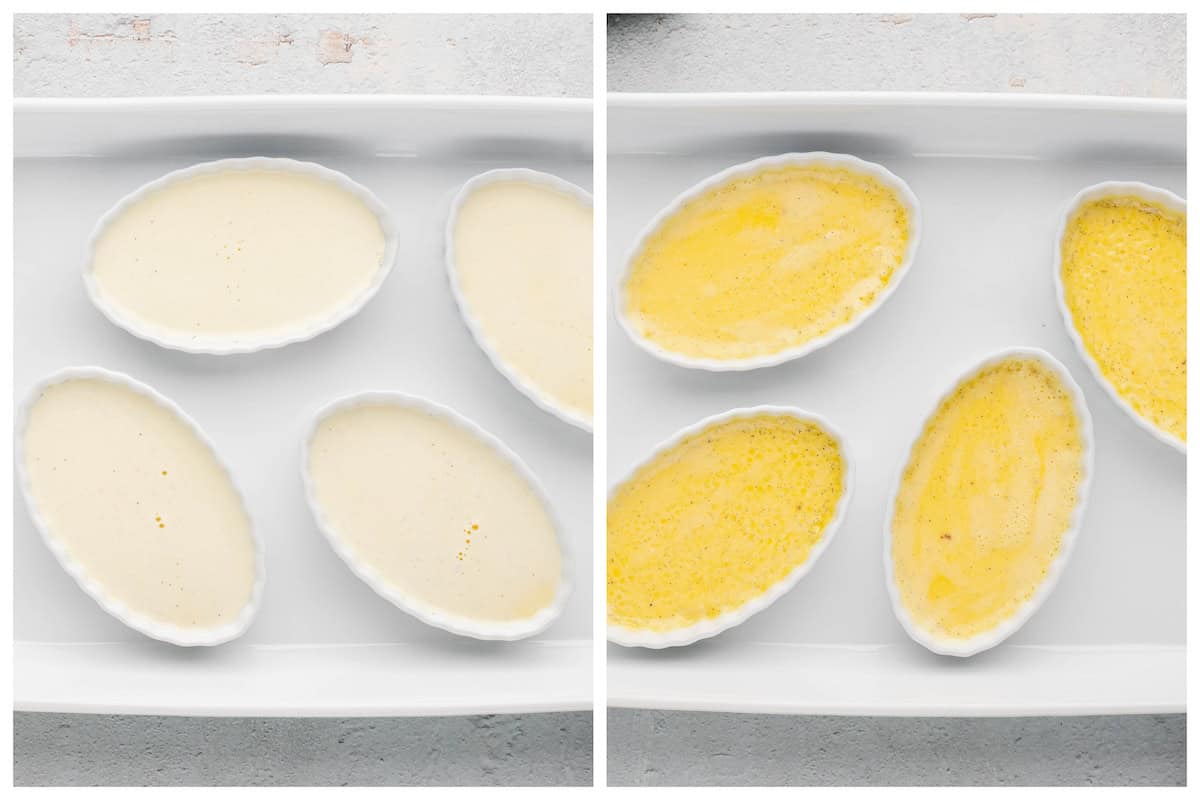
- FILL RAMEKINS & BAKE. Divide the custard into your ramekins. Place the roasting pan in the oven, and carefully add hot water until it reaches halfway up the sides of the ramekins. Bake until the centers still slightly tremble, but the outer edges are set.
- COOL & CHILL. Carefully lift the ramekins (use tongs or a spatula) and place them on a cooling rack. After about 30 minutes, cover them and refrigerate for at least 4 hours (or up to 2 days) to allow the coconut crème brûlée to chill and firm fully.

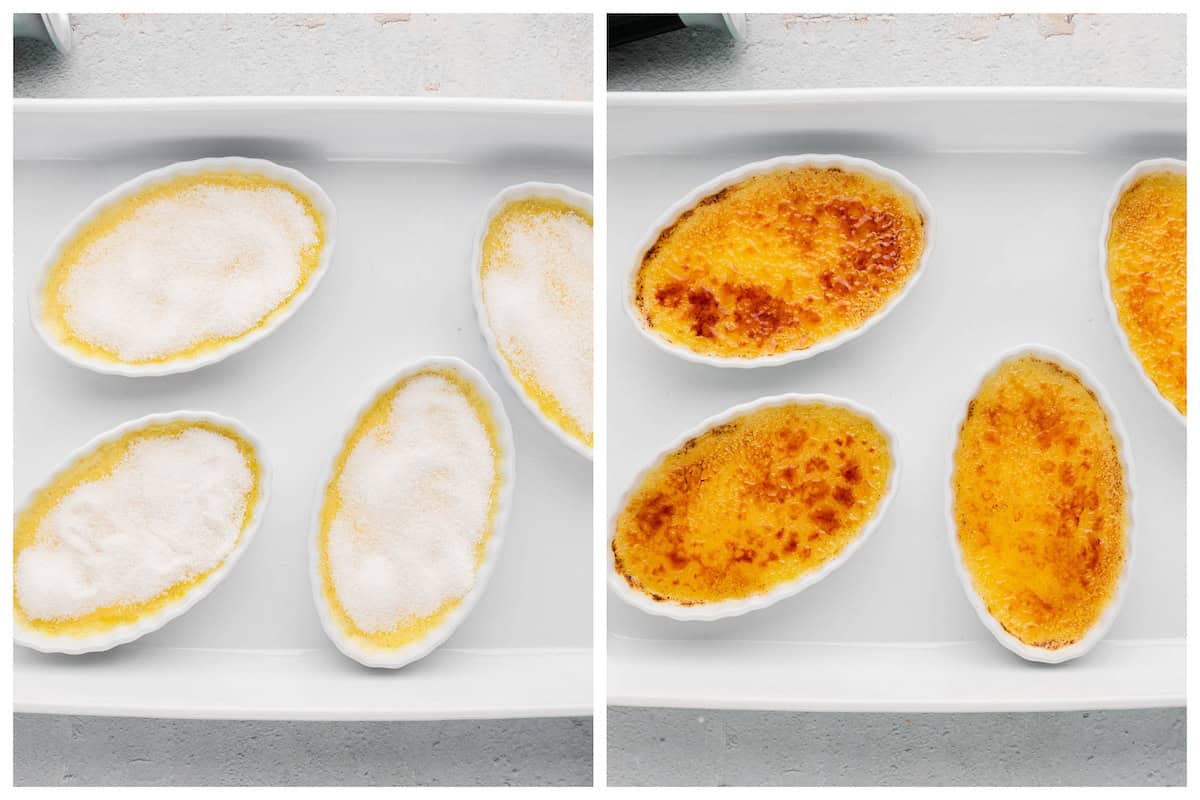
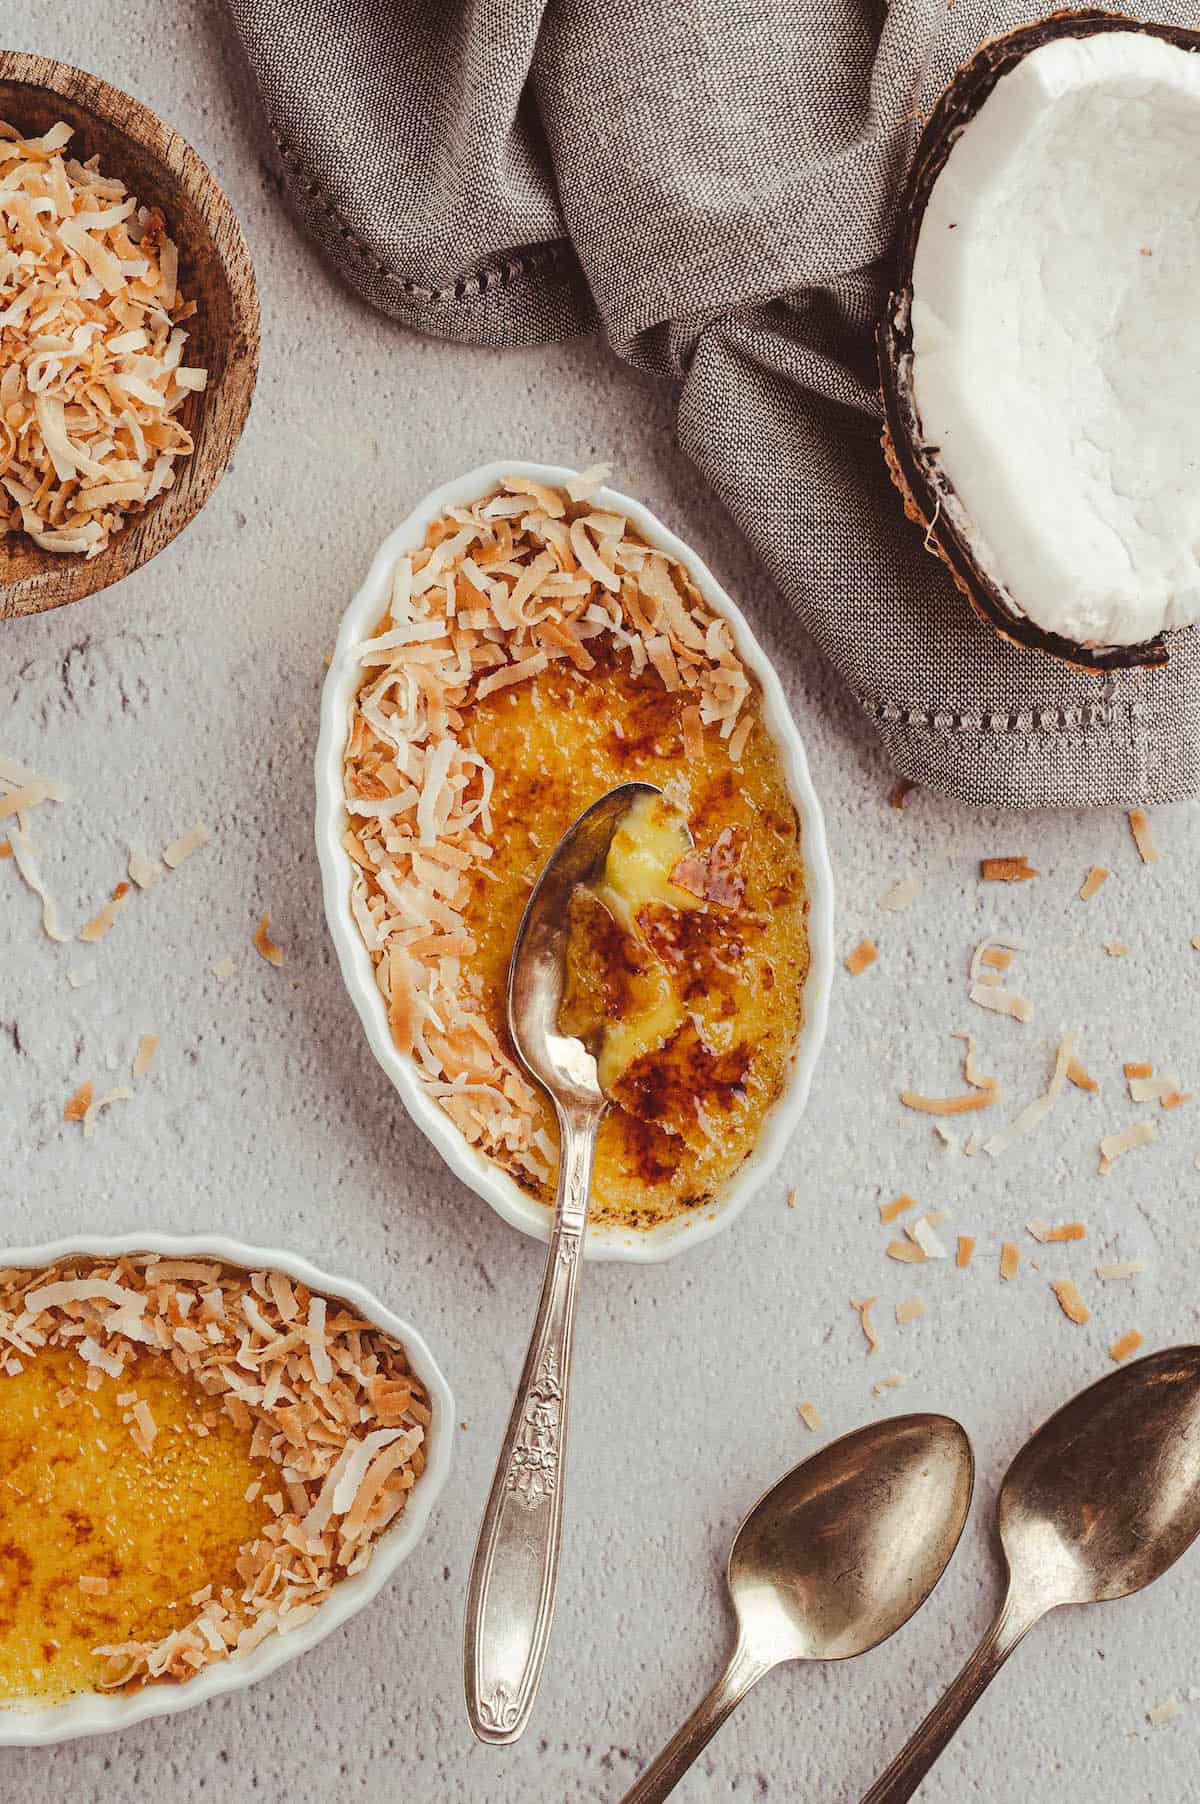
- TORCH. Just before serving, sprinkle sugar evenly over each custard’s surface. Using a blowtorch, move steadily until the sugar melts, bubbles, and turns golden brown. (If you see smoke or burning, slow down – you want golden, not bitter). Add toasted coconut flakes if desired. Serve immediately.
Notes On Ramekin Size & Baking Time
Ramekin shape matters more than you’d think. If your ramekins are wide and shallow, your custard may bake a little faster. If your ramekins are narrow and deep, you will likely need to bake your custard longer. In our photos, the custards were in wide, shallow dishes and took about 26 minutes. If yours are deep, start checking around 30 minutes and then every 5 minutes until they are set (this can take up to 45 minutes).
Coconut Creme Brulee Home Chef Tips
- When handling the vanilla bean, slice it lengthwise, scrape out the seeds, and add both pod halves to the warm coconut cream mixture for extra infusion (we will strain them out later).
- Be sure to stir in coconut extract after heating. This helps preserve that fresh coconut aroma.
- For the coconut milk crème brûlée top, distribute sugar evenly before torching. Rotate and tilt the ramekin as needed to ensure the sugar layers are uniform.
- Torch in passes: First light, then medium, then deeper golden. Keeping the torch moving is key to avoiding scorched spots.
How To Store Leftovers
Store your untorched coconut cream creme brûlée in the fridge for up to three days. Fire immediately before serving for the best results.
Can You Freeze This Crème Brûlée?
Yes, this coconut crème brûlée can be frozen before you caramelize the top. Follow through step 5 in the recipe card below, then wrap the ramekins and place them in a freezer bag. Custards typically keep about 3 months in the freezer. When ready to serve, thaw in the refrigerator for 4 to 6 hours, then sprinkle with sugar and torch just before serving.
More Foxes Love Lemons Favorites
Coconut Creme Brulee
Save This Recipe!
Ingredients
For the Custard:
- ½ vanilla bean split and scraped
- 1 cup full fat canned coconut milk
- 1 cup heavy cream
- 1 teaspoon coconut extract
- 6 large egg yolks
- ⅓ cup granulated sugar
- Pinch of kosher salt
For Serving:
- 6 tablespoons granulated sugar
- Toasted sweetened coconut flakes for garnish (optional) (see Notes below)
Instructions
Make the Custard:
- Preheat oven to 325 degrees F; heat large kettle of water to boiling. Place six 4- to 5-ounce ramekins (see Home Chef Tips below) in roasting pan.
- In small saucepan, heat vanilla bean and it's scrapings, coconut milk and heavy cream over medium heat 4 to 6 minutes until cream just starts to bubble around edges of pan (do not bring to a full boil). Remove from heat and stir in coconut extract.
- Meanwhile, in large bowl, whisk egg yolks, sugar and salt until well combined. While whisking, use ladle to slowly add 4 ladlefuls of hot cream mixture to egg mixture. Gradually whisk in remaining cream mixture. Strain through fine mesh strainer into large liquid measuring cup.
- Divide custard mixture between ramekins; place roasting pan in oven. Add enough boiling water to come halfway up sides of the ramekins. Bake 25 to 30 minutes or until custards are just set (they should tremble slightly in the middle, but be set on outer edges).
- Use tongs or pancake turner to carefully transfer ramekins to cooling rack; let stand 30 minutes. Cover with plastic wrap and chill at least 4 hours or up to 2 days before serving.
- To serve, sprinkle 1 tablespoon sugar over each custard. Using blowtorch, caramelize top of each custard until sugar bubbles and turns brown (this can also be done under a broiler). Garnish with coconut flakes, if using, and serve immediately.
Notes
- To make toasted coconut flakes, place 1/2 cup sweetened coconut flakes on microwave safe plate and microwave on HIGH 1 minute. Carefully stir coconut and continue microwaving on high in 30 second increments, stirring ever 30 seconds until coconut is golden brown.
- You may substitute 1 teaspoon vanilla extract in place of the vanilla bean.
- If your ramekins are wide and shallow, your custard may bake a little faster. If your ramekins are narrow and deep, you will likely need to bake your custard longer. In the photos you see in this post, I’m using wide and shallow ramekins, and my custard took about 26 minutes to bake until it was just set. If you use narrow and deep ramekins, start at 30 minutes and continue baking, checking every 5 minutes until your custard is just set. It could take up to 45 minutes.

This is great but I find that the measurements only make 5 moderate sized portions.
Hi Kelly – thank you for letting me know, I really appreciate the feedback!
OMG! I was looking for a dessert to take to a friend’s house tonight. She and hubby are making Thai food. I looked at Thai desserts (mostly rice-based) and I simply wasn’t interested. I started thinking about tropical things like coconut, vanilla, ginger and mango and then I found your website. I made the custard although I added sliced fresh ginger to the cream/coconut milk while heating it. I tasted one of them right out of the oven and I think you are a genius! It is sooooo smooth and tropical-tasting. I mixed some powdered ginger into the sugar and will test it on the one I tasted. I’m hoping the ginger doesn’t burn. In that case, I’ll just use sugar by itself. This is a keeper! Thank you.
I’m so glad to hear this, Marilyn. I LOVE the addition of ginger. I am going to have to try that myself. And such a great idea to pair this with Thai food. Yum!
They loved it last night. I tried the sugar/powdered ginger test on one of them (the recipe makes 6 so I could sacrifice 2 for experiments) but the ginger was too intense. I used plain granulated sugar and it was perfect.
Great to know! Thanks Marilyn!