Mini Ice Cream Pies
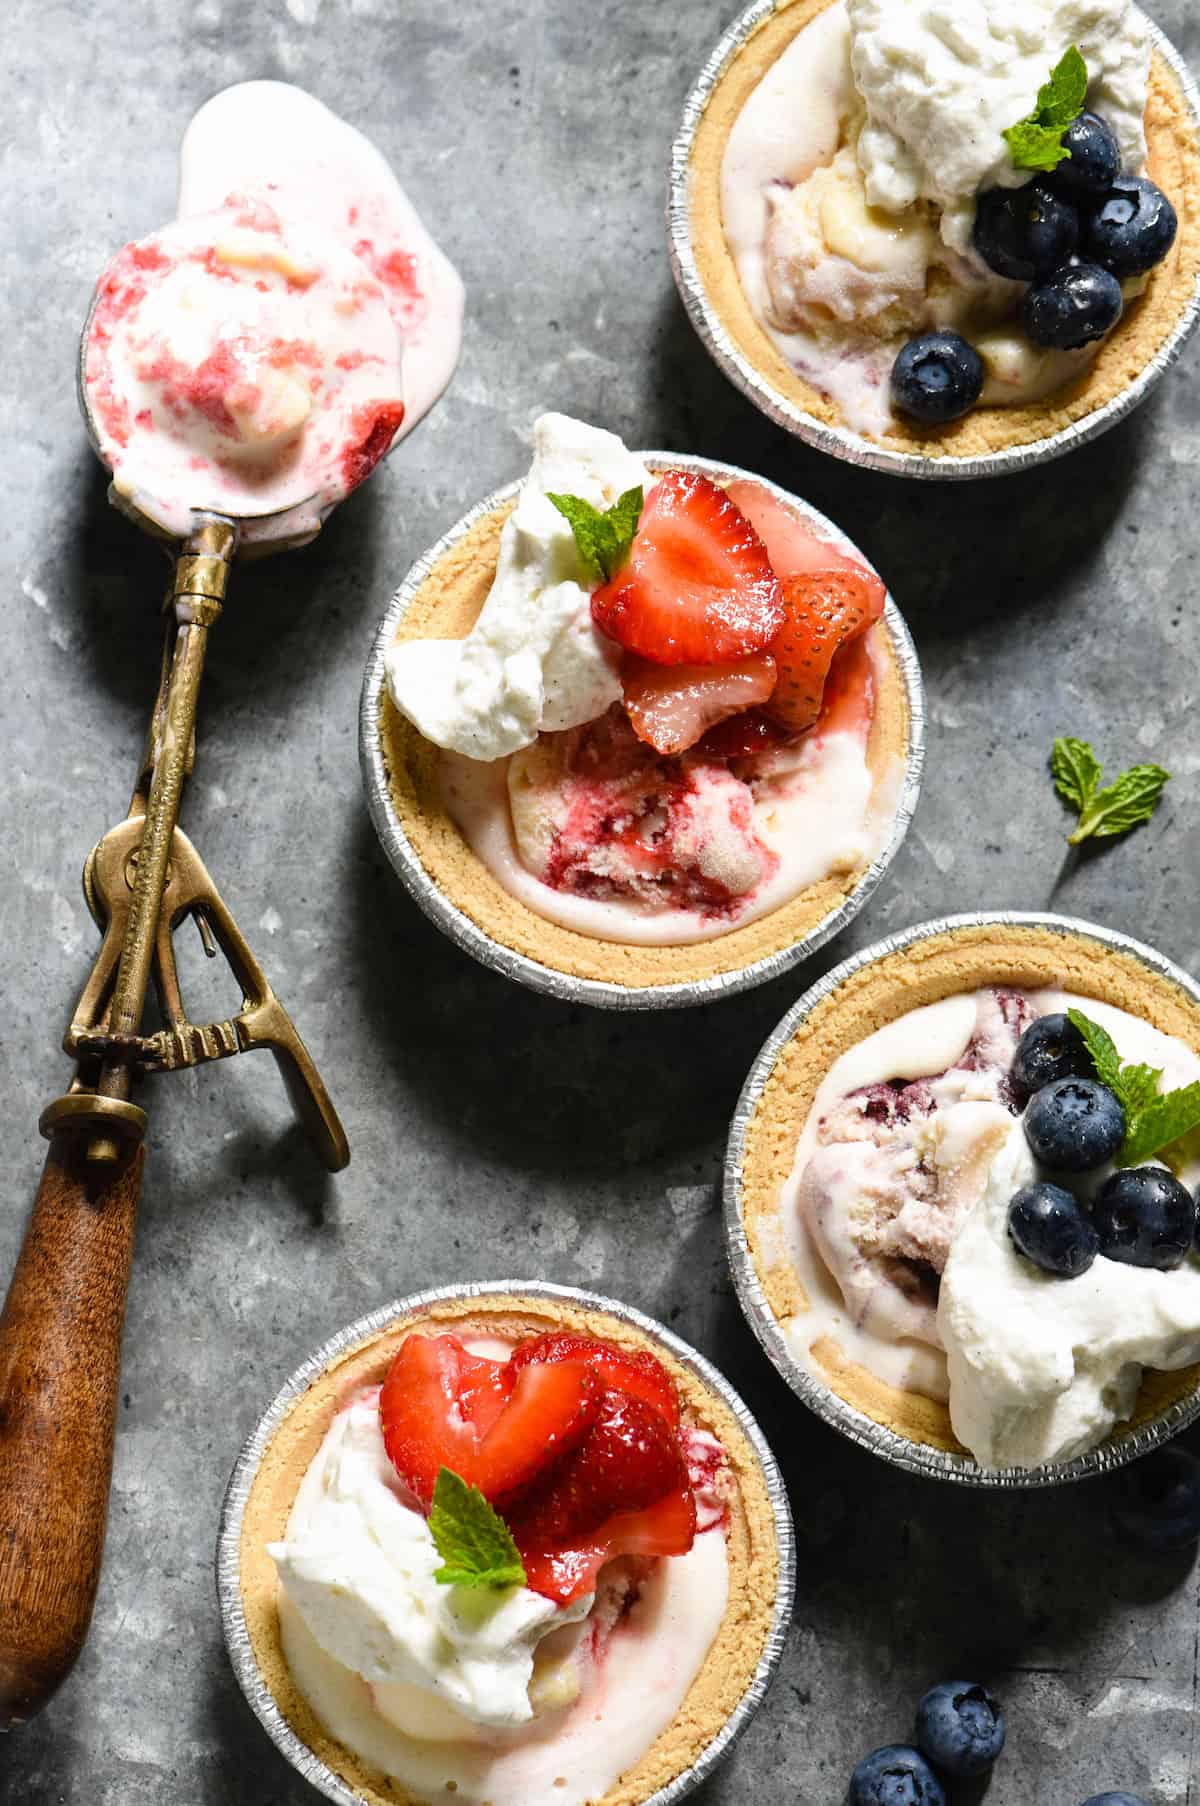
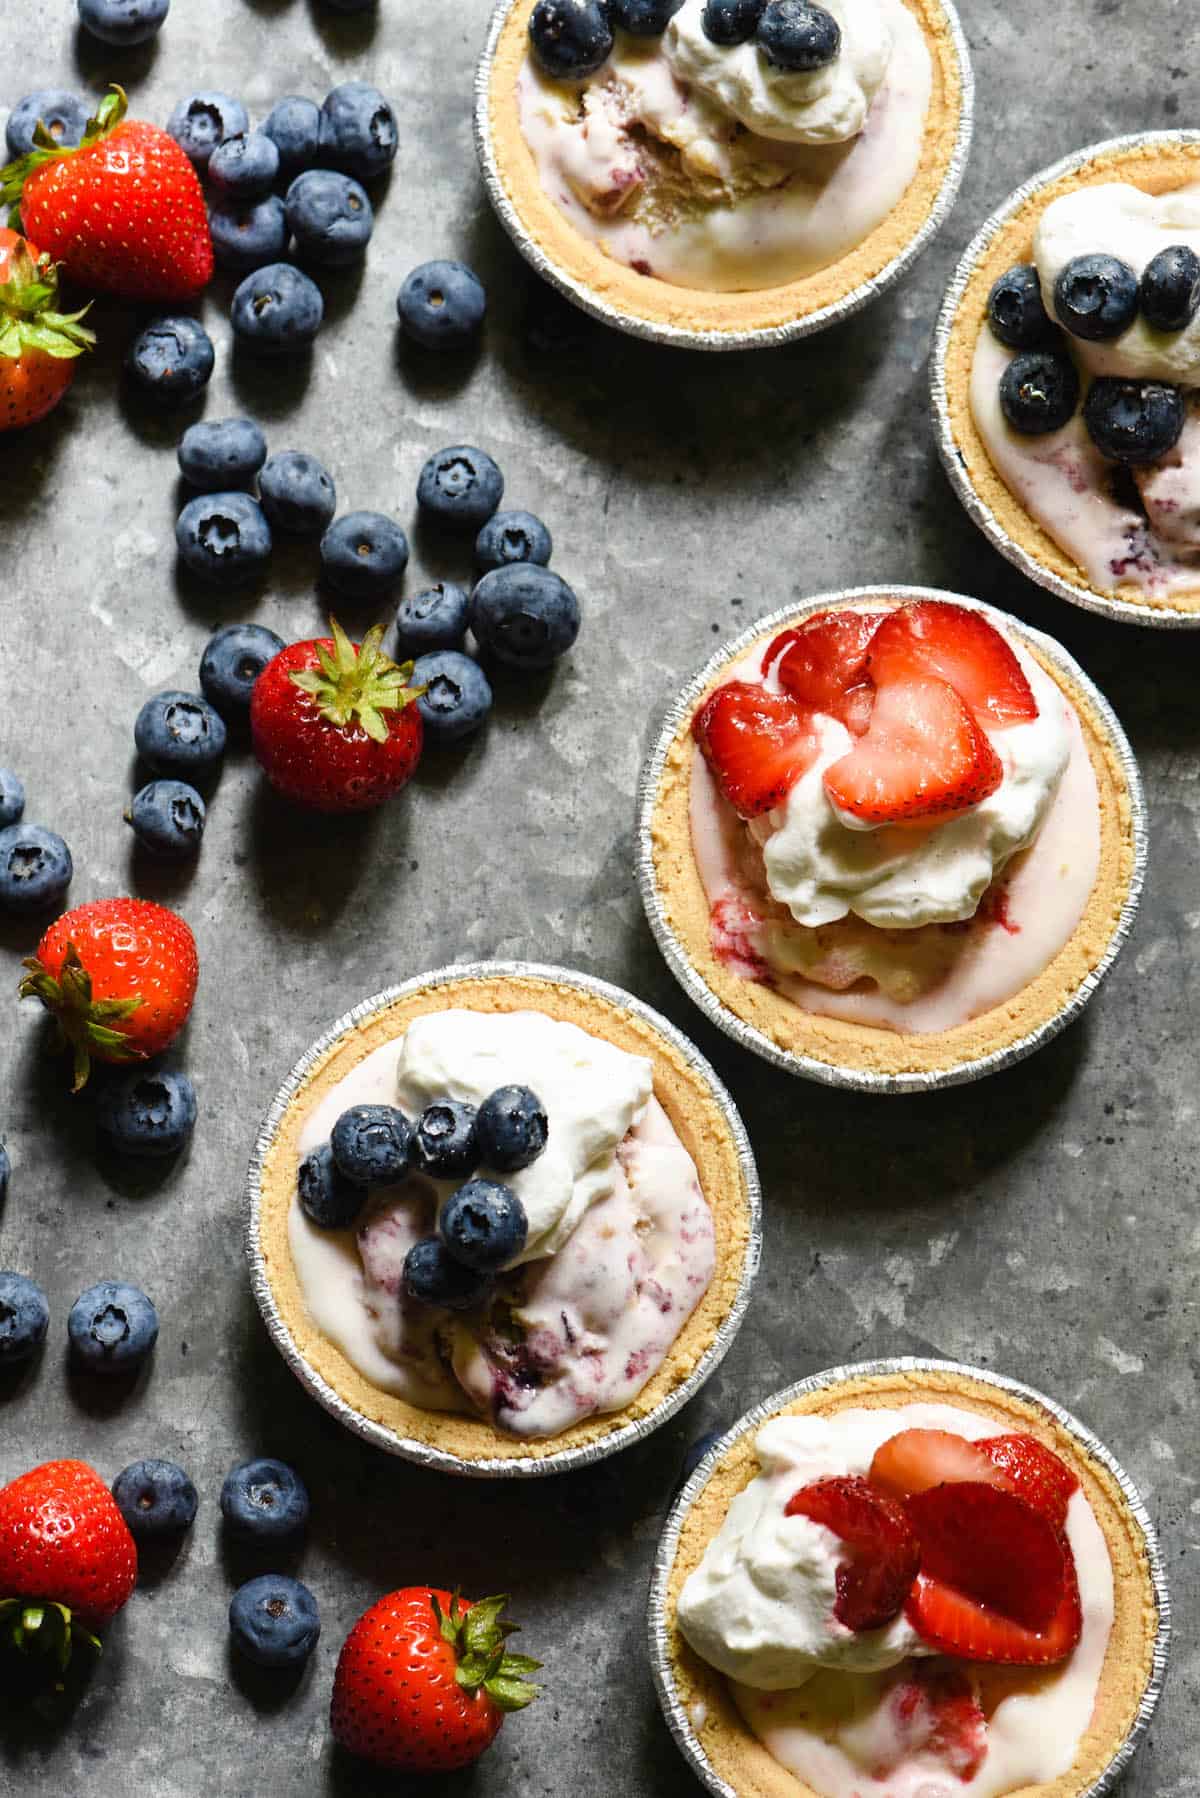
Celebrate summer’s sweeter moments with Mini Ice Cream Pies. They take just minutes to put together, and there’s no dishes to clean up once they’re served!

So, here’s the thing. I am somebody that loves hosting get togethers. I don’t do it as often as I should, but when I do, I love it. But I am, by my own admission, not the chillest of hosts. I overthink everything about the gathering and the way the day will go to the point of absurdity.
Will the dishwasher hold all the dishes? When should I start the grill? Who will scoop the ice cream for affogato coffee? Will it make a mess? On and on and on.
I’ve found that the best way to quell the overthinking voices in my head is to serve food, drinks and desserts that are prepped almost entirely in advance. The kind that you make the day (or the week) before and just pull out at the last moment and serve.

About these Mini Ice Cream Pies:
These Mini Ice Cream Pies are the ideal dessert for a large or small summer gathering (especially during July – it’s National Ice Cream Month!). They’re 95% make-ahead, so you can enjoy the sweeter moments of your party without the stress.
Only the garnishes need to go on top of the pies at the last moment, but you can even prep the garnishes in advance, too.
The pies are made in mini graham cracker pie crusts that are already in disposable aluminum pans, so the only dishes you’ll have are a bunch of spoons (or, just use plastic spoons).
And, with the flavors of blueberry cobbler and strawberry shortcake running throughout the pies, they’re a frozen bite of summer on a spoon.

Tips for making Mini Ice Cream Pies:
- While you certainly can make your own graham cracker crusts and bake them in mini pie tins (but really, who has a bunch of mini pie tins?), here’s a hint: the grocery store already does that for you. Seriously! Look in the baking aisle near the graham crackers and you’ll likely find a package of ready-to-serve mini graham cracker pie crusts in disposable pans. These little things are seriously one of my most favorite dessert shortcuts.
- Any flavor of ice cream can be used for these mini pies, but for a party, I like to offer at least two different flavors.
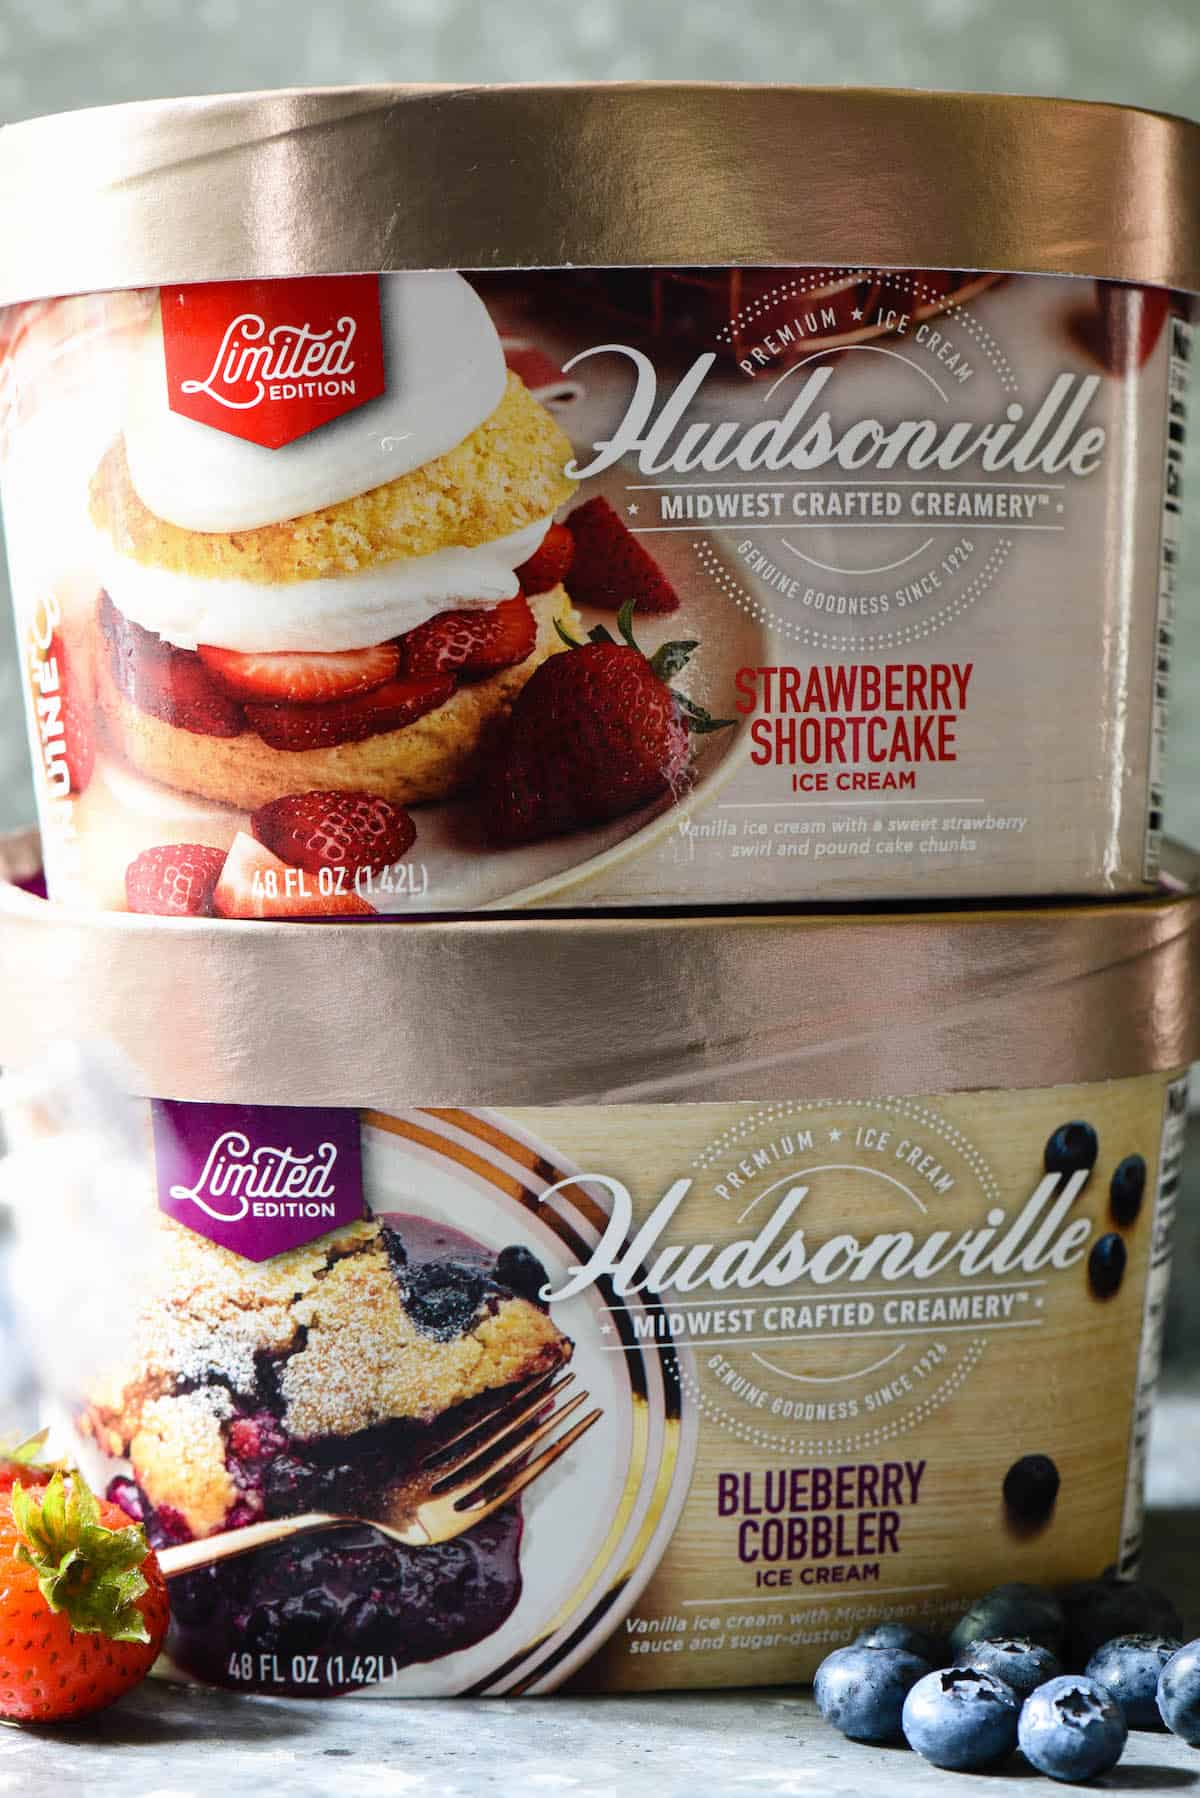
- This summer, I highly recommend Hudsonville Strawberry Shortcake ice cream. It’s classic vanilla ice cream laced with Midwest strawberries and pieces of pound cake. Like, can you even stop smiling when you’re eating ice cream loaded with pound cake chunks? No, you cannot.
- If you do want to make a second flavor of pie, you can’t go wrong with Hudsonville Blueberry Cobbler ice cream. This time, vanilla ice cream is mixed up with Michigan blueberries and sugar-dusted pie crust. They had me at Michigan blueberries, really (see also: my buttermilk blueberry muffins). I also love this flavor for making French toast with ice cream.

- Because the crust + ice cream combo is SO ridiculously easy, I decided to spend 5 minutes (wow, I know, 5 whole minutes) to make vanilla-bean flecked homemade whipped cream. Nothing says “I care about you, friend” like homemade whipped cream.
- Optional, but encouraged: extra fresh fruit on top. To use a fancy culinary term, I macerated the berries by tossing them with a smidge of extra sugar and letting them sit for awhile. This enhances the fruit’s natural sweetness and also allows the berries to soften and generate a thin sauce.

Mini Ice Cream Pies
Celebrate summer's sweeter moments with Mini Ice Cream Pies. They take just minutes to put together, and there's no dishes to clean up once they're served!
Ingredients
For the Pies:
- 1 carton (48 ounces) ice cream
- 12 mini graham cracker pie crusts
For the Macerated Berries:
- 1 cup blueberries
- 1 cup thinly sliced strawberries
- 2 tablespoons granulated sugar, divided
For the Vanilla Bean Whipped Cream:
- 1 cup heavy whipping cream
- 1/4 cup powdered sugar
- 1 teaspoon vanilla bean paste
- Fresh mint leaves, for garnish (optional)
Instructions
- Make the Pies: Allow ice cream to stand at room temperature 5 to 10 minutes to soften, then divide ice cream between crusts. Transfer to freezer for at least 4 hours or up to 1 week.
- Make the Macerated Berries: Place blueberries and strawberries in separate medium bowls. Add 1 tablespoon sugar to each bowl and toss to combine berries with sugar. Cover and let stand at room temperature for 1 hour, stirring occasionally, or transfer to refrigerator for up to 2 days.
- Make the Vanilla Bean Whipped Cream: Place cream in bowl of stand mixer fitted with whisk attachment. Turn mixer on and slowly increase speed from low to high. Mix on high speed until beaters begin to leave tracks in cream. Add sugar and vanilla bean paste; beat on high speed until soft peaks form. (Whipped cream can be covered and refrigerated up to 1 day in advance. Just before serving, whisk by hand for 10 to 15 seconds to fluff it).
- To serve, top pies with macerated berries and whipped cream. Garnish with mint leaves, if desired.
Nutrition Information:
Yield: 12 Serving Size: 1Amount Per Serving: Calories: 426Total Fat: 24gSaturated Fat: 13gTrans Fat: 0gUnsaturated Fat: 10gCholesterol: 72mgSodium: 185mgCarbohydrates: 47gFiber: 2gSugar: 34gProtein: 6g
This website provides estimated nutrition information as a courtesy only. You should calculate the nutritional information with the actual ingredients used in your recipe using your preferred nutrition calculator.
Disclosure: This is a sponsored post written by me on behalf of Hudsonville Ice Cream. Sponsored posts help me pay for the costs associated with this blog (groceries…lots of groceries), and help support me as I pursue a career in recipe development and food photography. All opinions are 100% my own.

