Apple Rose Tart with Peanut Butter Custard
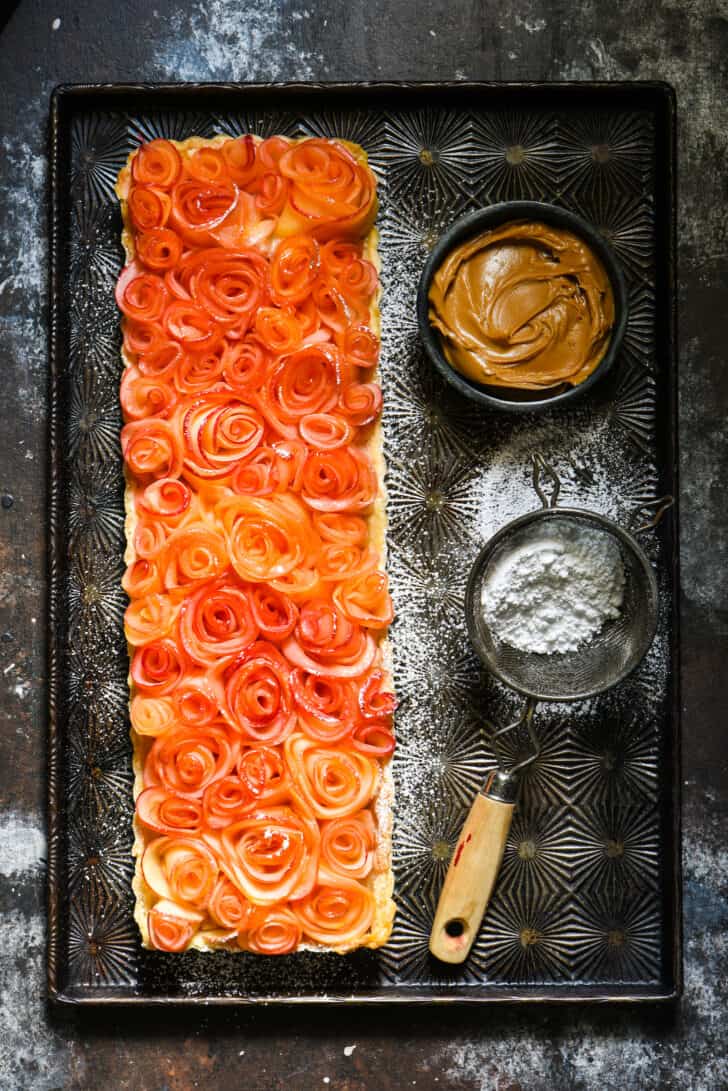
This Apple Rose Tart with Peanut Butter Custard is a showstopping, delicious dessert that YOU can make at home, even if you’re not a baker or pastry person. Promise!
Save This Recipe!
If the first thing you think when you look at this apple tart is “there’s no way I can make that,” think again. Seriously, I’m SO not a baker or a “pastry person”.
I’m MUCH more comfortable with savory things like salmon pasta or lasagna with cottage cheese. There’s a reason 98% of the recipes on this blog are for savory foods or cocktails.
In fact, TRUE STORY: in culinary school, the pastry instructor forced me to BUY one of the cakes I made in class and take it home because it was so ugly.
Chef said my cake was so messed up that he couldn’t sell it at the school’s bake shop, so I would have to purchase it myself. Talk about embarrassing. I couldn’t wait to get out of that class and into a savory rotation.
So yeah, when I say I’m not a baker or pastry person, I mean it (although I can whip up a mean batch of Thanksgiving Rice Krispies treats). Since that experience, I’ve been on a mission to create beautiful, delicious things that are actually attainable for home cooks.
My frozen yogurt pie, cranberry curd pie and coconut creme brulee are some of my favorite examples, along with the apple rose dessert I’m sharing today.
So, stir up an apple cider mule, and let’s walk through this Apple Rose Tart with Peanut Butter Custard, element by element. We’ve got this.
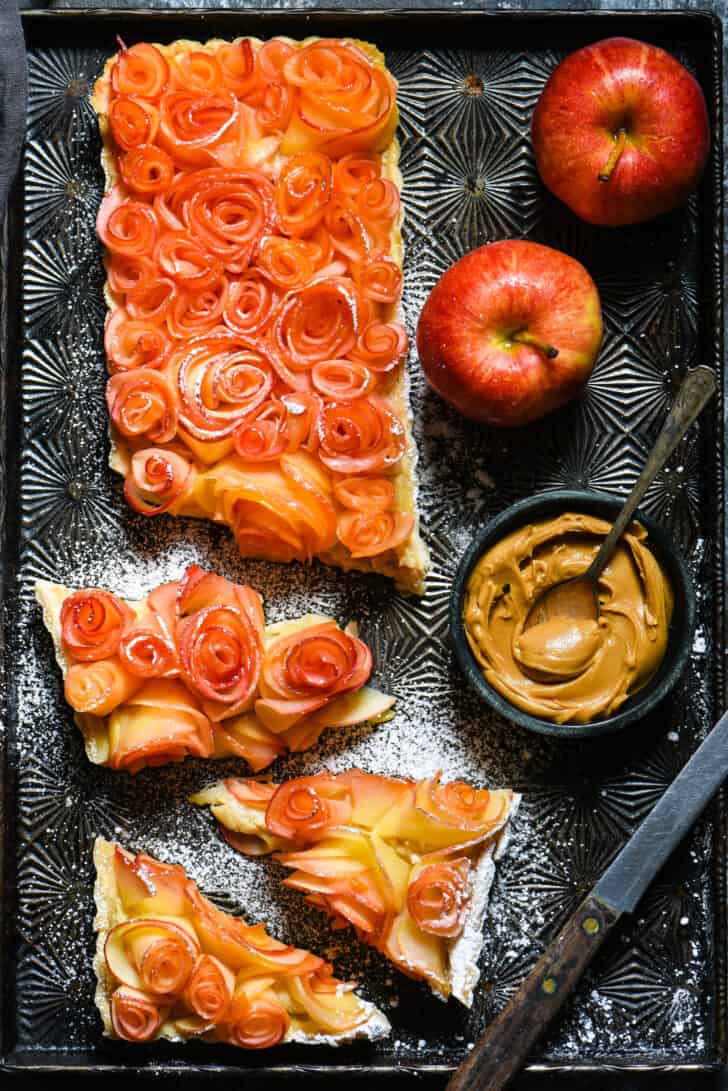
I used a refrigerated pie crust for this apple tart.
Look, homemade pie crust is great if that’s something you enjoy making, but I don’t. I almost always use refrigrated pie crust from the grocery store (usually Pillsbury brand, that comes in a red box with two rolls of pie crust). I use it for mini shepherd’s pies and vegetarian quiche and brownie pie, and everything in between.
I made this apple rose tart in a 14×5-inch rectangular tart pan, but with a refrigerated pie crust that was made for a 9-inch round pie. How did I do it?
I laid the pie crust across as much of the pan as I could, and then I used the trimmings from where the crust overlapped the pan to piece together the section of the pan that wasn’t covered.
So yes, I kind of Frankensteined the crust together for this apple tart. Because the crust gets covered with both custard and a million apple roses, the Frankencrust really isn’t an issue in the end. Nobody will EVER notice.
Alternatively, if you ARE a pastry person and you’re using homemade pie crust (this pie crust recipe from NYT Cooking has over 2,000 five star reviews, so that might be a good place to start), you can roll it out into a rectangle instead of a circle.
Be warned: the peanut butter custard is irresistible.
My #1 tip about the custard is to try to ignore it while it cools. Because this custard is AMAZING, and you’ll want to eat it all with a spoon. It’s dangerous. Try to resist. You need it for your apple rose tart!
Side note: why is peanut butter so good? Even in savory things like my Asian noodle salad recipe, I cannot resist it.
Beyond not eating all of it with a spoon before you assemble the tart, the main thing you’ll want to keep in mind for the custard is that you really do need to whisk it constantly while it cooks, so this isn’t the time to try to multitask and unload the dishwasher.
Just like pumpkin creme brulee and chocolate creme brulee, whisking it constantly keeps it smooth and prevents the eggs from turning into little bits of scrambled eggs.
Even with all the whisking, I still recommend pressing the finished custard through a fine mesh strainer or sieve, if you have one. I was taught to do this in culinary school to REALLY ensure a very smooth custard for your apple tart (same with the custard bases for my blueberry cheesecake ice cream and vanilla bean creme brulee).
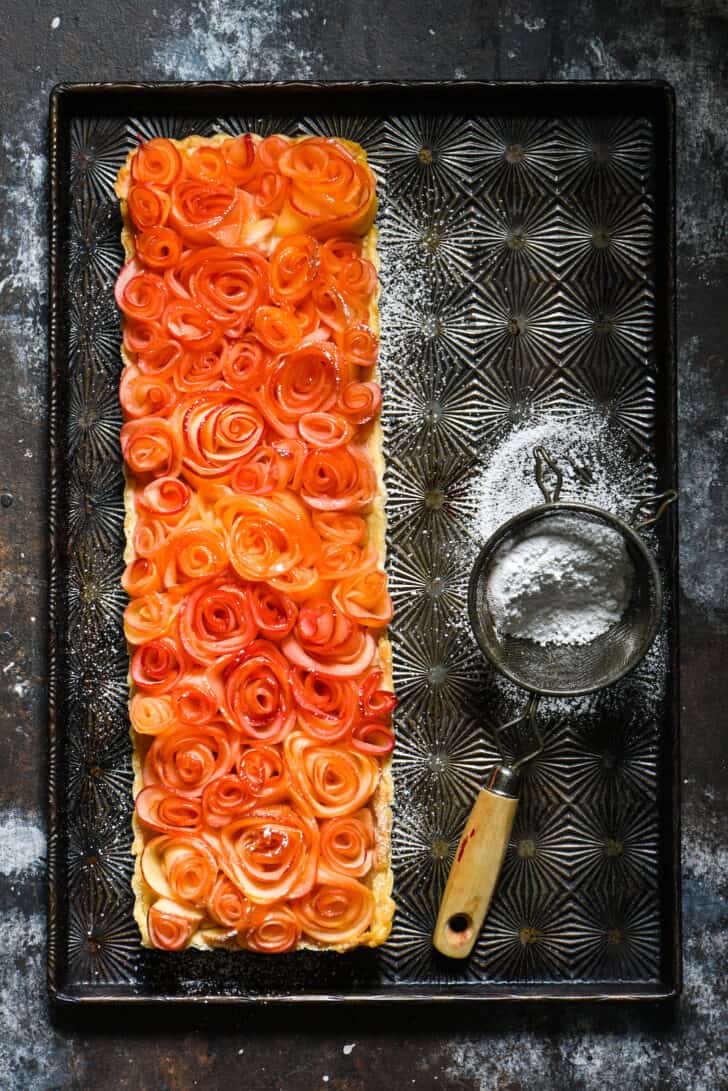
It’s best to use a mandoline to slice the apples for this apple rose dessert.
To be completely honest, you’ll want a mandoline for this apple rose tart. You *could* use a very sharp knife to very thinly slice the apples for this apple rose dessert, but you need so many apple slices that a mandoline will just be much, much faster.
And whatever you do, do NOT take the guard off the mandoline. It’s not worth the risk. You’ll need all of your fingers to make the roses for this apple tart.
How to make apple roses:
First, you’ll need to microwave the apple slices briefly, until they are flexible but not mushy (DON’T microwave for as long as it takes to make an apple mug cake!).
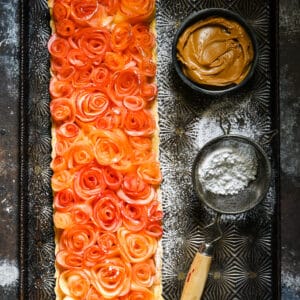
From there, you’ll want to work at rose-making until you find the best technique for you for this apple tart. I folded each apple slice over onto itself once, and then rolled the doubled-over slice up like a pinwheel.
I then used another doubled-over apple slice to wrap around the first roll. Repeat as many times as feels comfortable, and then press the rose (apple peel side up) into the custard.
The more slices you use, the larger the rose will be. You can also continue wrapping apple slices onto the rose once it is settled into the peanut butter custard.
I liked the look of some roses being larger and some being smaller in this apple rose tart, but if you’d like each rose to be more uniform, go ahead and do that. Just like with my mini Hasselback potatoes, this dish doesn’t have to be perfect to still be stunning.
I think the roses would make this perfect for Valentine’s Day, don’t you agree? Maybe as a sweet ending after having a bunch of Valentine’s Day snacks for dinner, unless you’re already making Valentine’s dessert shooters.
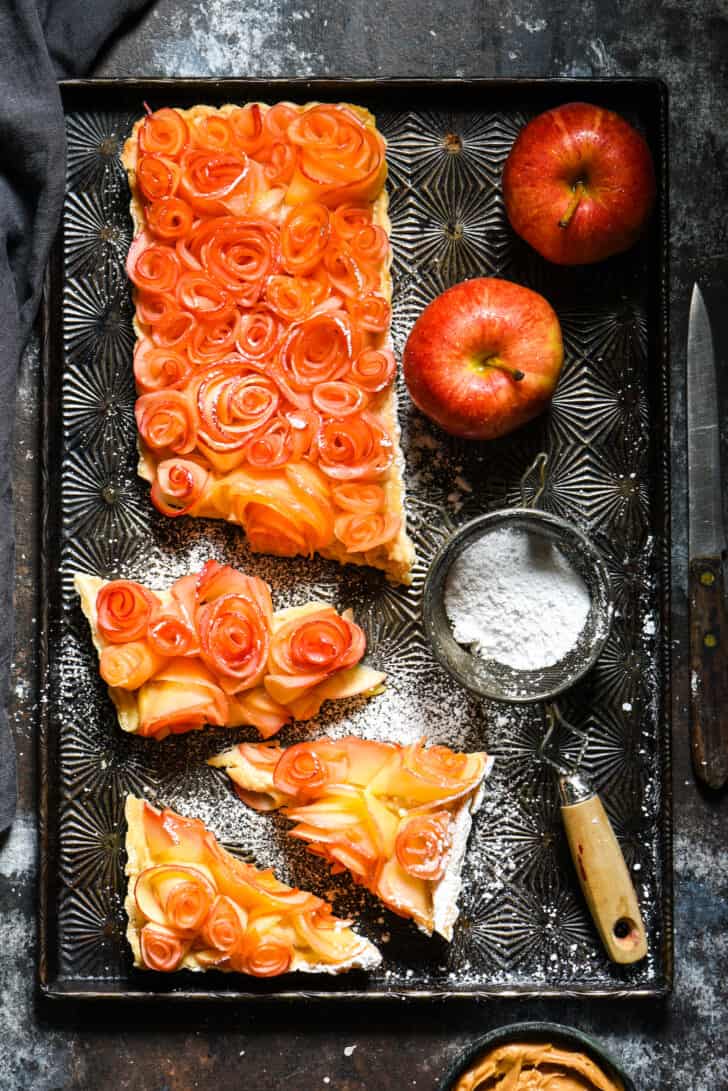
A note about placing the roses in the peanut butter custard:
Think and act like Julia Child flipping an egg here. Be confident and couragous!
Do NOT worry about messing up the custard in this apple rose tart a little bit when you press the roses into it. It just comes with the territory – you HAVE to mess up the peanut butter custard a little to get the roses to stand up in it.
Once the whole apple tart is covered in roses, you won’t be able to see the custard anyway, so do. not. worry. about. it.
Finish the apple rose tart with glaze:
If you’re planning to serve the apple tart right away, glazing is optional, but still preferred to give the tart a shiny finished look. If you’re making the apple rose dessert a few hours before serving it, the glaze is necessary to prevent the apples from drying out.
The glaze is a simple mixture of apricot preserves and water, and you’ll use a pastry brush to lightly brush it over the roses.
More Foxes Love Lemons Favorites
Apple Rose Tart with Peanut Butter Custard
Save This Recipe!
Ingredients
- 1 refrigerated pie crust
- 1 cup whole milk divided
- 1 ½ tablespoons cornstarch
- 1 large egg
- ⅓ cup granulated sugar
- Pinch of kosher salt
- 2 tablespoons creamy peanut butter
- 1 teaspoon vanilla extract
- Juice of 1 lemon
- 7 – 9 large Gala apples
- 2 tablespoons apricot preserves
Instructions
Make the Crust:
- Preheat oven to 350 degrees F. Press crust into 14- by 5-inch tart pan; cut off excess crust hanging over edge and use pieces of crust to press into end of pan not already covered with crust. Use fork to poke several holes in bottom of crust. Line crust with parchment paper; fill with pie weights or dried beans. Bake 12 to 14 minutes or until light golden brown. Remove pie weights and parchment paper; transfer crust to wire rack to cool completely. Leave oven on at 350 degrees F.
Make the Peanut Butter Custard:
- In medium saucepot, whisk 1 tablespoon milk and cornstarch until smooth. Add egg, sugar, salt and remaining milk; cook over medium heat 6 to 8 minutes or until thickened, whisking constantly. Remove from heat; whisk in peanut butter and vanilla. Pass mixture through fine-mesh strainer. Transfer custard to refrigerator and cool 30 minutes.
- Spread cooled custard evenly in tart crust. Transfer to oven and bake 12 minutes or until custard is set. Transfer to wire rack; cool 30 minutes before starting Apple Roses.
Make the Apple Roses:
- Place lemon juice in medium bowl and add 1 cup cold water. Working with one apple at a time, cut apple in half lengthwise and use melon baller to remove core and stem. Thinly slice apple on mandoline slicer. Dip apple slices in lemon juice mixture; place apples in microwave safe bowl. Microwave on high 35 to 45 seconds or until apples are soft and pliable. Transfer apples to clean kitchen towel to drain excess moisture.
- Fold each apple slice over onto itself once, then roll apple into tight spiral. Wrap second folded apple slice around first spiral, making sure side of apple slice with peel is facing same direction on both apples. Press roll, peel side up, into custard in tart pan. If desired, continue to arrange folded apple slices around first spiral, building a rose pattern, or begin new apple rose. Repeat with remaining apple slices.
- Continue process with remaining apples until entire surface of tart is covered with roses.
- Place apricot preserves and 1 teaspoon water in small microwave safe bowl. Microwave 15 seconds; whisk until smooth. Use pastry brush to lightly brush mixture onto apple roses. Tart is best eaten the same day it is made.
Notes
- A mandolin is so much faster and easier than a knife for the quantity of apples you need. Just keep the guard on for safety!


Lori, just so you know, I really appreciate the preponderance of savory recipes. Too many food blogs and cookbooks are seemingly obsessed with sweets and desserts. I am not there at all, and haven’t been for years, so know that for at least one person you are doing a good thing. 🙂
Hi Susan – I’m so glad you appreciate all the savory. Don’t worry, that’s not going to change. Well, maybe a few Christmas cookies this year 🙂
It may have taken you deep into the night to perfect those apple slice roses, but it was worth it. The tart turned out to be gorgeous. And, as a big fan of dipping apple slices in peanut butter as a snack, I found it to tasty delicious too!
Thanks for doing the apple slicing and microwaving for me 🙂
So freaking gorgeous. And such great tips! I’m inspired.
Thanks so much, Rachel!